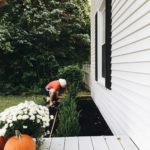
The hardwoods have arrived. They got here about a week ago, but we were going through “the acclimating phase.” It will be the easiest step of the process as it is where you just let the flooring sit in the room it will be installed in for 7-10 days to acclimate to the heat and moisture of your house. A rental truck was needed to transport the goods. We had to get a massive 26 footer, not for volume, but weight capacity. Having the floors delivered to just the garage was going to be $250, but renting the truck and moving it ourselves was somewhere around $75.
The flooring for the whole house weighed 6,500 pounds. That is over three tons.
During the acclimation process, I took that time to research and prepare for the great DIY task at hand. There are lots of tools needed to get this big job done.
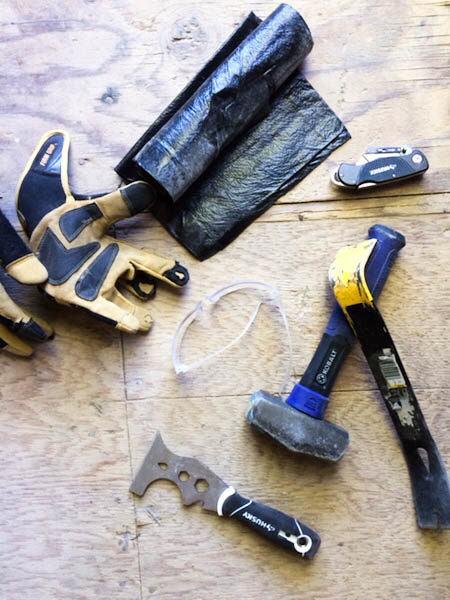
SMALL EQUIPMENT
- Wood putty ($5)
- Wood glue ($8)
- Pry bar ($10)
- Spacers ($6)
- Dead blow hammer ($17)
- Nylon tapping block ($14)
- Finishing nails ($3)
- Safety glasses ($6)
- Work gloves ($15)
- Face mask ($2)
- Knee pads: a must! ($15)
- Push broom ($20)
- Jamb saw ($20)
- Staple gun ($16)
- Chalk reel kit ($6)
- Shop vac: our house’s former owners left one, but it was very old and rusty so we went ahead and bought this one new ($50)
- Painter’s tool: we like this one ($6)
UNDERLAYMENT
There is great variance in how much you can spend on underlayment (the material laid between the subfloor and hardwoods). After some research, we chose to do the least expensive option, silicone paper. This material would cost only $120 for the entire house, while the next cheapest one would be $900 and the fancy stuff is up to $1,580.
Our friend told us this: “I’ve installed both types, and haven’t noticed a big difference in how it feels to walk on, although I do think the expensive stuff helps with noise for the level below. Also, the cheaper stuff is easier to work with.” When I asked him about using silicone paper in some rooms and the nicer underlayment in certain ones (like kitchen for more moisture or temperature protection), he said a transition in underlayment would be noticeable in the finished floor. Silicone paper all the way it is then, especially on first floor when noise protection for below is not important.
POWER TOOLS
- Pneumatic flooring nailer: you can rent these
- Nail gun: We opted for the Porter Cable 16 Gauge Nail Gun. It comes with an air compressor and Porter Cable is a good brand ($179)
- Miter saw: I chose the Ryobi 10 inch Miter saw for its strong customer reviews and considerably low price ($120)
- Drill: This Ridgid Cordless drill was covered under a service warranty and is a nice middle ground on the quality and price spectrum. I have loved the two batteries it comes with to allow you to work continually ($200)
It was fun to begin our power tool collection. The other two I currently have my eye on are a paint sprayer and sander. All we have before us now is tile demo and ripping up carpet before we can prepare the subfloor and get to laying some planks.