One of the biggest wild cards for how expensive or affordable we would keep our built in desk project was those pesky countertops. My main preference was simply something white. Not picky on material and certainly not in need of anything fancy or marble in here. First I peeped ikea. All of their plain white stuff had a weird bumpy texture to me. I considered butcher block from them, but for what I needed it still would not be too cheap and I would have to figure out a way to deal with it being in multiple pieces (we were covering 13+ feet) and smoothing seams and things.
Maybe no big deal if you work with countertop installs frequently, but I never have. Being totally cool with a inexpensive laminate, as long as it was a smooth and plain white, I decided to journey beyond ikea and consider buying from a you know, normally priced store. I went to home depot and got a quote for their cheapest white laminate and it was, if I recall, well over $500.
Which maybe to you is not a lot, but that would be a 50% increase in the project’s budget. And not even splurging for something special! Just trying to get a basic look inexpensively. Time to do it ourself!
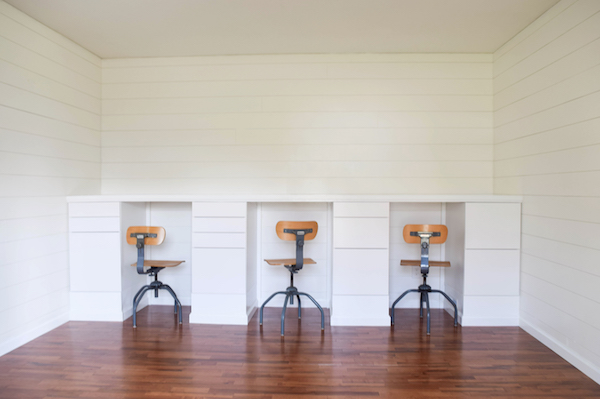
From this point pictured below where the cabinet bases were shaping up, we used the same wood we built those from (a pine from home depot sold in 4×8 sheets) to make a long counter.
David screwed two 1″ pieces of pine together to make it a chunky counter thickness.
Since the boards are only 8 feet long, there was a seam about 2/3 of the way from the right. That spot is bracketed together from the bottom, inside the cabinet.
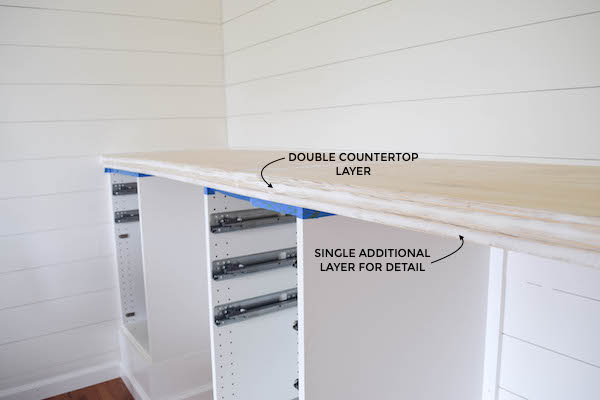
Well, once we had the counter attached I realized I wanted a tad more pomp and detail. As I said in my post on the desk, with something like this, the more complex the moulding the better. So we ctrl+z and added one more inset layer of wood to give a little intricacy with the depth it created.
Then to keep it really smooth we spackled that seam from where the two widths of counter met and the front where the sides of the pine were showing.
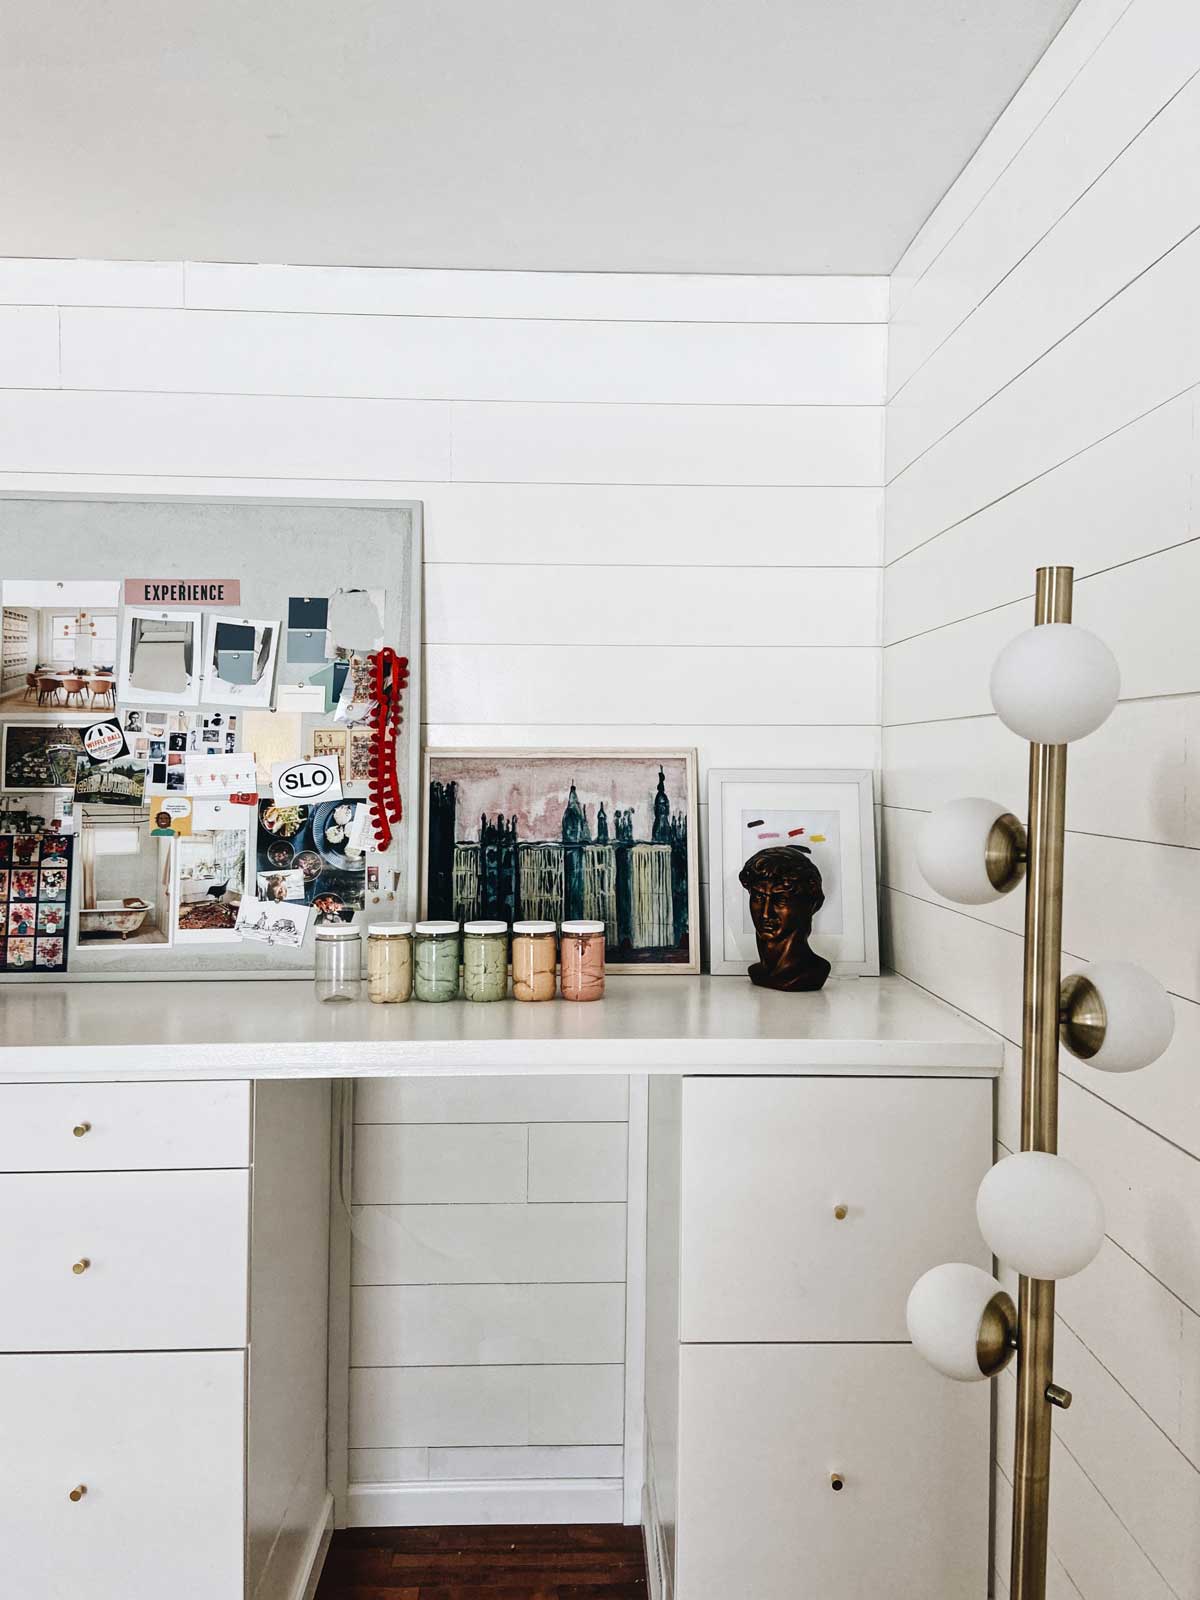
We also did a slight sanding on the top edge of the counter for it to be a touch rounded. Nothing noticeable when you are looking at it, but a more comfortable edge when you’re resting your arms on the desk. To finish it off, we did four coats of high gloss paint. I used Ralph Lauren’s Chalk White which is what is on the walls, moulding, and cabinet bases. If you like you can do two coats of polyurethane too to make it even more hard and glossy. I did not do that right now because I am pregnant, but we made add it on later.
This option was quite simple and used almost all materials we already had on hand from making the desk – mostly wood and paint. The amount of wood we needed for the counters specifically was about $60.
I feel like I got just the look I wanted for a perfectly low price.