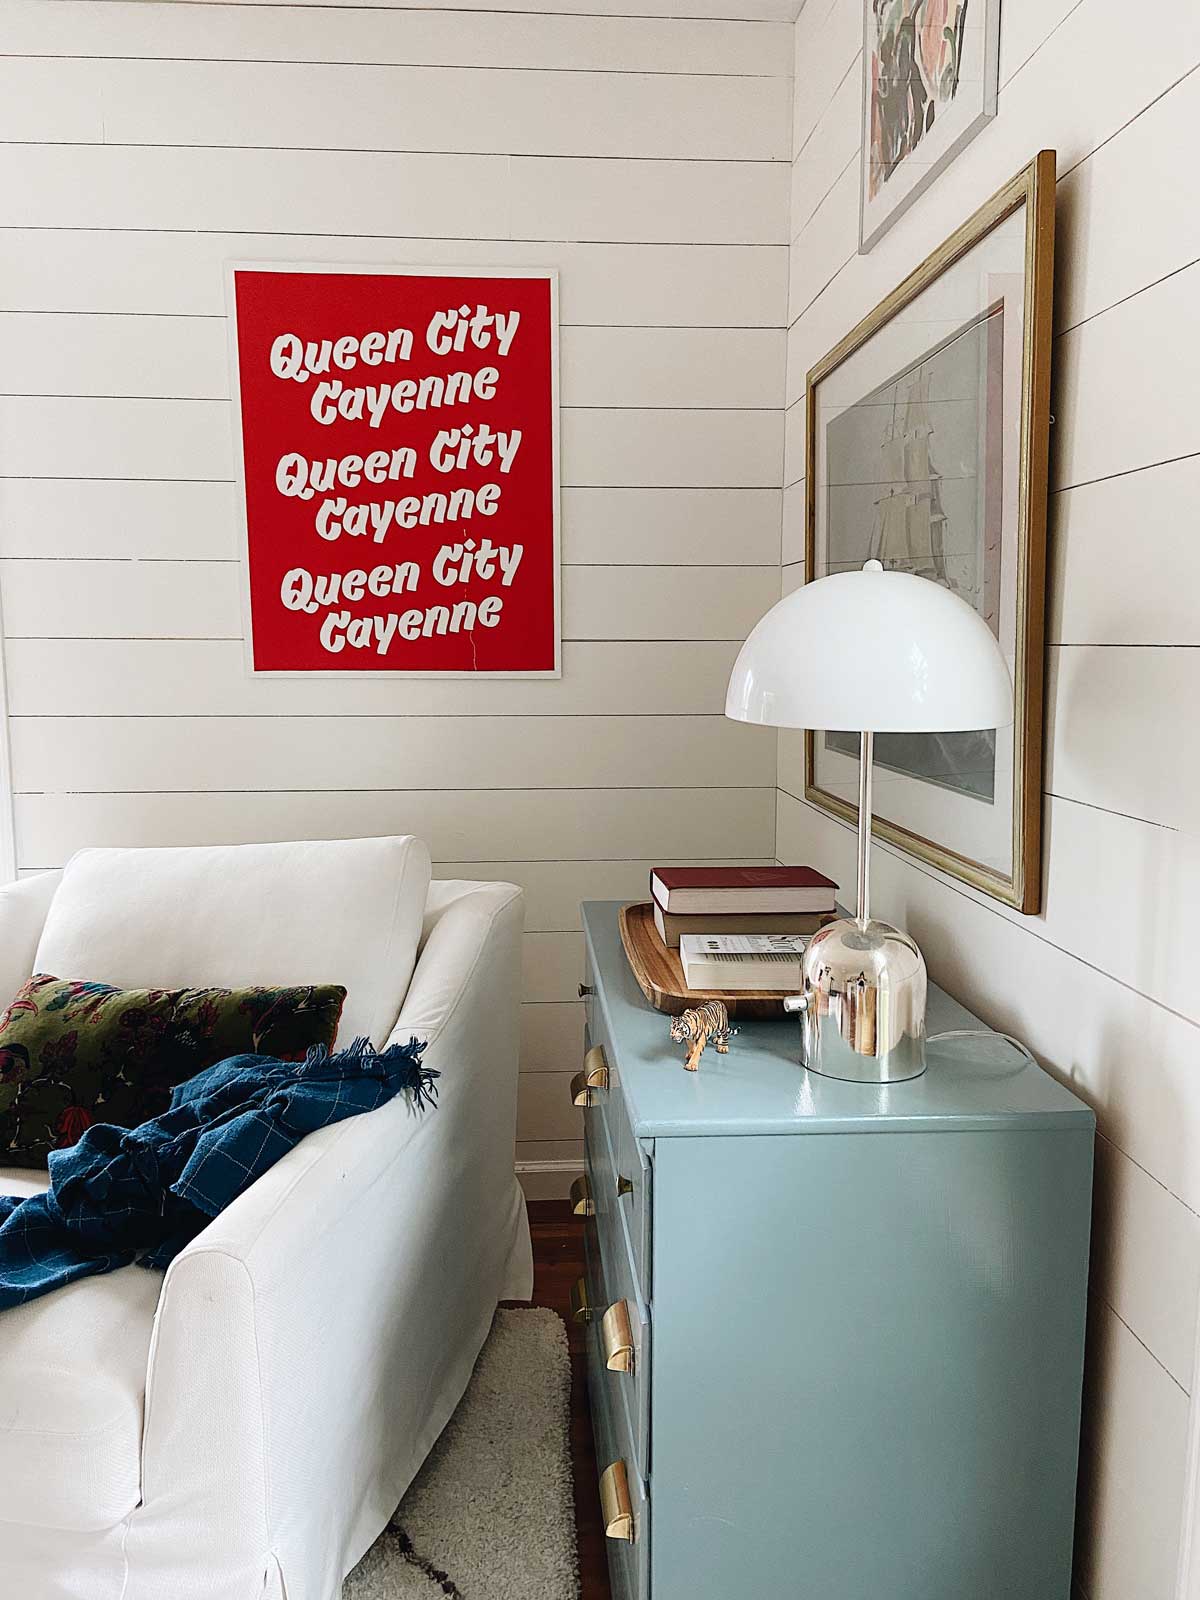
Because I don’t want to fully identify with everything that goes along with the shiplap trend, I have taken to referring to our office wall treatment as “paneling” or “planked.” Shiplap is cool, no doubt, but I have seen it styled so many times for looks other than farmhouse and I always loved it. I actually don’t even think of shiplap as a specifically rustic or farmhouse-y design element, even though that is its huge association right now.
My favorite way to see it is with not rustic aesthetics! It makes a really cool design element. That direction is where we are going for our home office. (Although to be honest, I can like the farmhouse stuff too. If I had a farmhouse).
This is how we did a DIY install of shiplaps’s look ourselves, for cheap.
STEP ONE
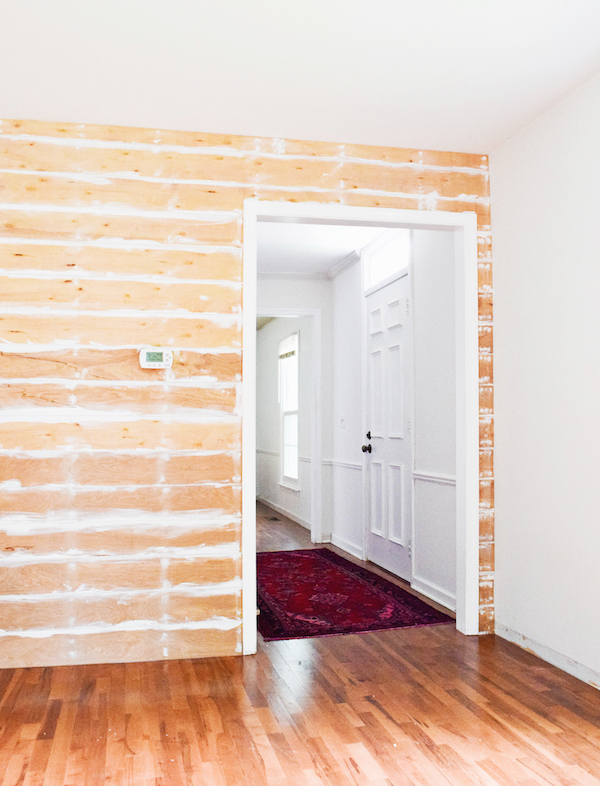
To prepare for the install, we removed all the baseboards and I did a scrub down of the walls for good measure. Remove any nails or random fixtures you might have on your walls. (We had an old thermostat that we finally busted off. And instead of having to repair the hole with drywall, we could just cover right over it with the new shiplap boards.)
STEP TWO
The boards I used are 4×8 foot sheets of 1/4 inch underlayment and about $14 each. I bought about 20 of them to cover this room which dimensions are 16.5 x 13 feet. At Home Depot we had them cut the sheets down into 6 inch strips. With a nail gun, we hung our first piece at the bottom of the room, careful to ensure it was completely level.
STEP THREE
Painting! To make sure the cracks between planks looked white like the rest of the shiplap (and would not have natural wood peeking through) after attaching a row to the wall I painted the top side of the board. Then, before attaching another board I painted the bottom side of that new board. This way whenever you look up or down at the slats it all looks crisp and uniformly white. This adds more time to the project, but keeps the look more polished. (And is a way to do it all without a paint sprayer.)
STEP FOUR
We used nickels as spacers which worked very well. And was only $.15 from the budget! We worked our way around the room one wall at a time using the nickels to keep all the rows even and a miter saw to make cuts around doors, sockets, and windows.
STEP FIVE
Spackle all your nail holes (and vertical seams between boards, if desired, depending on how rustic you like). Paint final top coat. I rolled on two coats of Ralph Lauren’s Chalk White in semi-gloss on the broad side of the shiplap (since the crevices were already painted).
STEP SIX
Replace baseboards and outlets. I added outlet extenders to make them nicely flush with the new wall depth. I found these worth buying for your final product to look nice. They are like, less than $5.

PROJECT COST
Paint: $37.05
Wood boards: $278.38
Nails: $9.53
Outlet stuff: $21.03
TOTAL: $345.99
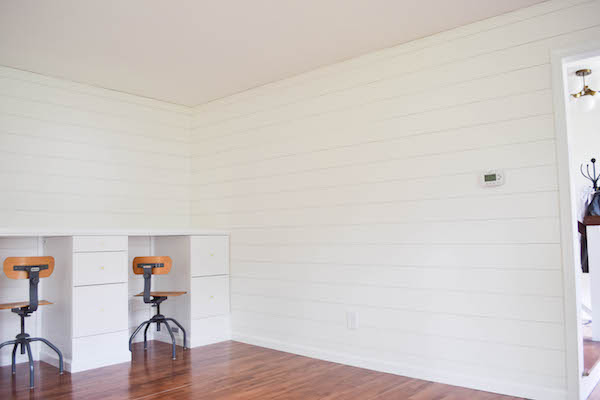
In summary, this was a slow going job! But we did a quite large room. Having two people to work on it is a big help. I don’t have plans to do any more paneling like this in our house, but am happy we have it in here.
I will at some point add a quarter round trim like a crown moulding around the ceiling to really fill everything out. I think too thick of a crown would overwhelm because there is already a lot going on with the wall architecture, so just a small detail will be perfect.