When we left off, the stairs were stripped and Minwax’s Red Mahogany was ready to go on the treads. I cavalierly swiped a bunch of it on and my heart sank as I realized it was entirely too dark. Back to Home Depot I go. I tried a second color which was entirely too red. It is so frustrating when you sit down to do a project and feel really ready to knock it out and have to keep stopping due to insufficient materials. Momentum is kind of a lot on things like this.
I was very unhappy and toying with giving up.

Choosing a bad color was not going to happen a fourth time, and thankfully Home Depot lets you return stain, even if you have sampled it. I went back and bought every color of stain that was at all conceivably going to be the right shade. We would try all of them on scrap wood since we were both fed up with re-sanding the stairs after using erroneous stains. (I know, I should have done that sooner, but I am decisive slash high commitment.)
The one good thing about my third trip in a row to the stain aisle was that I noticed there is a polyurethane-and-stain-in-one product. Money savings! Time savings!
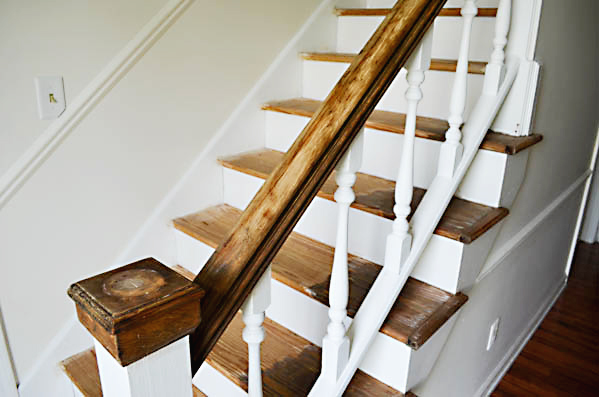
Minwax’s American Chestnut was the winner. (Side note: What is an antique walnut?) A sample was tried on the stairs. It did not blend as well with the portion of the lower treads that was previously stained darkly, but we decided to move forward.
Our other options were to 1) paint the treads white or 2) stain everything dark to match the darker part of the tread (but not match the floors). To me, being able to see a slight line in stain color change on some of the stairs was better than either of those (and the most immediate path to finally knock this task out.)
I am not sure if this is the professional way to do this, but I was scratching my head when I realized we needed to figure out how to be able to use our stairs during this project. David’s genius idea was to do them in two waves, first every other stair and then the alternating ones in the second pass.
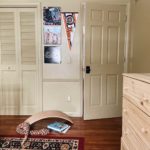
Oh and one more thing is that the damaged area where the finial used to be was finally fixed.
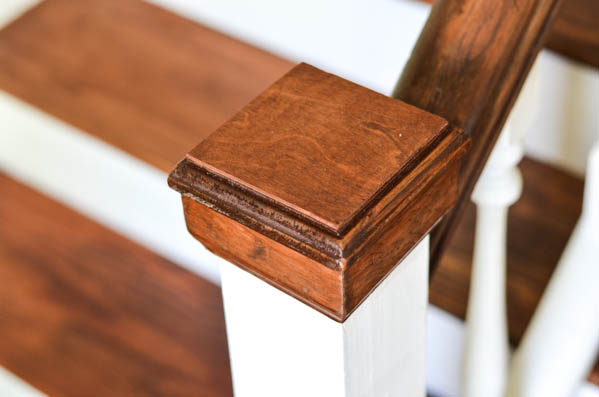
Using scrap 1/8″ wood sheets from when we modified our sunroom doors, we cut a tiny piece to simply wood glue over the finial’s old spot. It is stainable like the rest of the wood and very smooth and pretty.
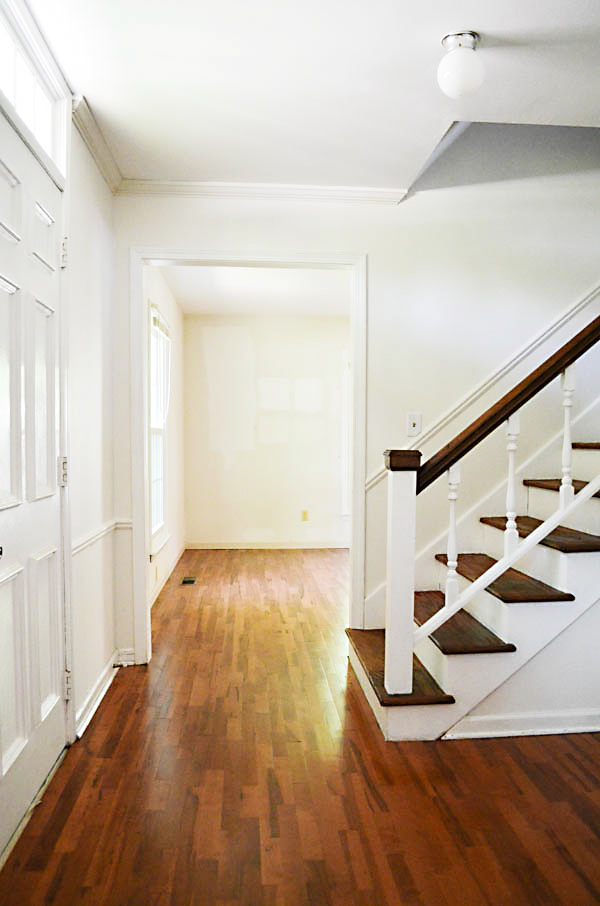
A lot of touch ups needed to be done, specifically on the stair where I did my test stain without taping and from when the stripper splashed onto my previously painted areas. This was the last area on the main floor with a work in progress status. Well, everything is a work in progress, but it at least does not look like a hardcore work zone now.
You can read the four parts of our stair refurbishing saga here: part i (demo and repair), part ii (stripping the treads), part iii (staining the treads), and part iv (deciding to paint everything, years later).