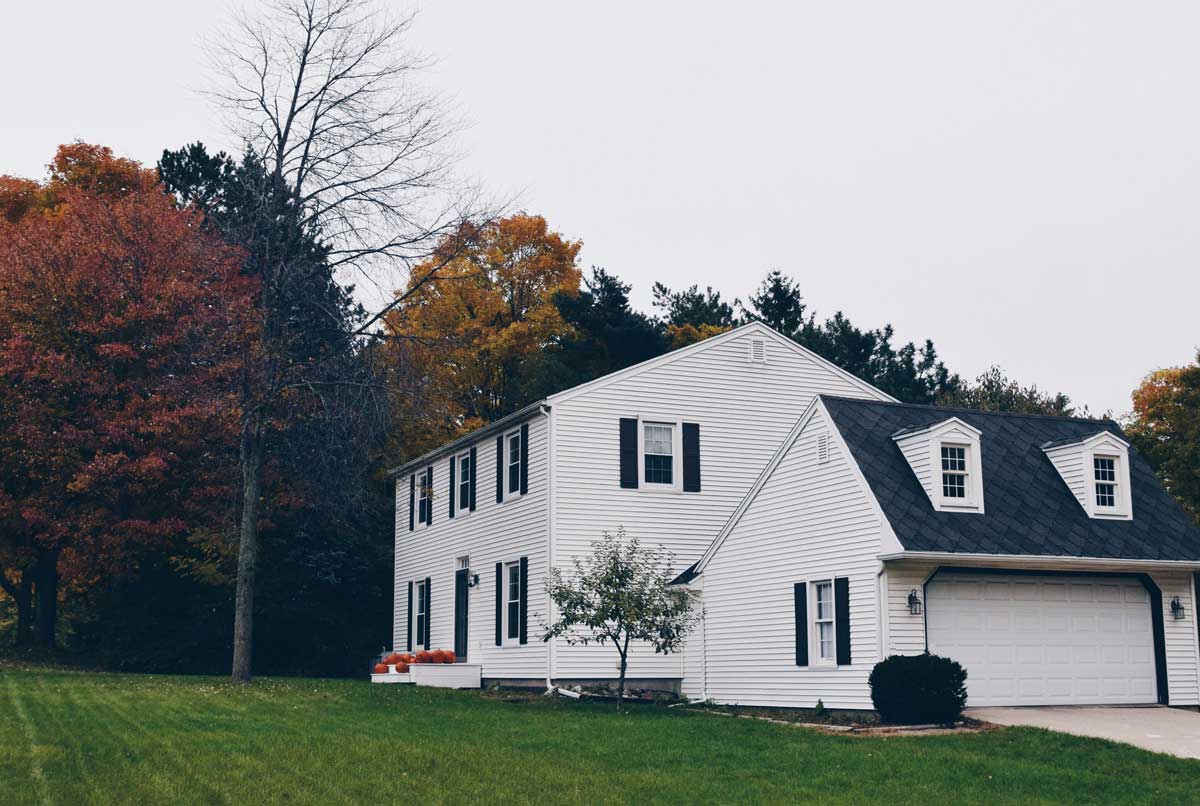
We have hit the first step to beautifying our curb appeal. As soon as I can, I want to build a portico of sorts off of the front door. Our house’s vibe needs it and it will make the front look much more soft and balanced. That will be kind of expensive so it may be some time. But a beginning part that is not as expensive is encasing this scary, sad, rough, and damaged concrete front porch in smooth, spacious, beautiful wood.
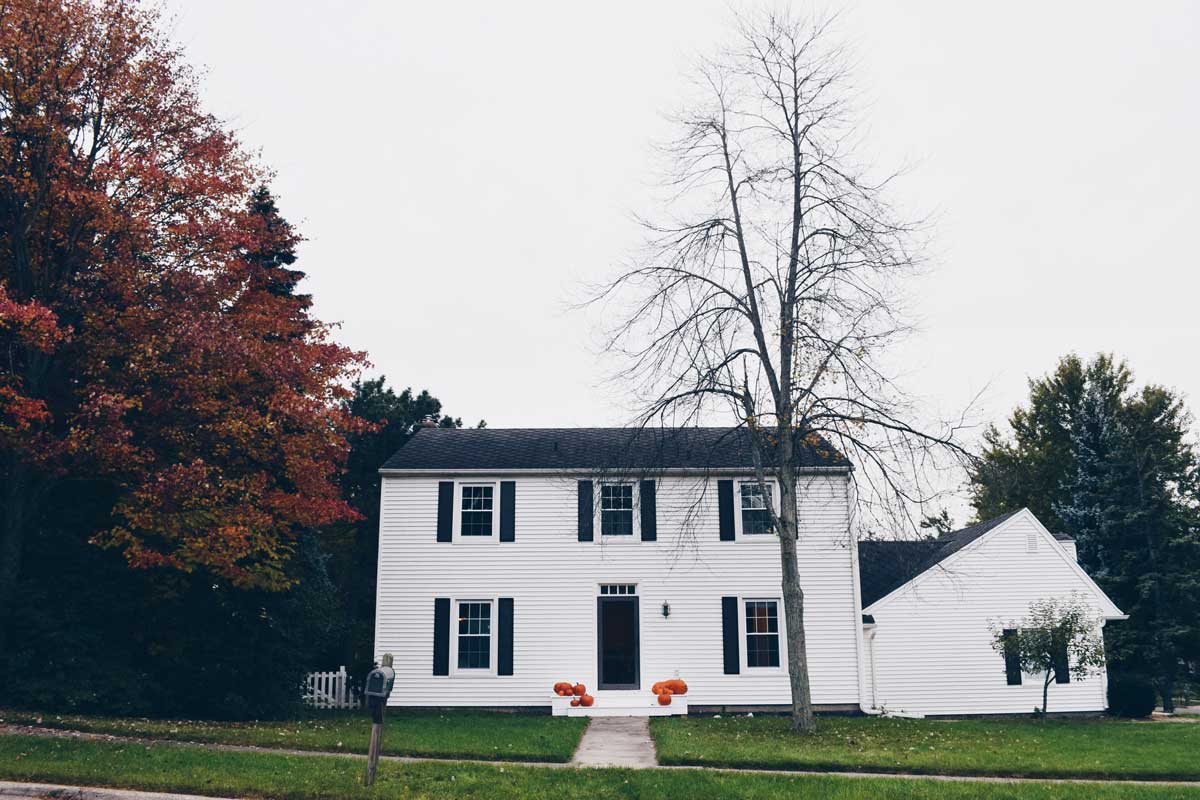
The alternate title for this post is I Stood in Our Front Yard and Stared at My House for a Long Time. Picking the right proportions was key to it looking good! The before is small and unhappy and the concrete is very rough and awful to sit on or generally ever come in contact with.
This photo is an after, and then the before.

Note: I think mulling over decisions is sometimes an important part of decorating. Noticing the details is what will make something good. It’s like how a writer must choose the perfect words to create the emotions he wants in you. As the reader you feel the book was good. But the author has to think about why you felt the book was good and know the inner workings of what will make you have that feeling. Interior design is the same way, I think.
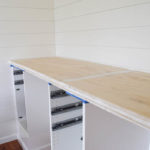
After I thought a lot about dimension decisions, David built the pressure treated frame in pieces, burying sections of it in the ground as we went. To secure the pieces of the frame to the posts, we used these rss screws, pre-drilling about 1/2” with a 1/2” spade bit so the screw-heads would sink under the surface of the wood.
Once the frame was built and secured, he attached joists every 16 inches using deck screws in the front and joist hangers on the side closest to the house. Then we attached more pieces to the posts to bring the sides of the deck down to ground level. We had to dig out some areas of dirt in order to attach these pieces.
After the entire frame was complete, we screwed the deck boards into the joists with deck screws to finish the top surface. We needed to cut one of the deck boards with a table saw in order to fit everything in to meet up with the siding.
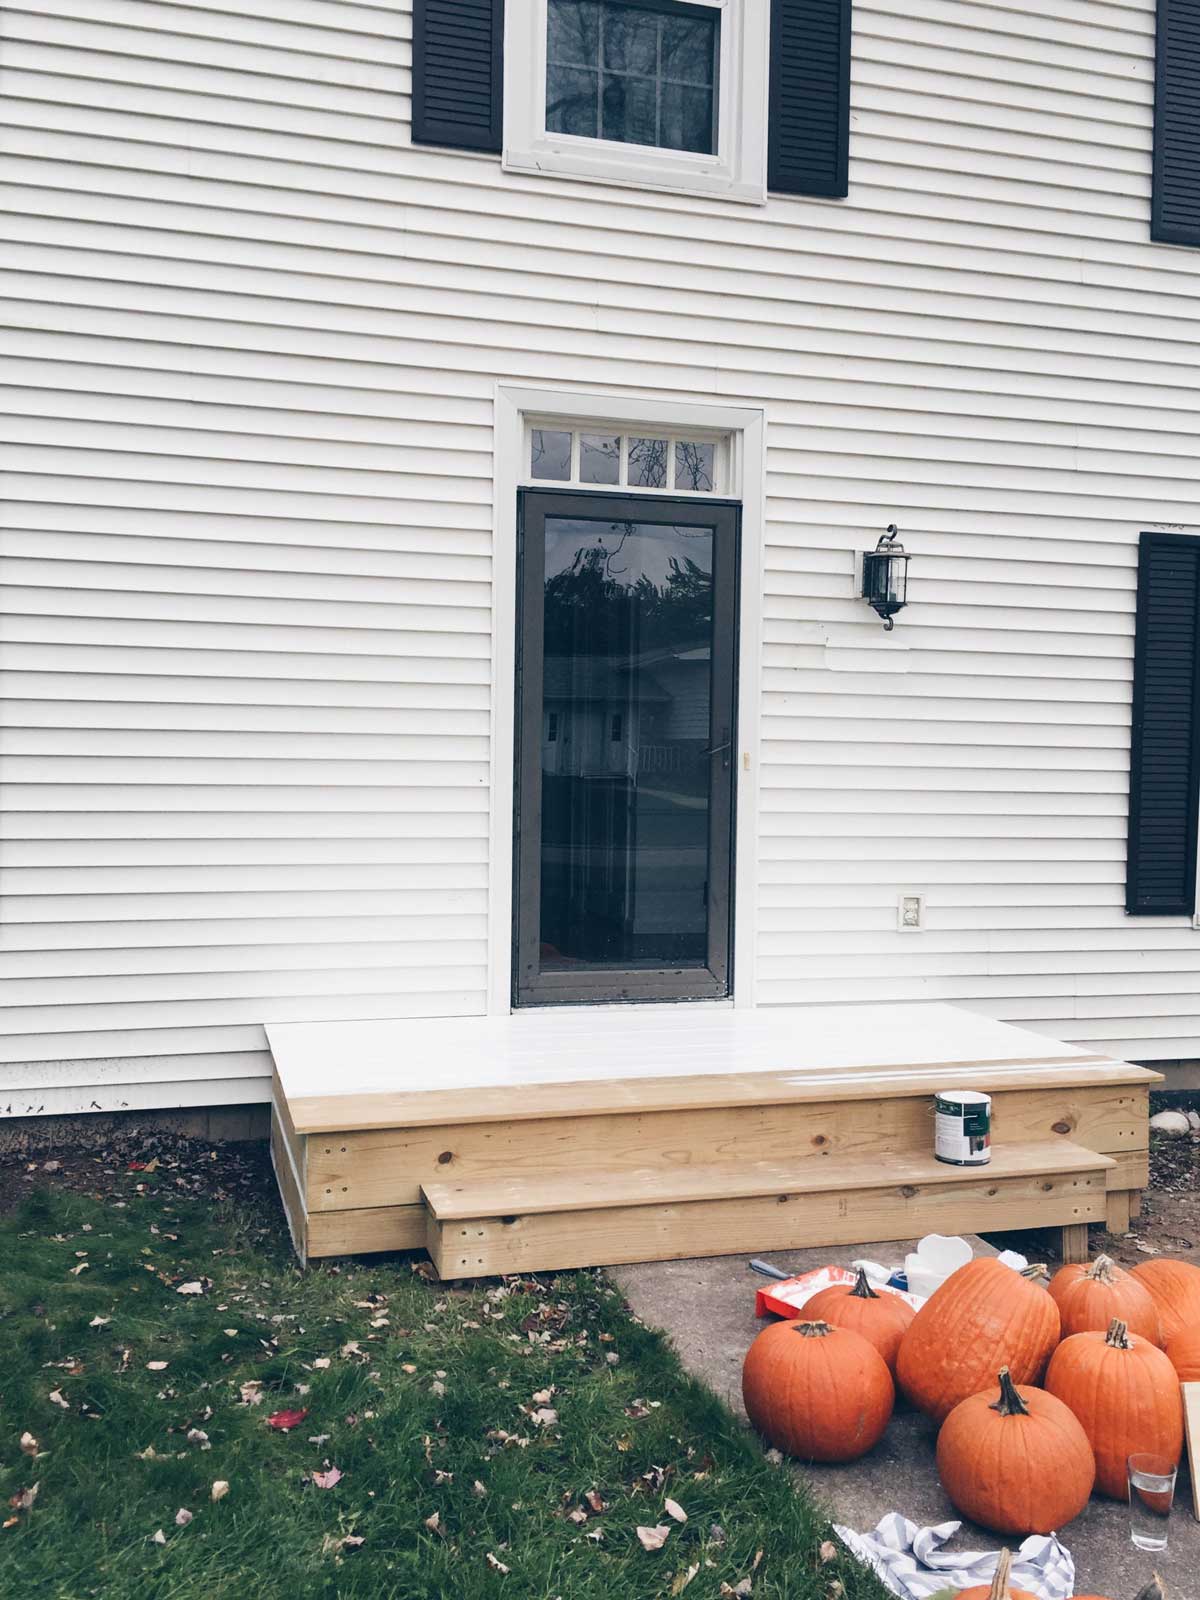
We added a step as the deck was too high off the ground for a non-giant to enter. The process of building the step was a lot like making a mini version of the deck. We built a frame, buried the posts in the ground and secured it to the deck, then attached deck boards to the top.
Then I waited like six months! That is because you have to let the pressure treated wood dry out before you paint or stain. (We just did as late as we could before it was too cold.) To prep for paint we sanded the screw holes, swept, shop vac-ed, and sprayed with the hose at a high setting. David wiped off any standing water with a towel and we let it dry for 24 hours. The next day we painted using two coats of behr porch and floor paint in “palais white.”
ALSO THERE MAY NOT BE SUCH A THING AS TOO MANY PUMPKINS.
It’s so much prettier than before and will come to life even more once we do some of our landscaping in the spring. I find myself wanting to decorate it with things more too because it has enough dignity to deserve it.