The most frequently asked question about our finished dining room last week was about the huge art! People wanted to know if I made it myself and the answer is yes. But it is not too hard, and a really good way to create a large scale piece of art for a low price. My goal was to find something for the wall behind the table, and I wanted to use as little budget as possible. I considered some kind of mural, framing some wallpaper, a few shelves, or maybe putting up some mirrored panels.
I saw this piece from textile designer rebecca atwood and it inspired me to go for a vegetable print in an inexpensive way.
Sometimes “diy art” that seems no fail can still look very amateur or bad diy-ed. I included some tips below that I think help make it look more like a professional piece.
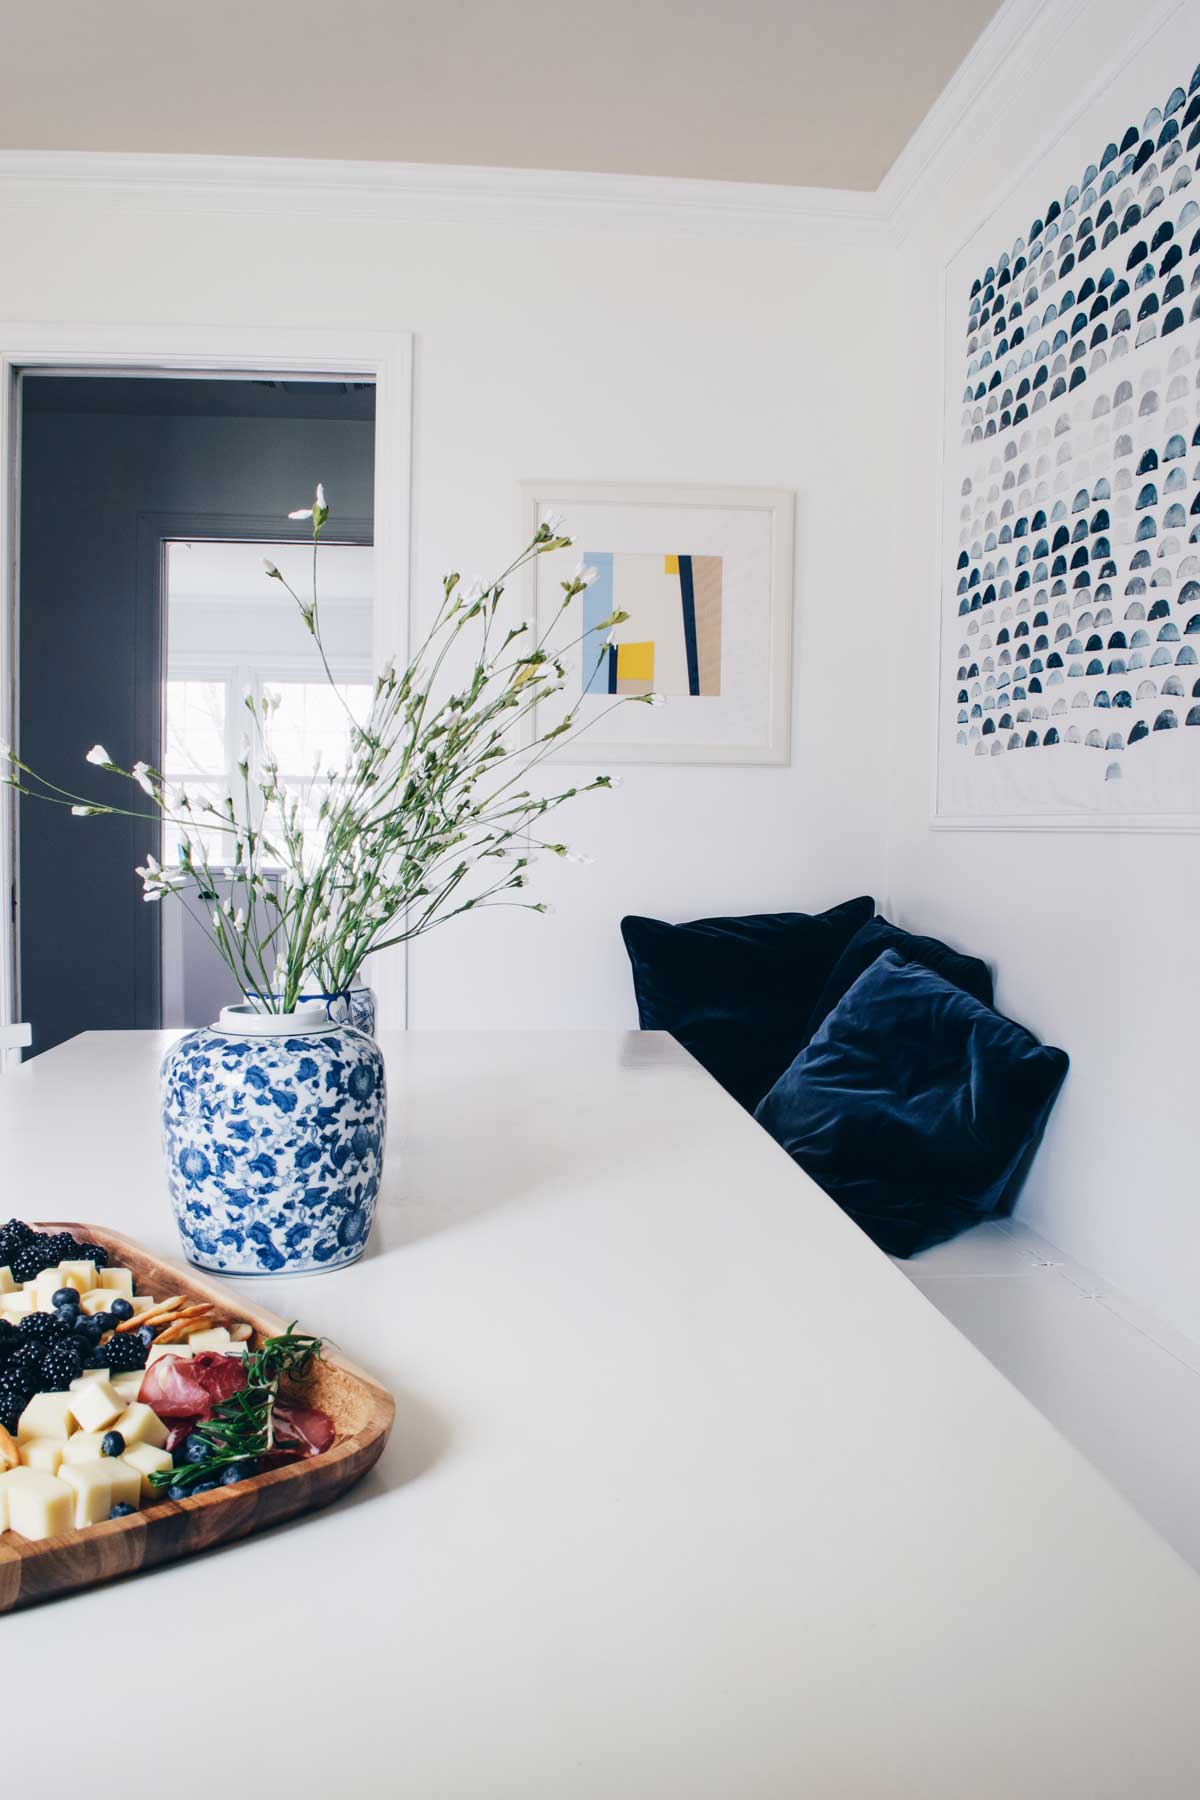
The total cost for this enormous 44 x 106 inch piece was about $62. I’m pleased with that number! I made potato prints with acrylic paint on a large piece of muslin fabric. The biggest savings came from how we made our own frame instead of having it put in a glass one. David built it using trim pieces. Then you can staple or hot glue gun the fabric to the back side. The piece will be flimsy, but then we screwed it directly into the wall for it to be totally secure!
MATERIALS
Fabric: $16
Yukon potatoes: Like $1, I guess
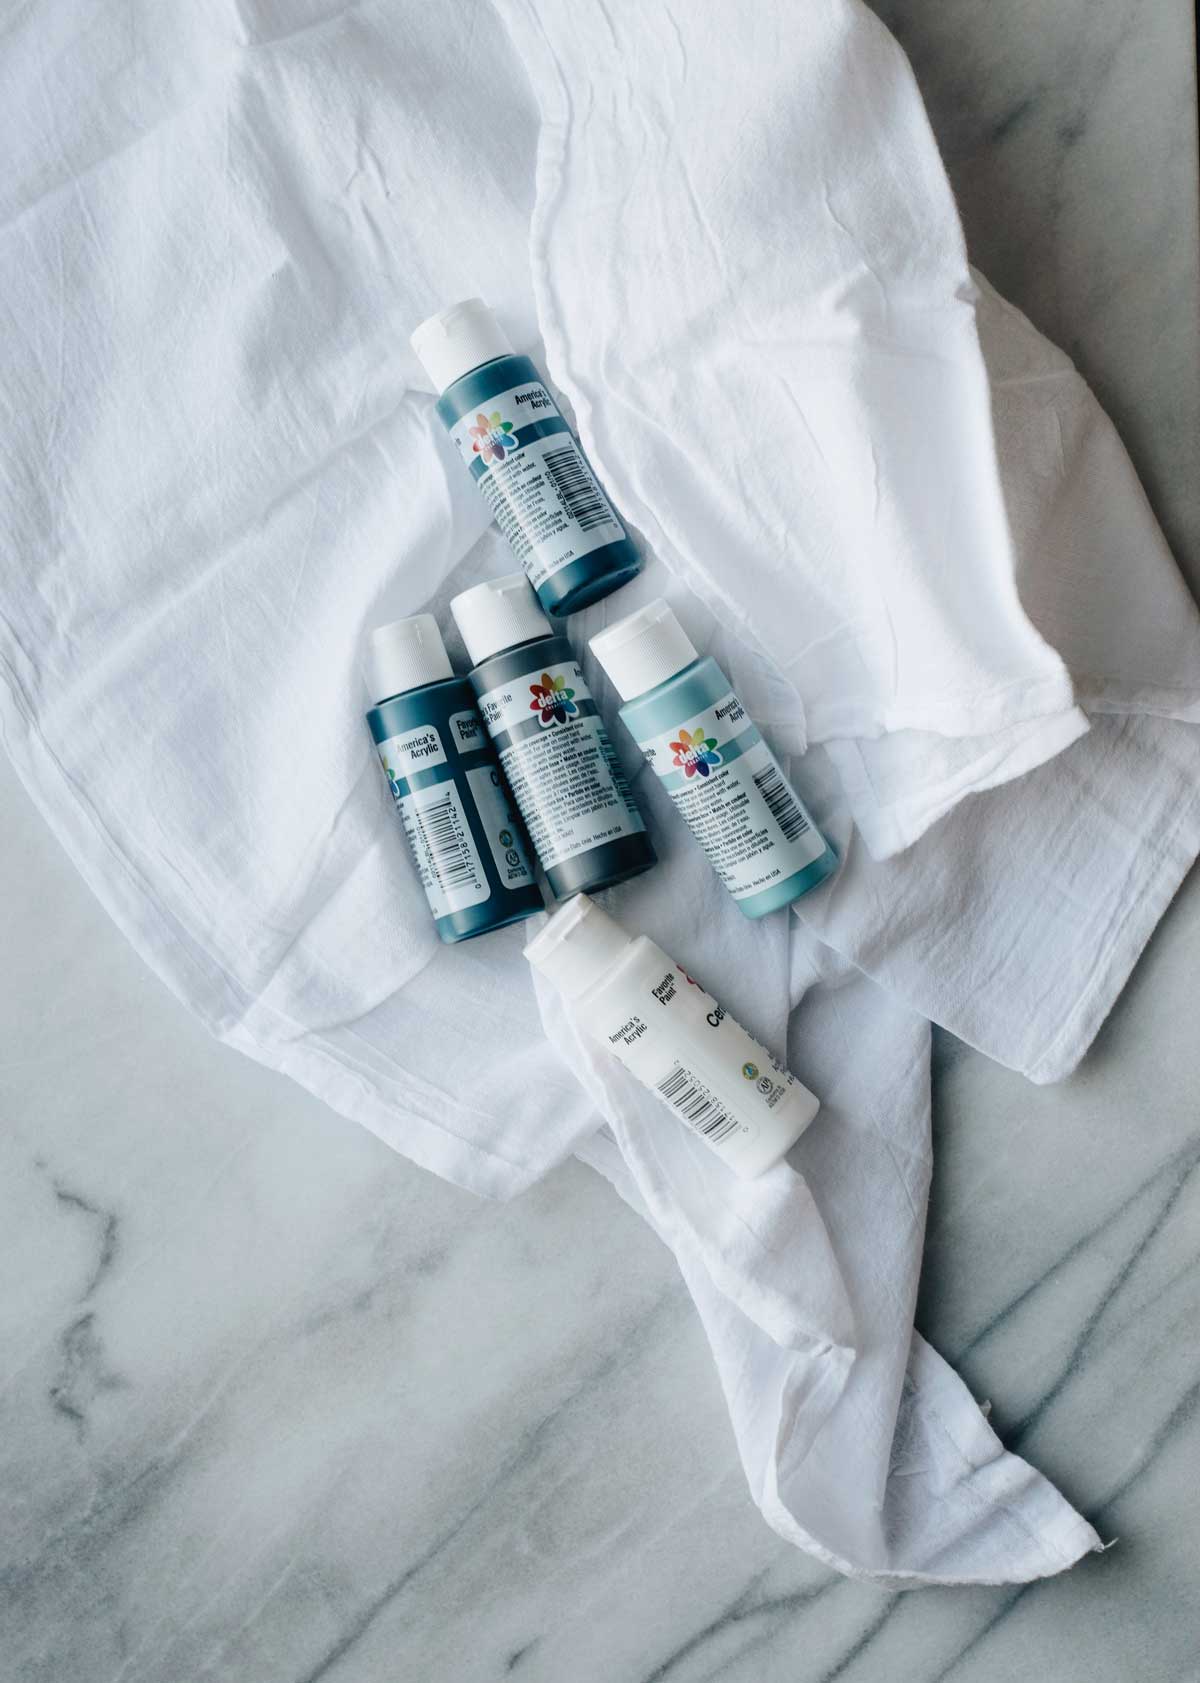
Acrylic paint: $5
Trim: $27
Light duty staple gun: $10
Staples: $3
PROCESS
- Wash fabric and iron to remove any wrinkles
- Lay fabric across a flat surface.
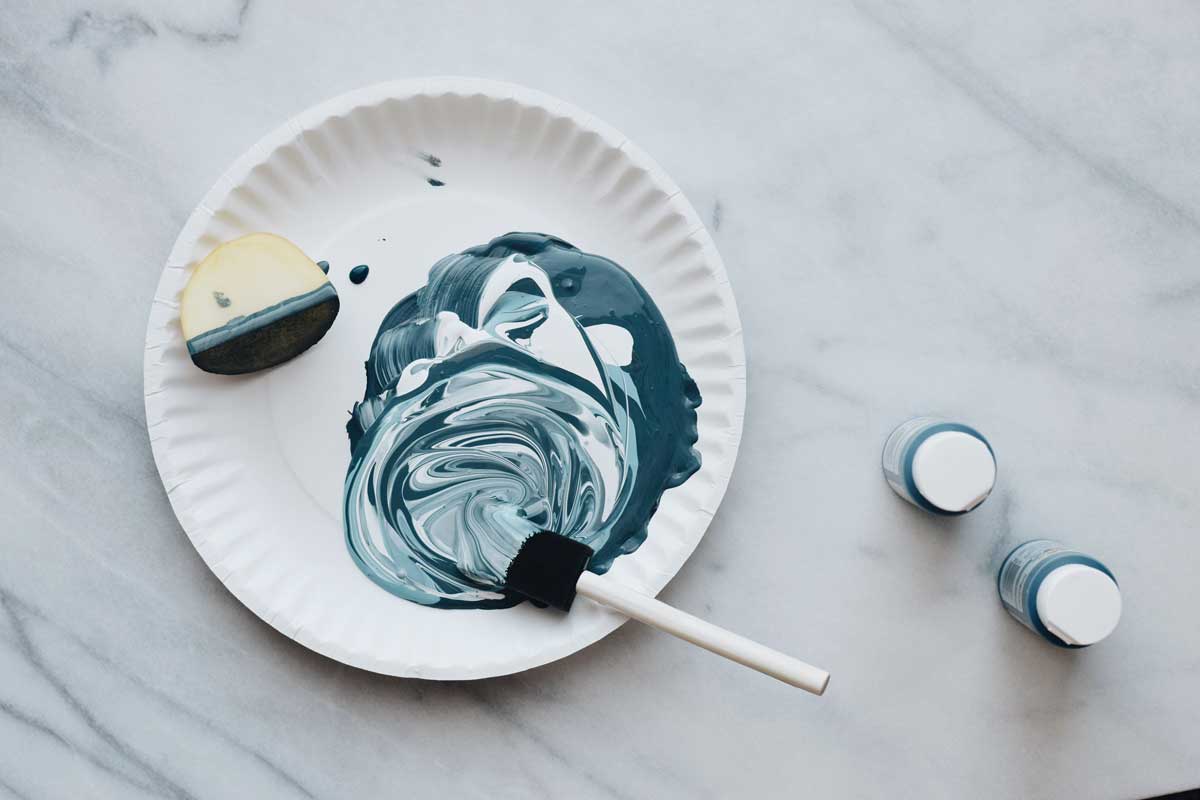
- Dip quartered potatoes into paint and press several prints onto fabric.
- Reload with paint and repeat.
- Cut and paint trim to desired size.
- Attach pieces together on the back side with a staple gun and 1/4” staples.
- Hot glue muslin to back of frame, taking care to prevent dimpling.
- Attach frame into wall with a brad nailer.
- Spackle and touch up paint nail holes.
TIPS
- I usually would do about five stamps with each loading of paint, but it looks great when there’s variation of pressure and texture, so every few lines and for different sections I would do something a little different – with color, pressure, spacing, or how straight or curved I made my line.
- For my shape, I used yellow yukon potatoes and halved them once in each direction.
- The colors I used for mixing my shades were delta brand acrylic paint “white,” “waterfall,” “charcoal,” and “midnight blue.” More muted tones are my favorite!
- Dab moisture off of potato before using. As it gets messy, replace with a new one. Slight variety in size looks nice. Keep wet wipes on hand!
- When assembling frame, shoot the staples into the thickest part of the trim to avoid them popping through the front.

It also is not very time intensive. I believe I worked on the vegetable print part for only about two hours. Not bad, as far as crafting goes.
The rest of the sources for the dining room and the whole budget breakdown are here!