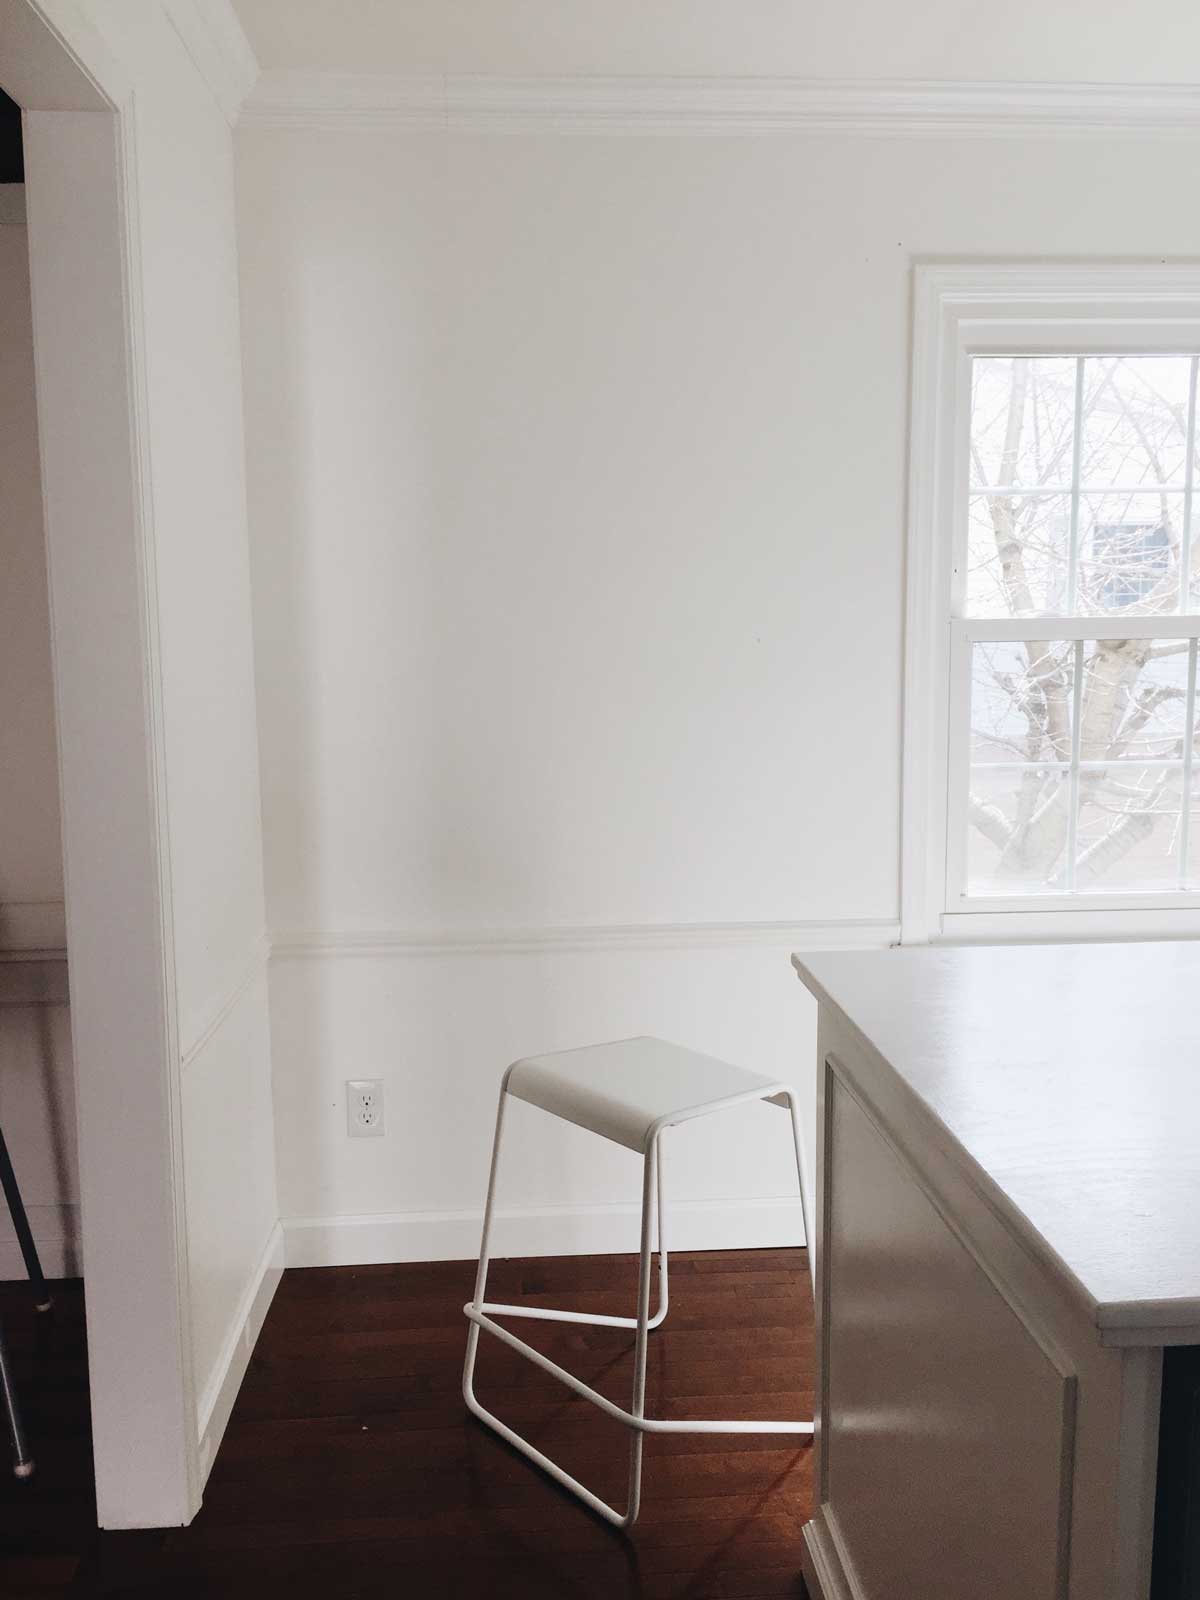
We had a bare corner in our kitchen that needed something. Rachel said she was not sure if she could functionally handle total open shelving for a kitchen. “But this nook was the perfect spot to do some to indulge in all the good, pretty parts of open shelving without significant commitment. (Although my friend gave a great tip for making open shelving work here.) As we are finishing our kitchen, I am needing to add a few clean line elements to the otherwise very traditional feel.”
So for the shelves we wanted to do a floating shelf, and also a simple, clean lined design.
Making them was very easy. Easier than I expected. I did it in I think about half a day.
MATERIALS
- (2) 1/4” x 2’x4’ sanded plywood project panel
- (3) 1” x 2”x 8’ select pine board
- Stud finder
- Table saw
- Miter saw
- 2” construction screws
- Power drill
- Wood glue
- Brad nailer
- Sand paper
- Drill bit extender
- Level
- Spackle
- Caulk
TIME ESTIMATE
PROCESS
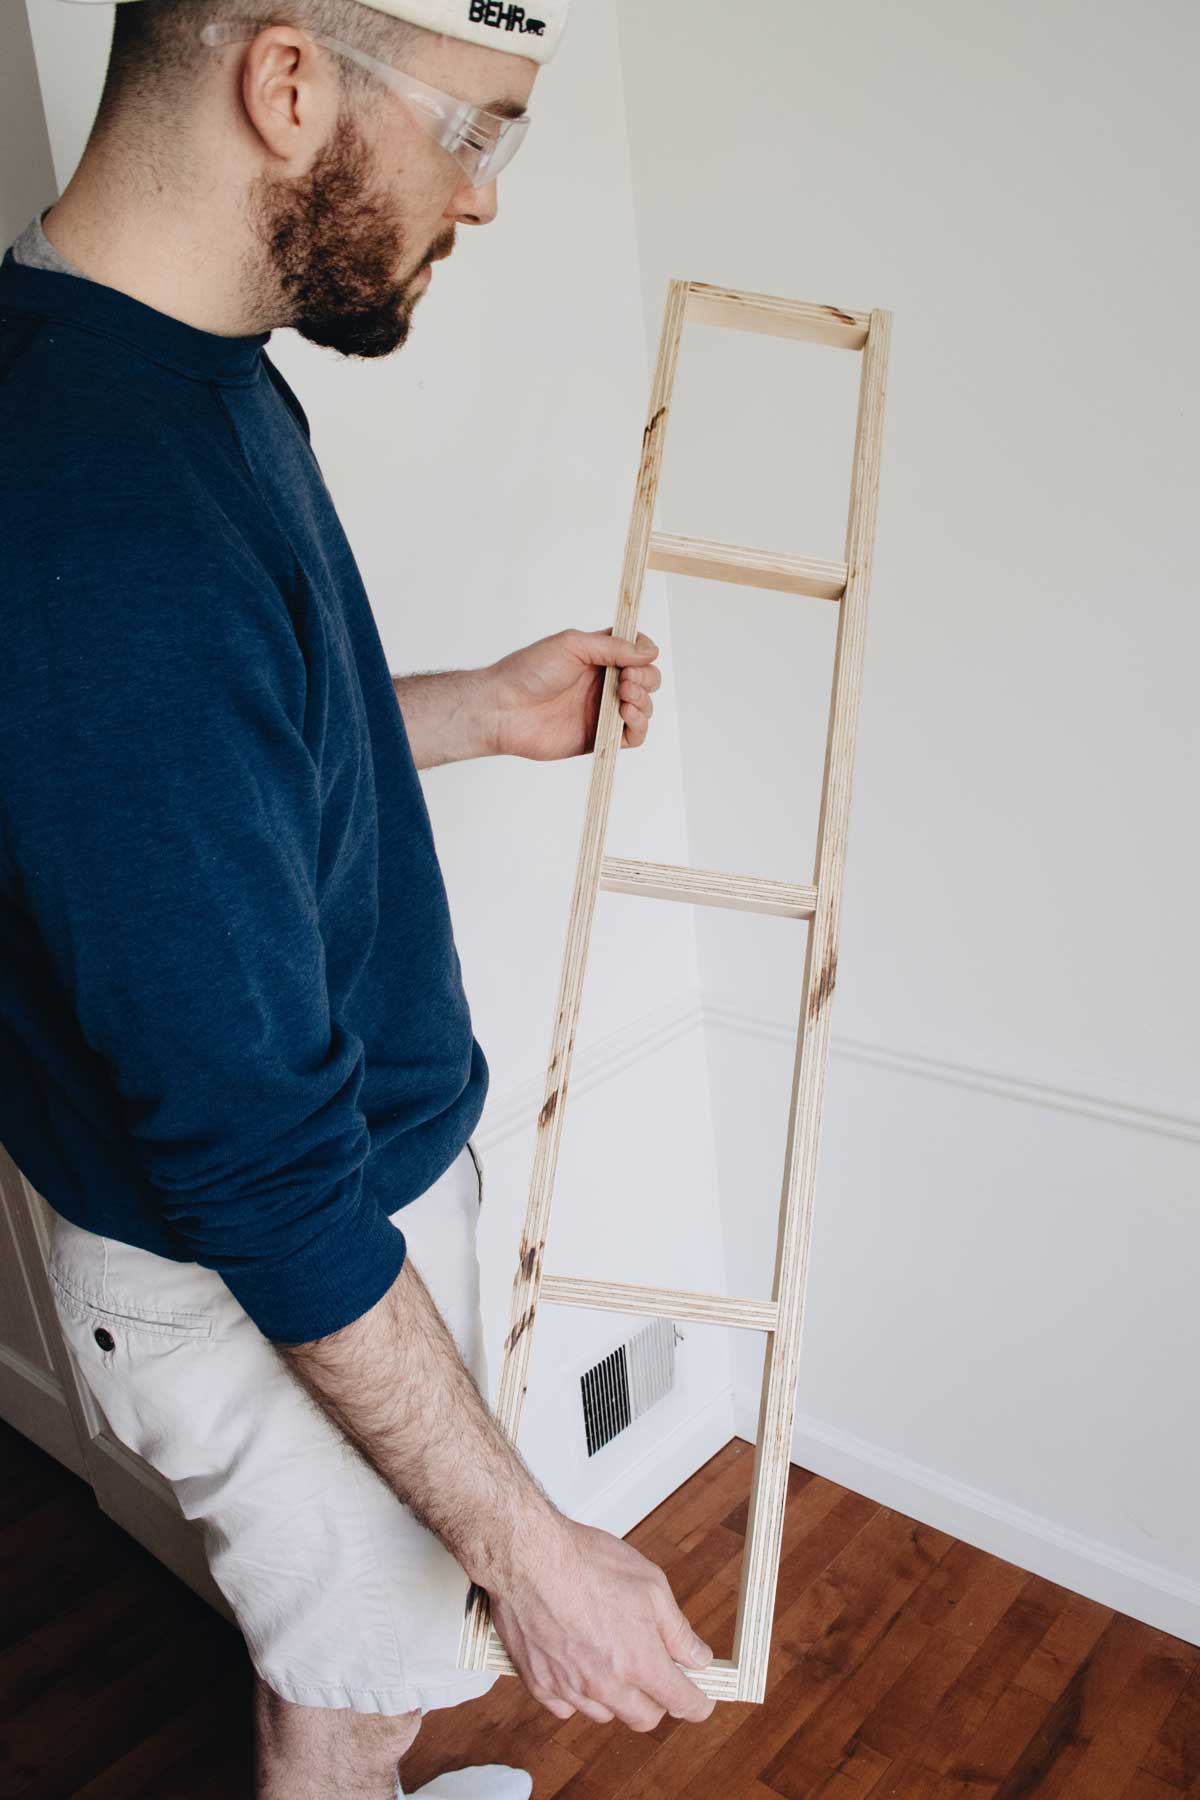
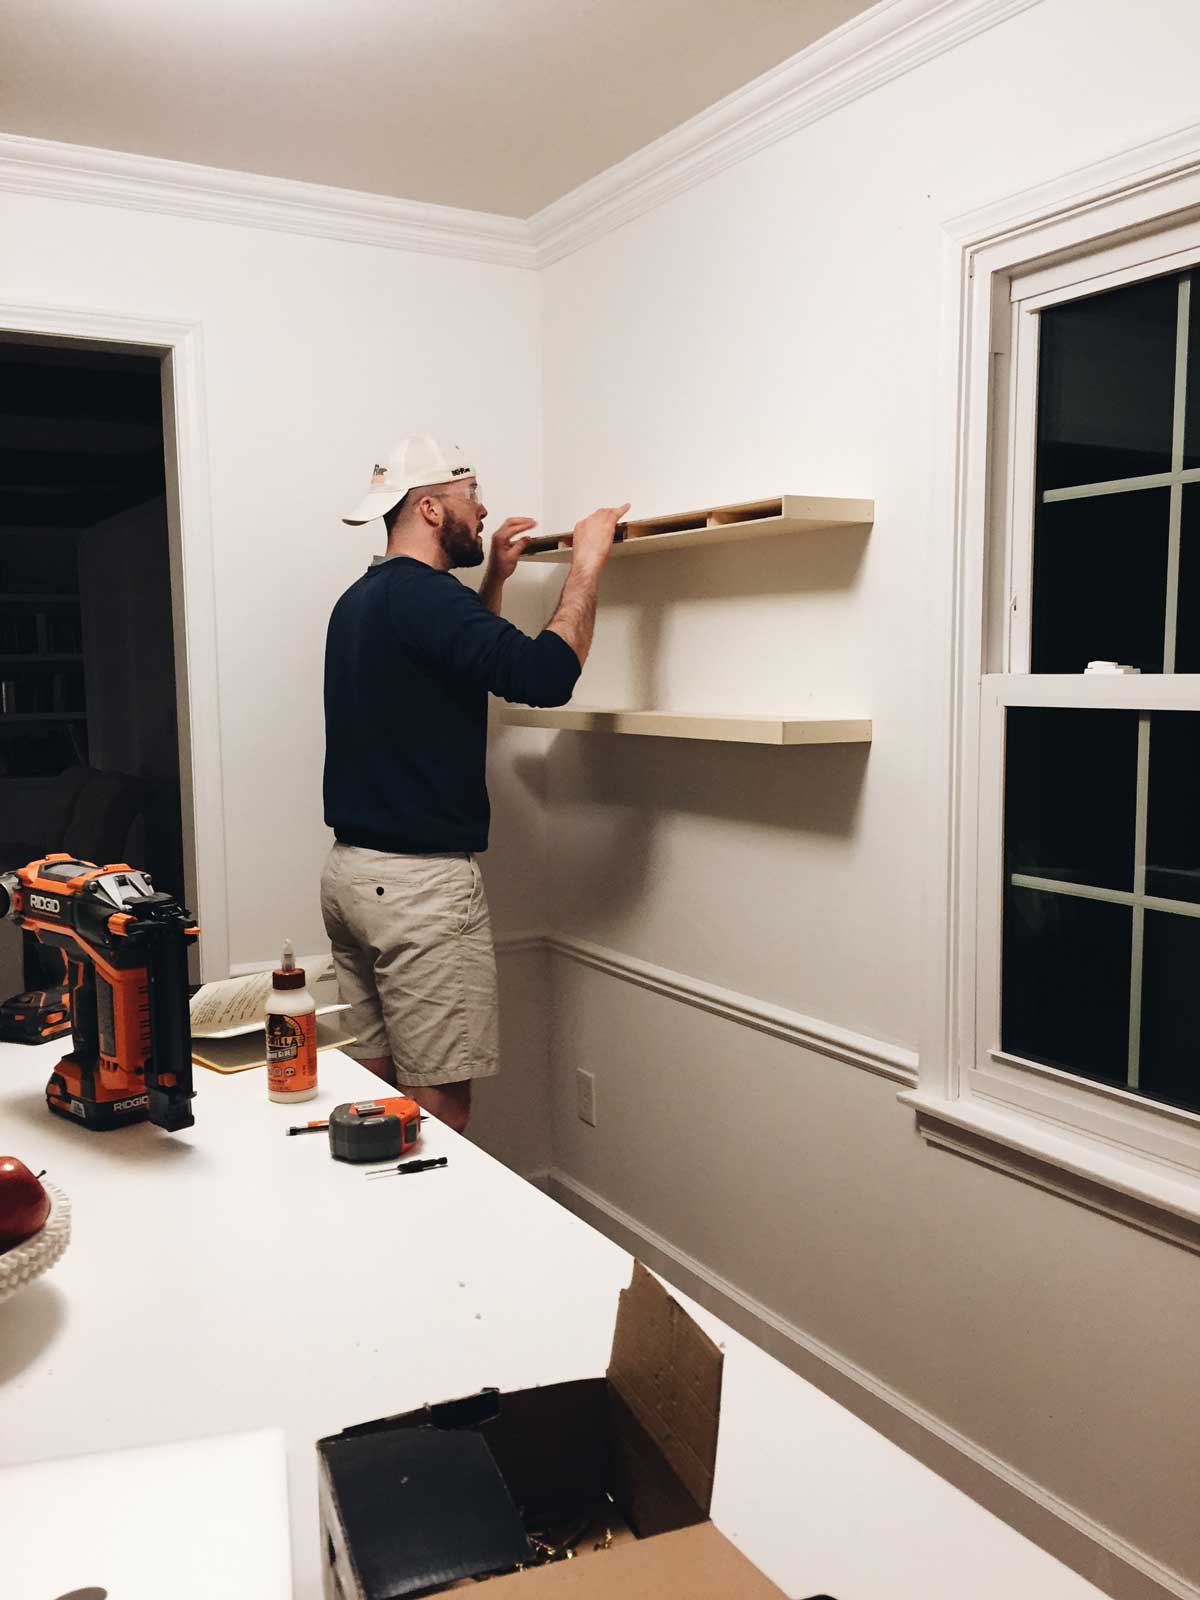
We used a stud finder to mark the studs on the wall. In the space we were attaching our shelves, there were two studs. (I would say this is the minimum you would want to keep things sturdy.) The construction concept of these shelves is to make a thin box frame with the pine boards then cover it in the plywood project panels. The front part of the box isn’t fully attached until the shelf is already screwed into the wall. This way, you can access the back part of the shelf in order to screw it into the wall by using a drill bit extender and going through the interior of the shelf.
Rachel wanted the shelves to be 1 and 1/2″ thick so I ripped the pine boards with the table saw, accounting for the width of the two pieces of 1/4″ plywood that would be attached to the top and bottom of the pine board frame. Then, using a miter saw we cut pieces of the pine board to length for the front, back, and support pieces of the frame. We screwed these together using 2″ screws, spacing out the three inner support pieces evenly and avoiding spots on the shelf where we would screw into the studs.
After the frames were built, we used a table saw to cut the 1/4″ plywood that would cover the frame. A top, bottom, left, right, and front piece were cut. No piece was needed for the back of the frame since it would be facing the wall. The top, bottom, left, and right plywood pieces were then glued onto the frame, but no glue was brought into contact with the front piece of the frame because it would be removed in order to access the inside of the shelf for fastening to the wall. We then used a brad nailer to nail the plywood onto the frame, again avoiding the front frame piece so it could be removed.
When the glue was dry, we sanded everything so we wouldn’t need to do it once the shelves were on the wall. After sanding, we removed the front piece of the frame and attached the shelves to the wall by screwing into the studs and into the drywall every few inches. The drill bit extender is needed so you can reach the screws through the interior of the shelf. Using a level often during this process kept the shelf in the right position.
Once the shelves were attached to the wall, we replaced the front piece of the frame and glued/brad nailed the final piece of 1/4″ plywood to complete the shelf. We put up two shelves using the same method. To prepare for paint, we spackled and sanded all the nail holes and caulked the seams. Two coats of paint did the trick then we waited a couple days for the paint to cure before putting any objects on the shelves.
COST
Plywood project panels: $24
Pine board: $21
Screws: $9
Total: $54
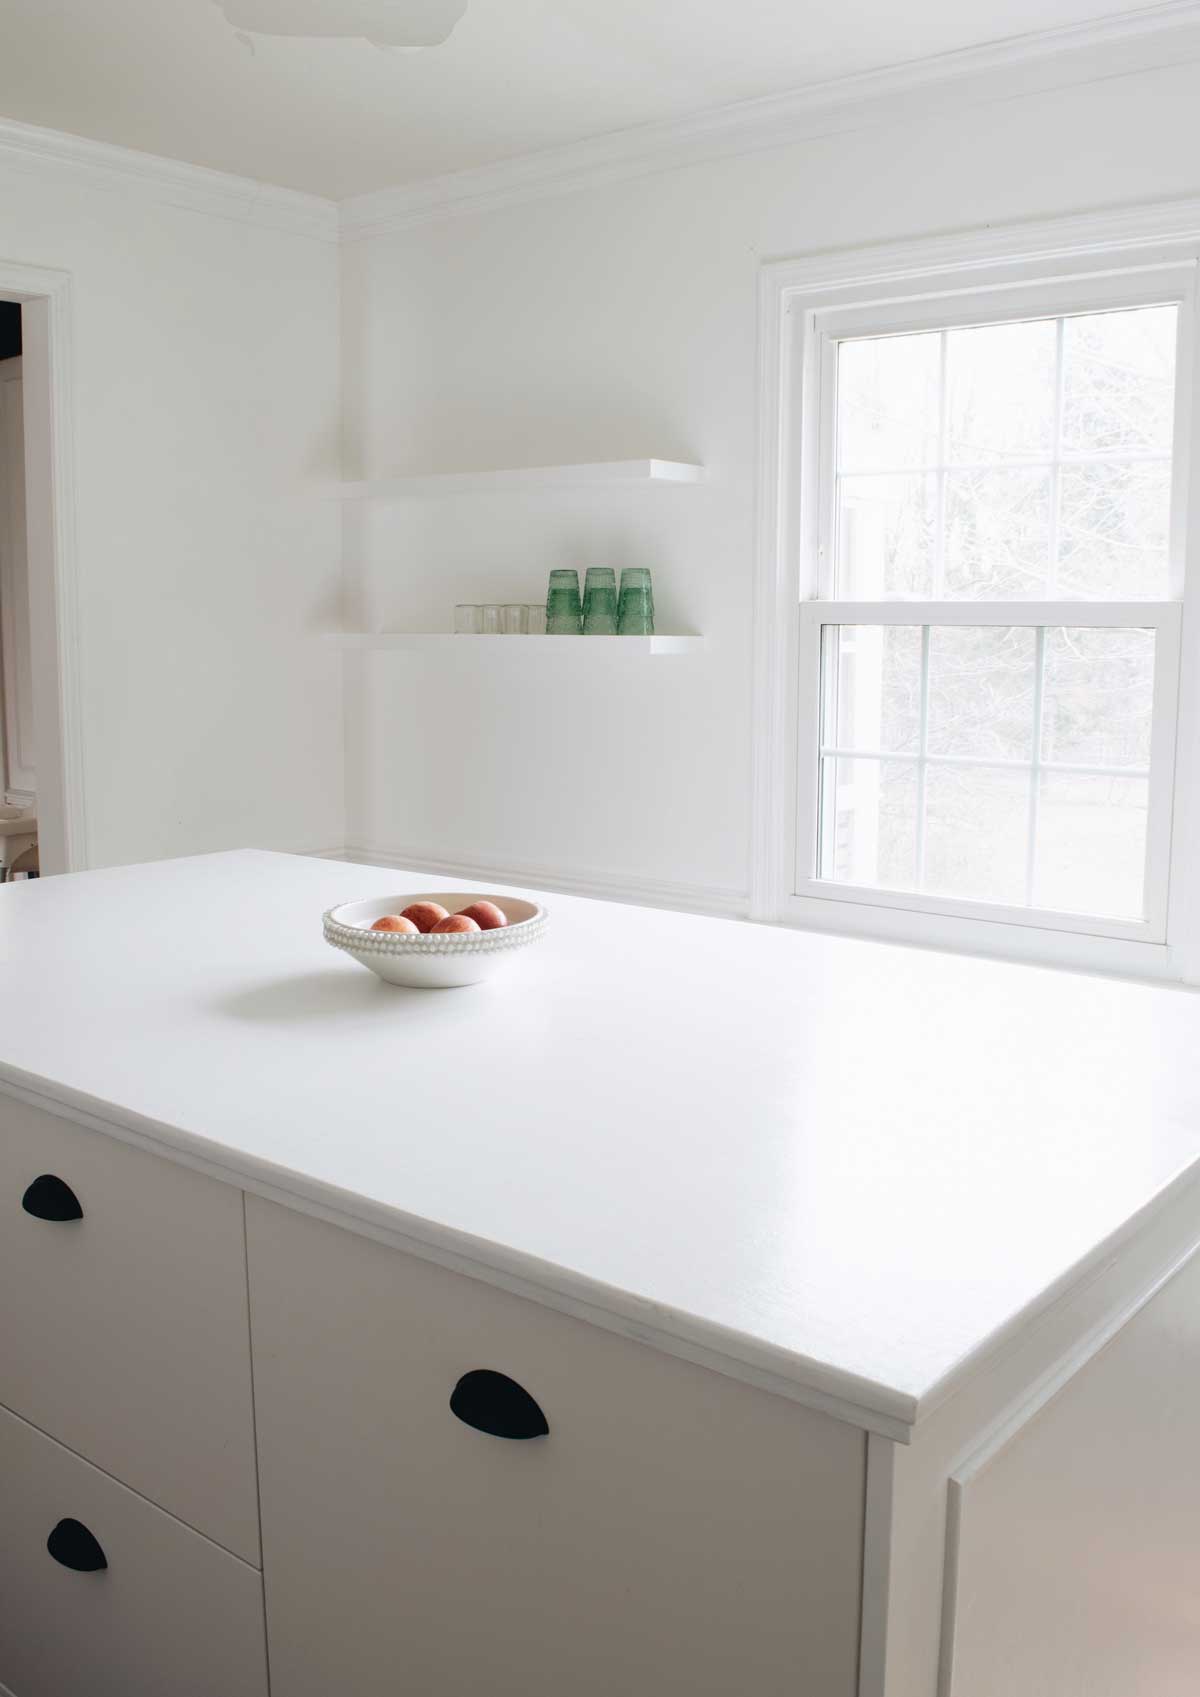
Rachel here, I feel like I have seen open shelves styled every way on the planet and for the right setting, I like pretty much every look sometimes. Here I love the minimal, and here I love the maximal! My shelves aren’t done at all, but I think I will go more simple and not visually heavy. These are more for looks than utility.
They aren’t very deep, and so I think the collected, lots of stuff layered and piled will feel too full for this spot. I was VERY careful for the proportions of the room so they wouldn’t feel too bulky or like they’re hanging out far.
I think I will add a row of decorative bowls across the top shelf, some art, and maybe one or two more little pieces.