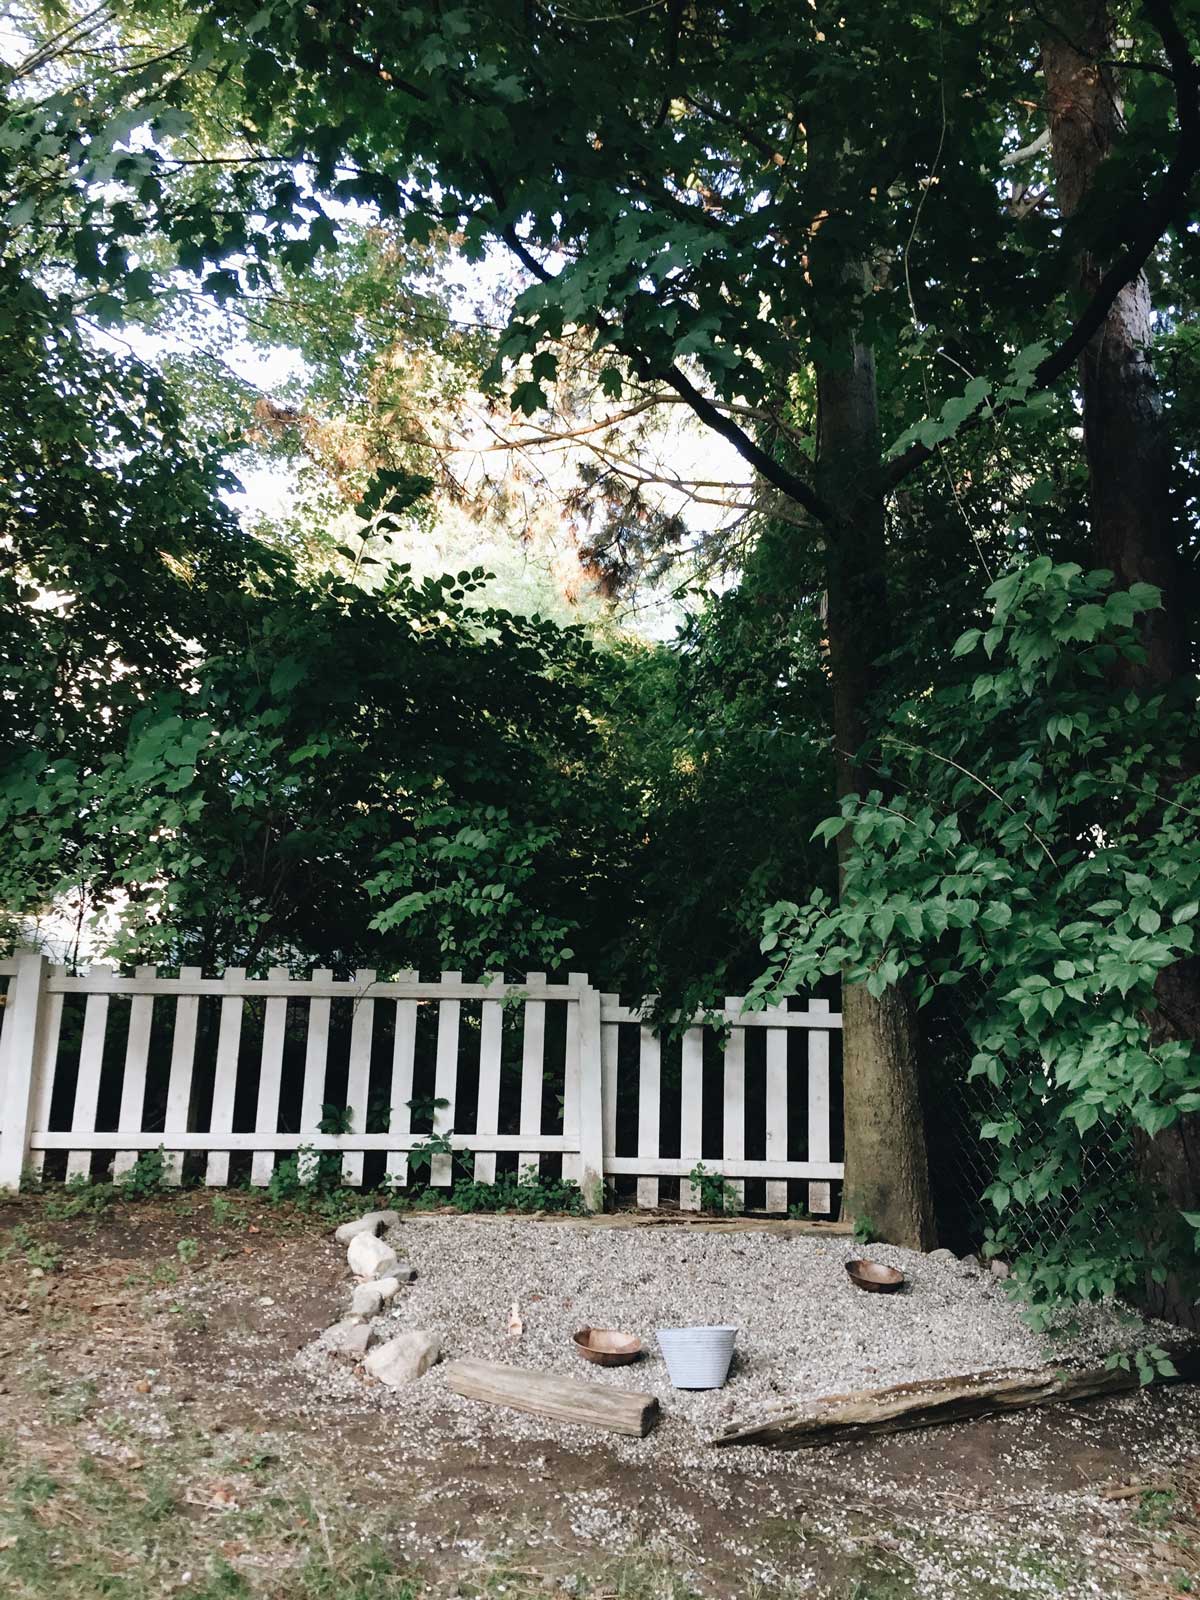
One thing we’ve loved about our backyard is the great tree cover for shade and privacy. But with the shade has come difficulty planting grass in one specific dark corner of the yard. After putting grass seed down last year and seeing it fizzle out for lack of sunshine, we thought that spot would be ideal for a sandbox – we wouldn’t have to cover any existing grass, and the corner would be put to good use. Our thought for design of outdoor spaces is that family backyards feel best when they look summer camp-y with natural and simple elements.
Rachel’s going to steer away from what she calls the “JCPenney catalog” outdoor settings with hugely impractical rugs and pillows and throws. So she and the kids made our sandbox with natural elements they found around our property.
The next big question was to go with SAND or PEA GRAVEL.
Reasons for sand is that kids have more fun in it and it doesn’t upset a lawn mower as much as pebbles can. Against it is that it is messier and gets EVERYWHERE. Even more of huge con is that animals mistake sand boxes for litter boxes. UNCOOL.
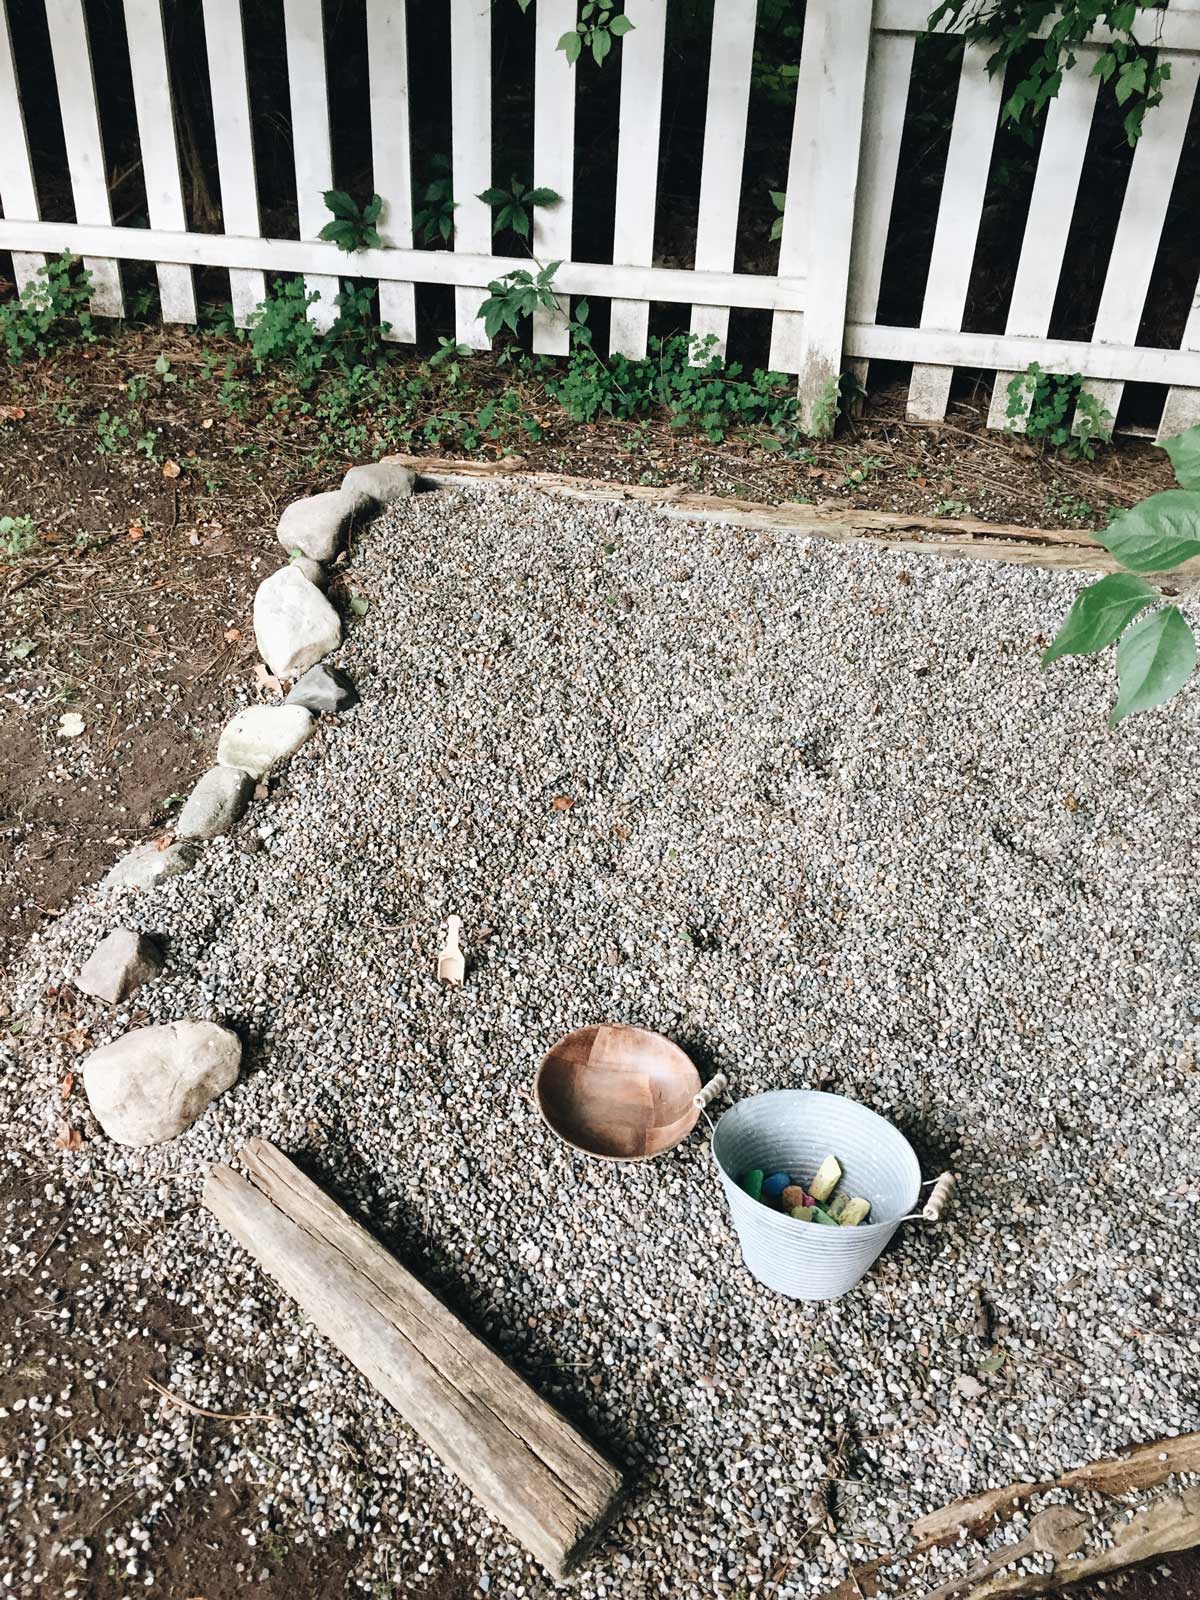
Pebble pits are cleaner and easier to get stray pebbles back into the pit should they “escape.” Because we don’t need to mow that close to this area, we did pebbles. I think we’re happy with it. Either would be fine. I think the deal breaker for sand was the litter box situation.
The good news either way is sand and pebbles are both the same price!
MATERIALS
- landscape timbers ($4 per 8 ft) and rocks
- pea gravel ($3 per 1/2 cubic foot bag)
- plastic bucket ($4)
PROCESS
- Lay out landscaping timbers to form borders of the pebble pit.
- Drill 10-12 holes in the bottom of the plastic bucket with a 3/8” drill bit. Take care not to crack the bucket.
- Fill bucket 3/4 full with gravel.
- Fill bucket with water and allow to drain.
- Repeat step 3 and 4.
- Dump gravel into pebble pit.
- Repeat steps 3-5 with all gravel. (We filled our pit 2 inches deep and needed 12 bags. There’s a calculation for how much gravel you’ll need on the Home Depot product page.)
Making the pebble pit was a victory for our backyard. Inexpensive and easy for kids to help with, it was a good saturday summer project.
Without much effort, there’s a new dimension to our yard that has been a main attraction all summer. And if we ever want to expand or change the shape of the pit, it’s as easy as picking up a few more supplies and redefining the border.