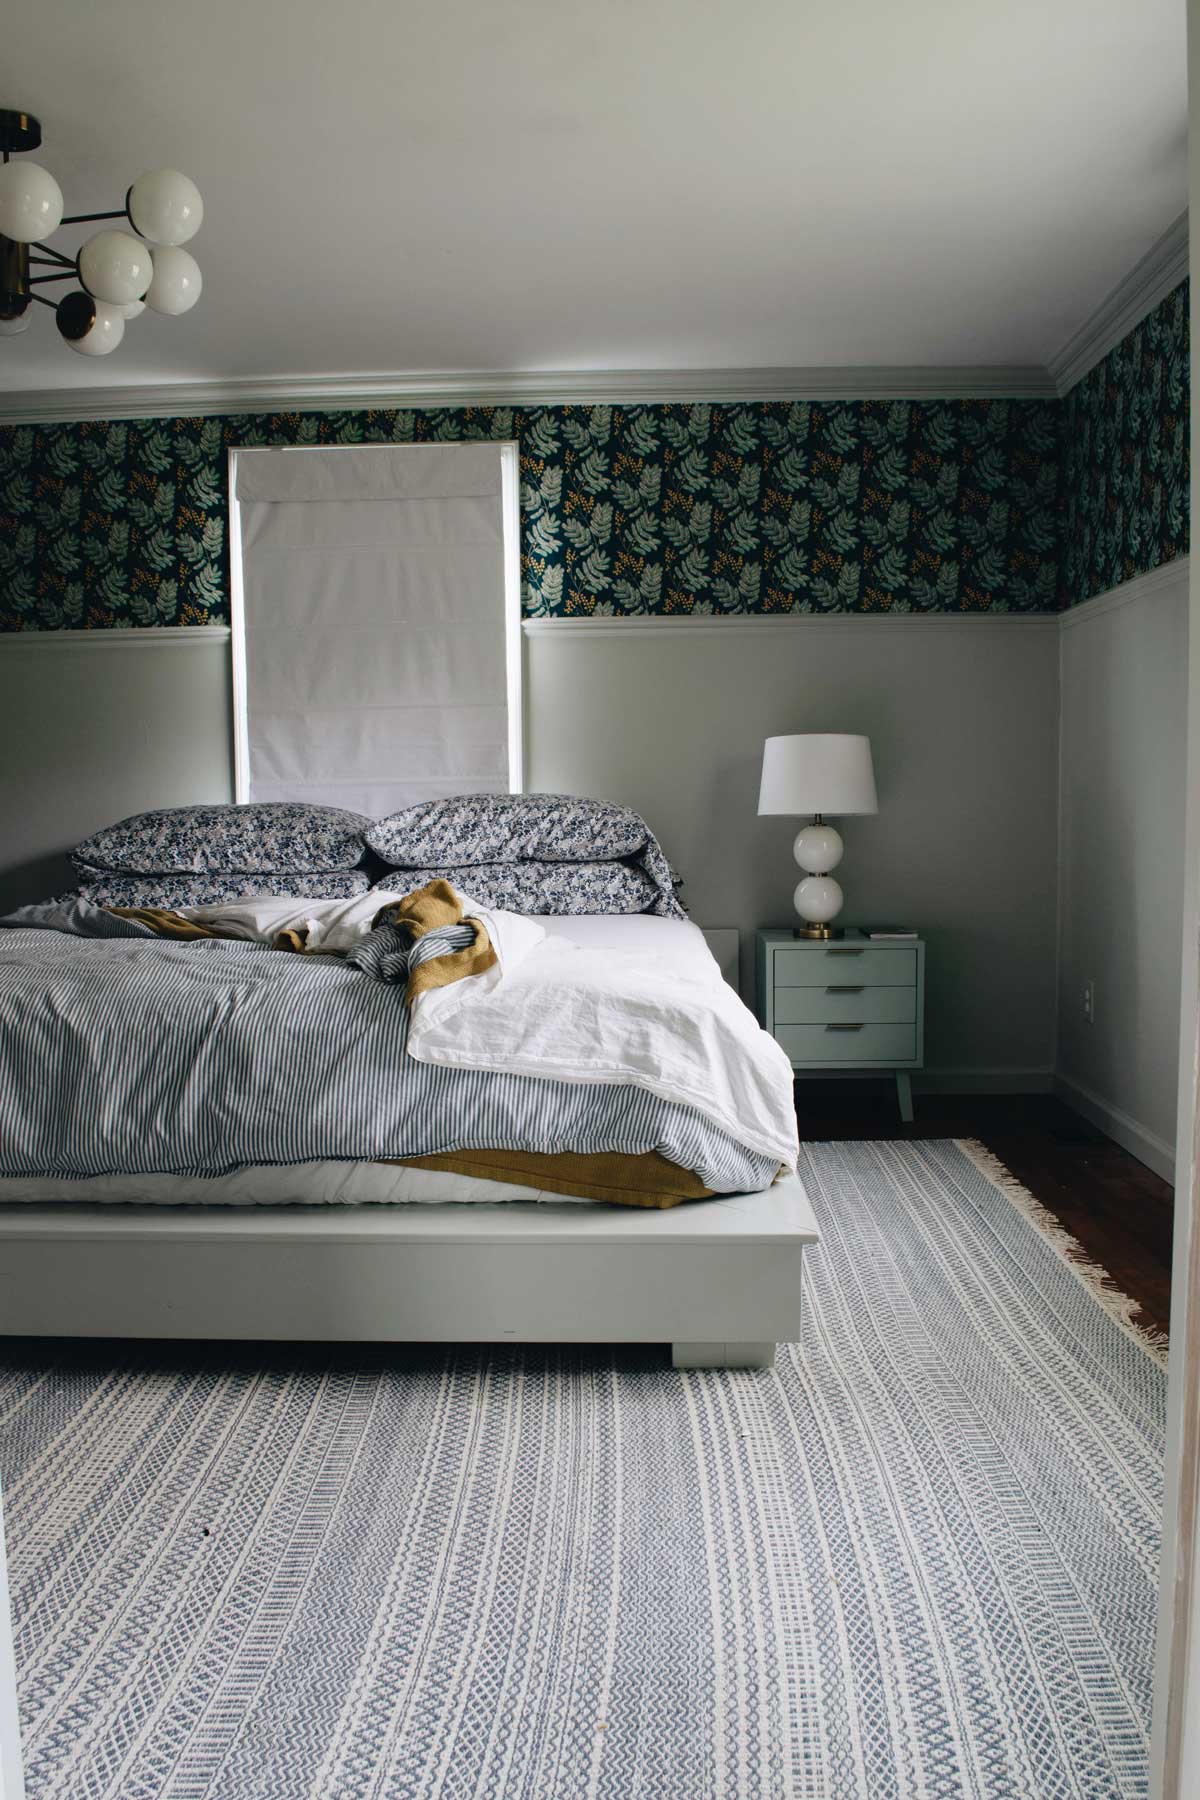
In our master bedroom, the bed has to go in front of a window, so we have experimented with many different ideas of how to make it work. We’ve considered metal beds so lots of light could still get through, and also just forgetting it and getting a bed we like, not caring about height and that it covers the window. That didn’t work because we love the view out our window and I love natural light more than maybe any other aesthetic element in a home.
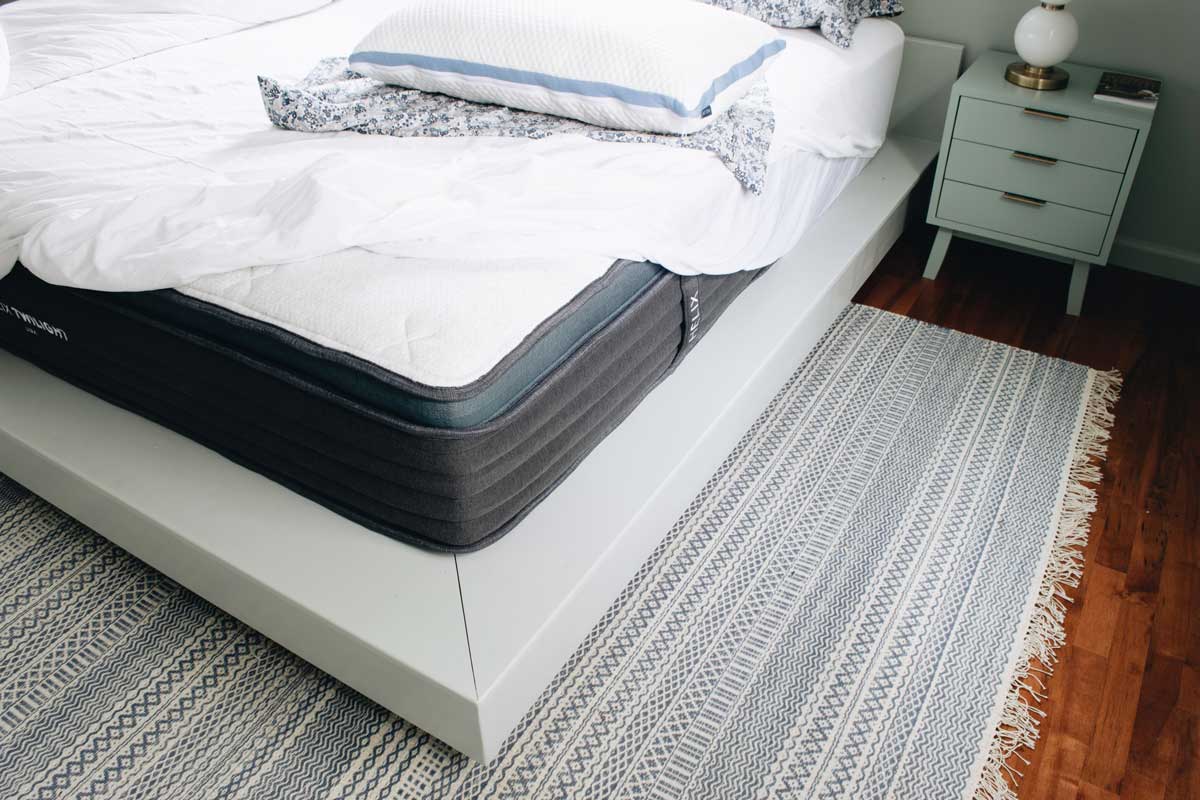
At the same time, we increasingly realized we are not super into box springs. Maybe others have better success, but we have just never had any that weren’t insanely loud and creaky. For all these reasons, we decided to build our own platform bed! The set up ended up perfect because it has a low, clean lined look custom made to not cover our window at all.
And it is so strong!
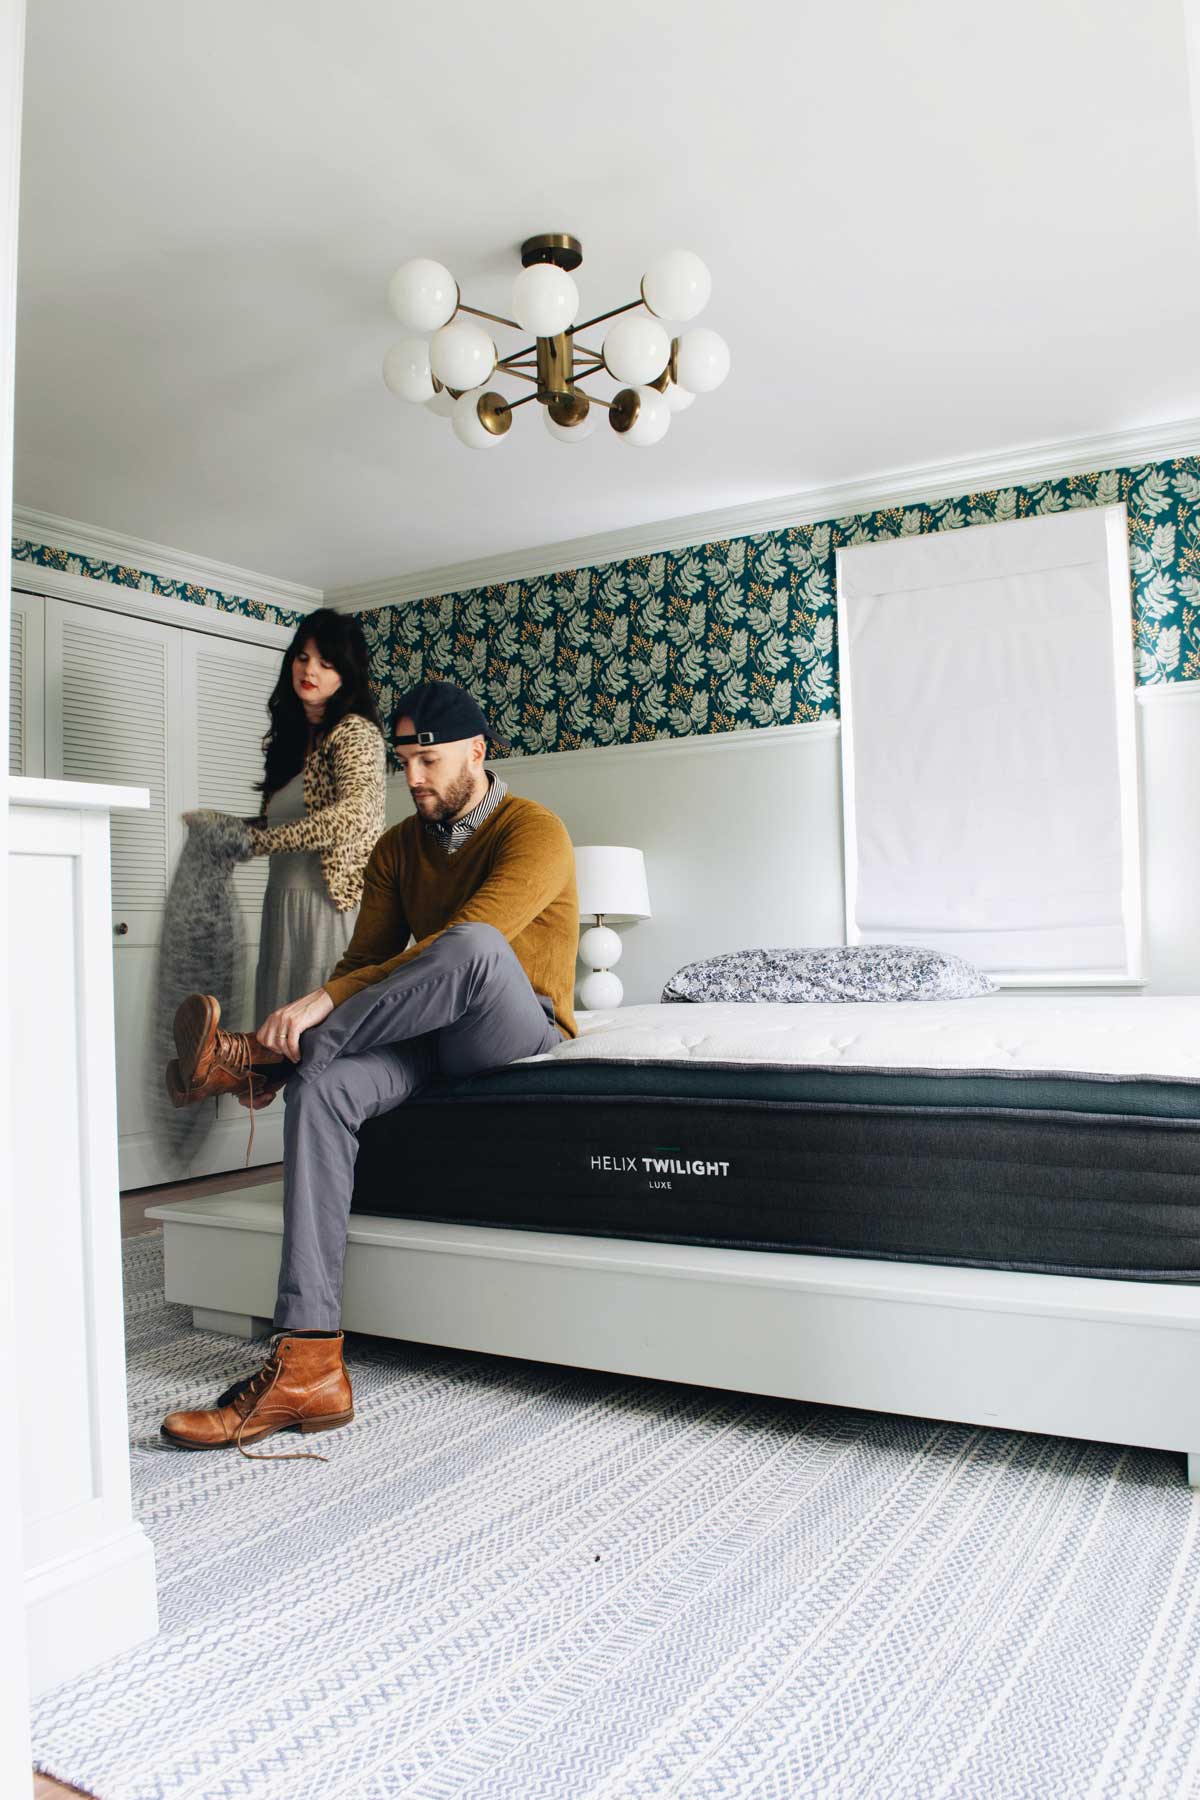
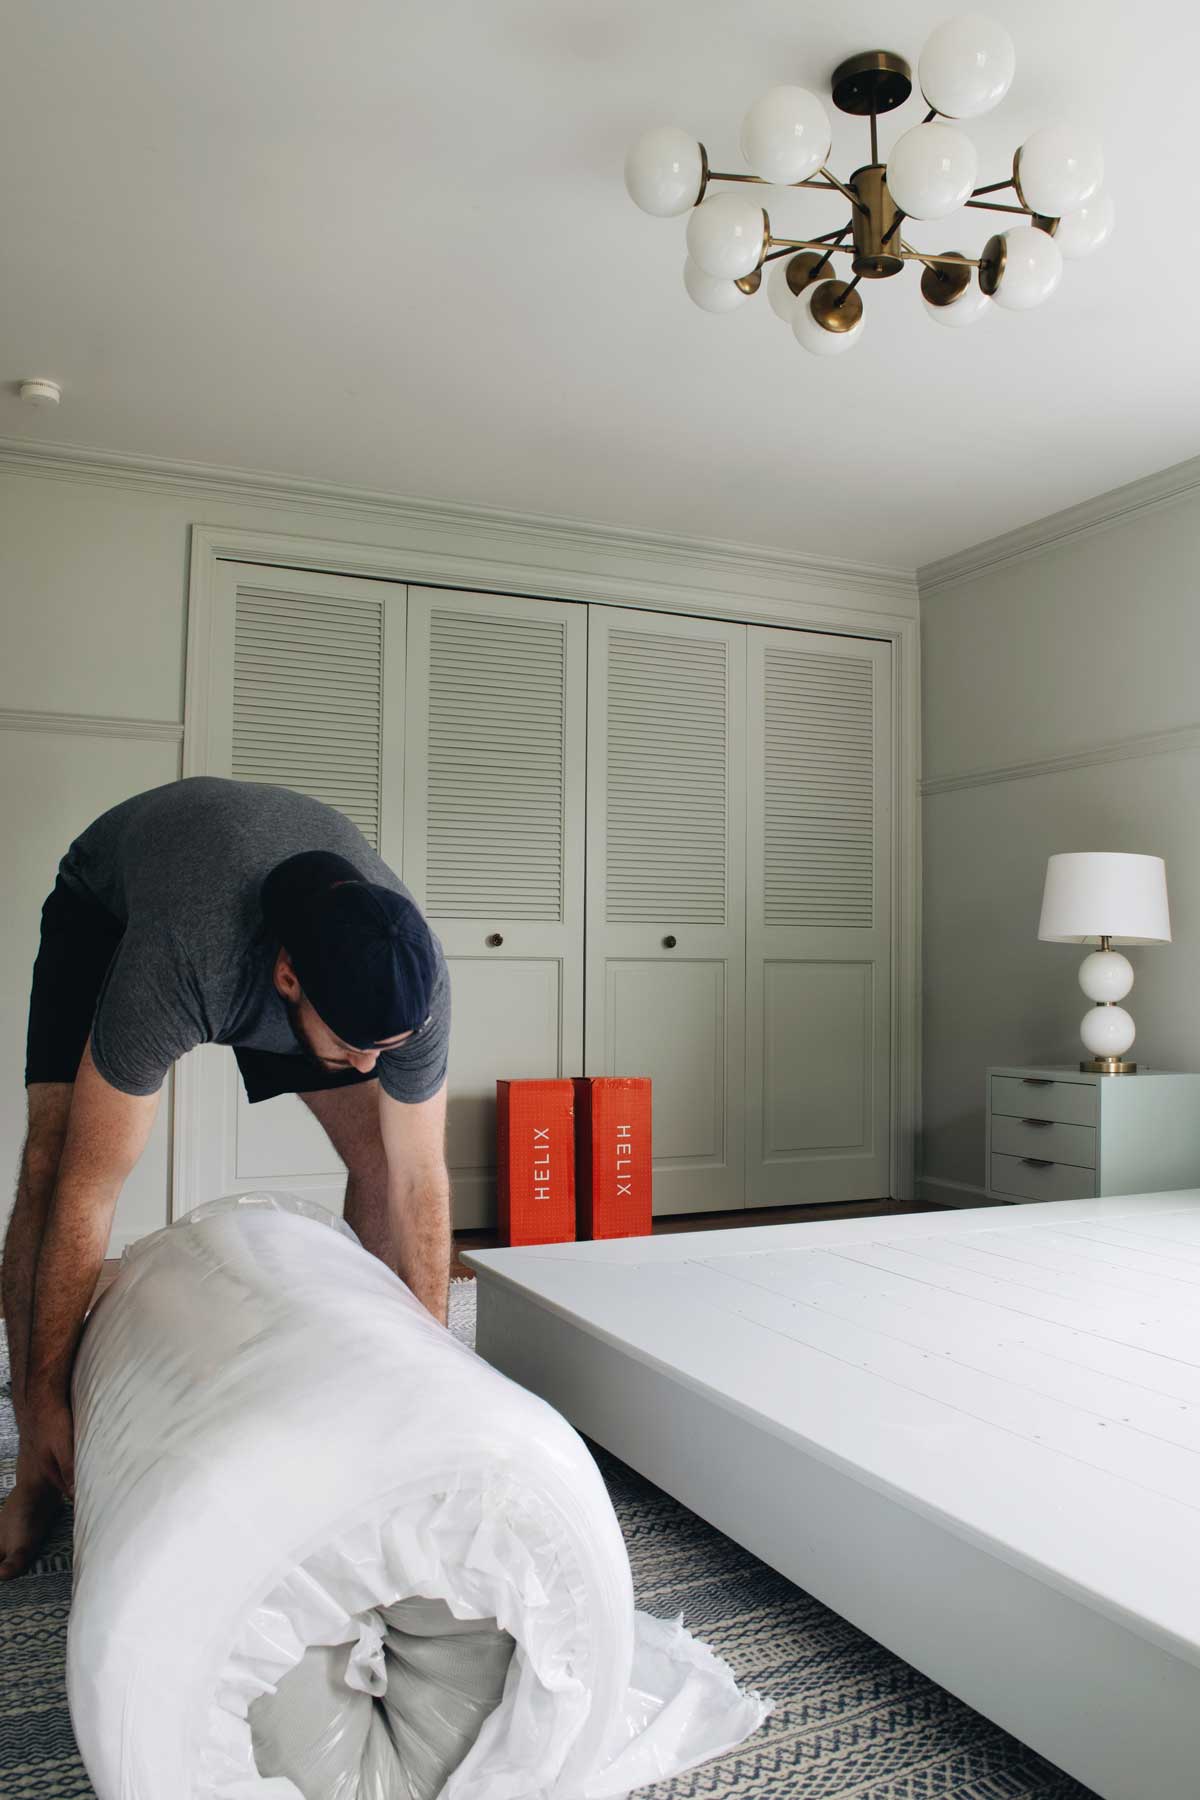
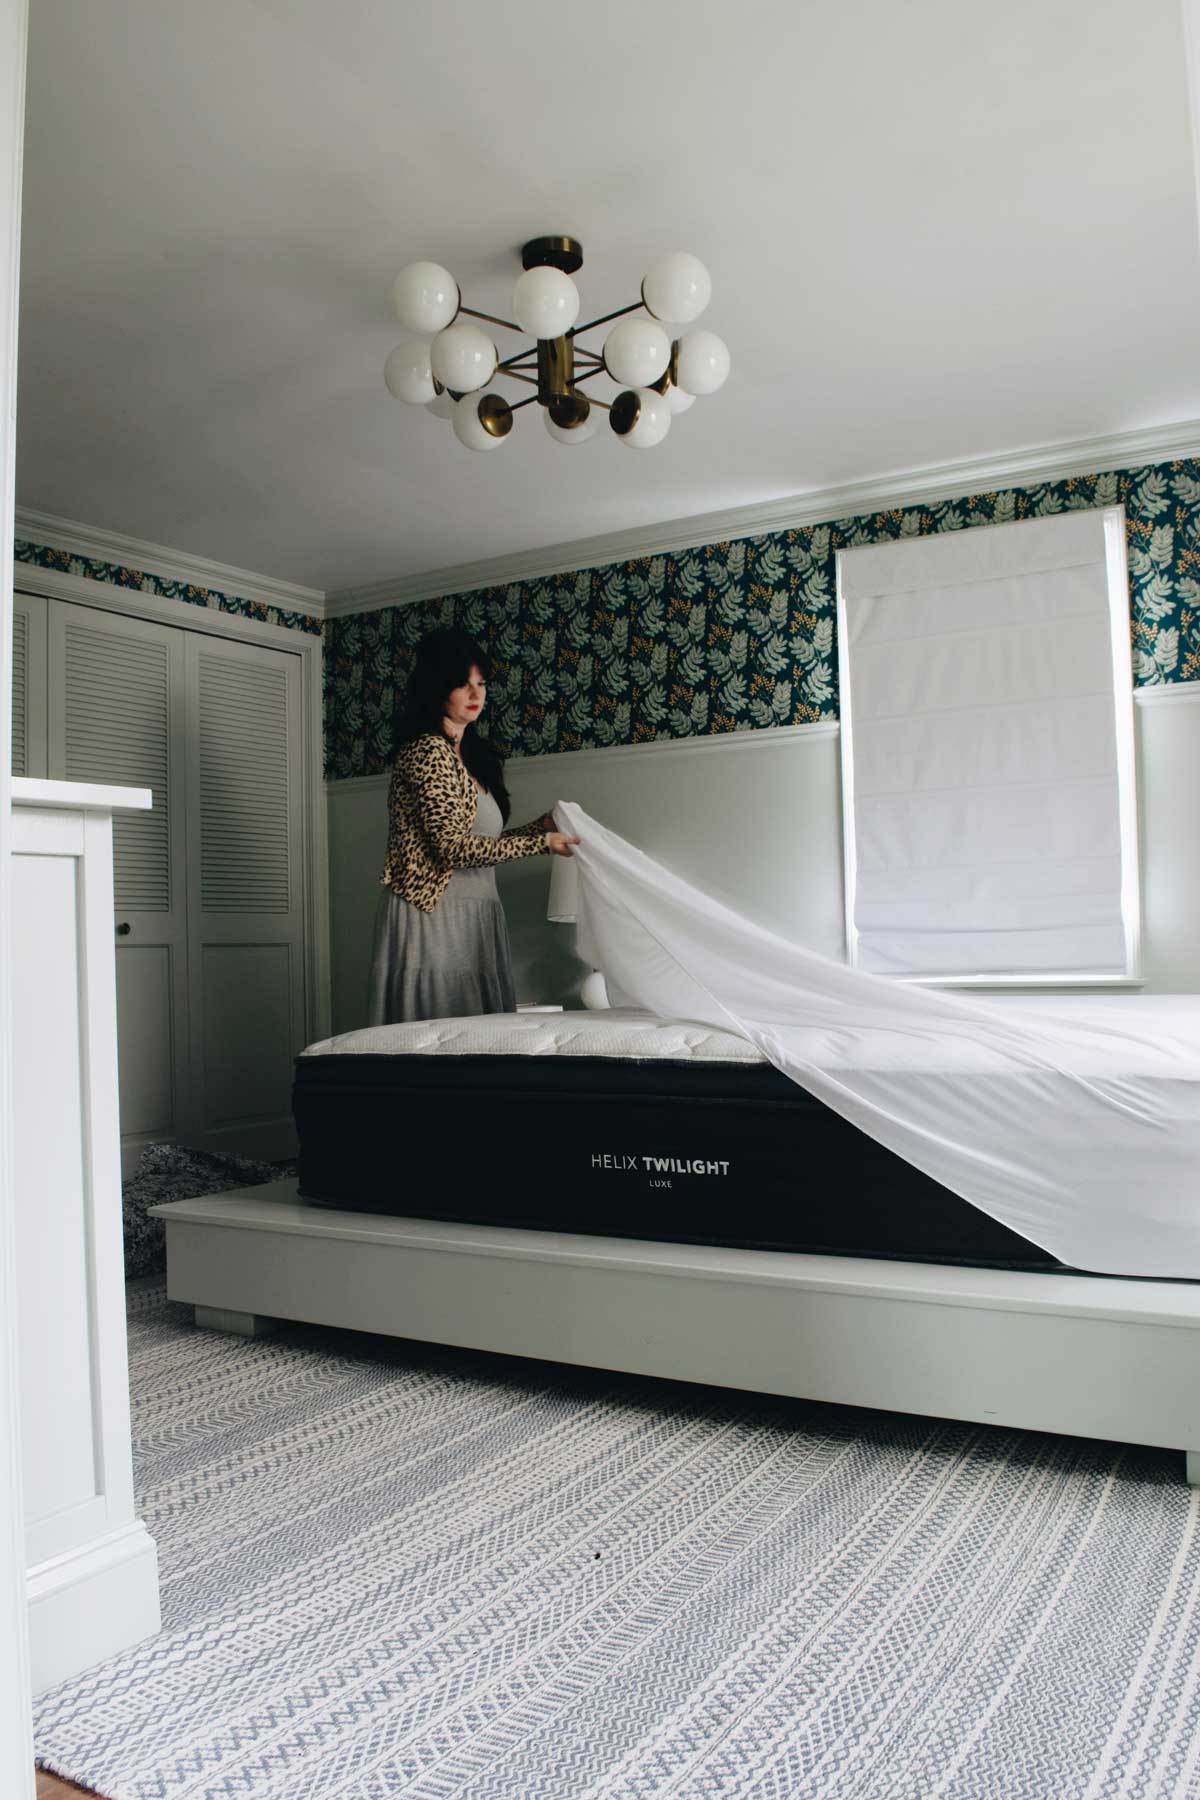
The mattress we are raving fans of is the twilight luxe by helix sleep. We love their set up because you can pick the firmness of your mattress and we are loyal super firm mattress lovers so we picked the firmest choice. You can also pick your mattress based on your sleeping position. We chose the option for combination sleepers (a mix of back, front, and side). We love having a king because David is tall and we also just like the simple pleasure of the luxurious feeling of a little extra space. The mattress came in the mail (crazy!) and was super easy to set up.
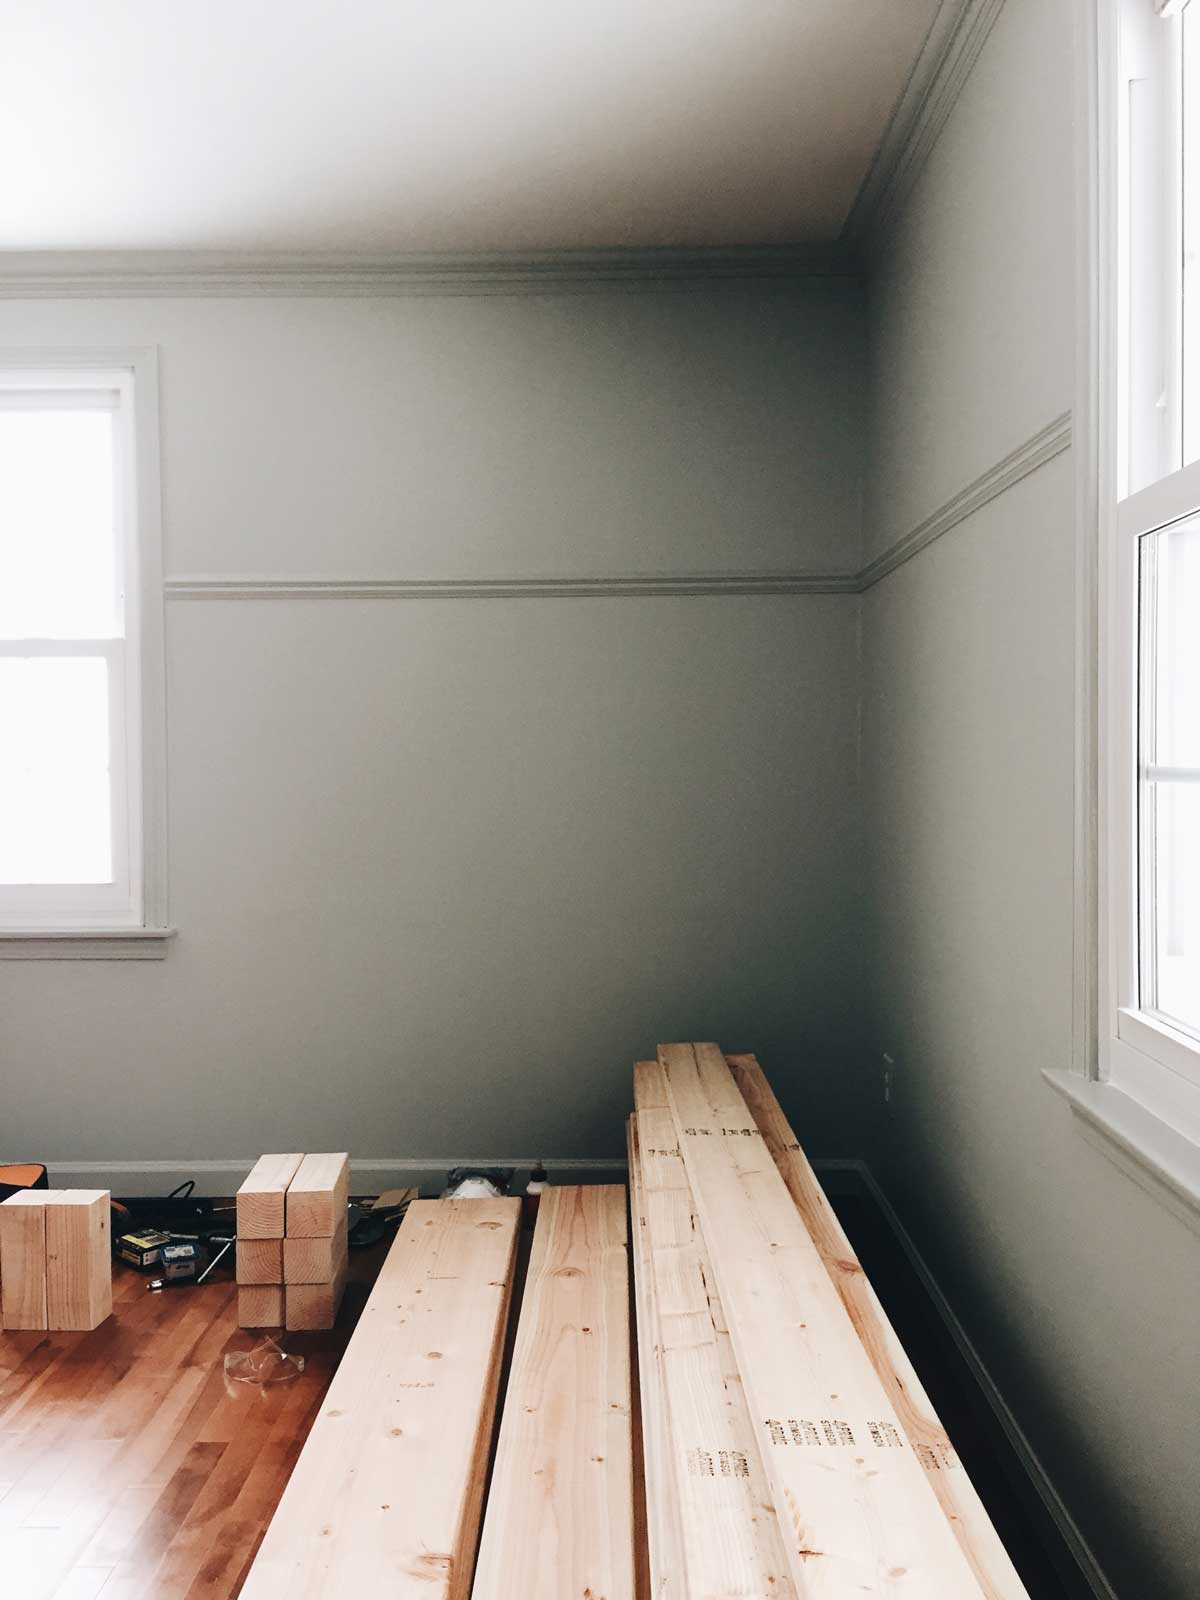
MATERIALS
- (1) 4” x 4” x 10’ timber ($8)
- (4) 2” x 8” x 8’ boards ($32)
- (4) 1” x 10” x 8’ boards ($40)
- (8) 2” x 6” x 8’ boards ($48)
- (13) 1” x 6” x 8’ boards ($78)
- (1) 3/4” x 4’ x 8’ plywood sheet ($36)
- wood glue ($4)
- clamp ($13)
- 2 1/2” pocket hole screws ($13)
- 2” screws ($15)
- 3” screws ($25)
- 1 1/4” screws ($8)
- 3 1/8” RSS screws ($15)
- caulk ($2)
- spackle ($5)
PROCESS
- Cut the 4” x 4” x 10’ into (12) 9 1/2” pieces and sand. These will be for the feet of the bed frame.
- Attach the foot pieces into six groups of two with (2) 2 1/2” pocket hole screws for each pairing. The pieces should be attached next to each other so the height of each bed foot remains at 9 1/2”.
- Using four of the pairs, create two groups of four pieces by gluing and attaching the pairs with more pocket hole screws. You can hide some pocket holes by orienting them to be covered by the other pair. Clamp them together and allow the glue to dry. The two groups of four foot pieces will be used as the front feet and the two groups of two pieces will be the back feet (closest to the headboard).
- Cut and sand (2) 88” pieces of 2” x 8” for the front and back apron pieces of the bed frame.
- Using 3 1/8” RSS screws, attach the front and back apron pieces to the foot pieces so the tops are flush and the apron pieces extend 1 1/2” past the foot pieces. This will allow the end grain of the side apron pieces to be concealed when attached to the feet in step 7.
- Cut and sand (2) 83” pieces of 2” x 8” for the side aprons of the bed frame.
- Attach the side aprons to the foot pieces using 3 1/8” RSS screws, avoiding the other screws.
- Cut the 2” x 6” boards to the appropriate length to act as supports, attaching them to the front and back of the bed frame with 3” screws. I put a support 6” in from each side apron, attached to the foot pieces with pocket hole screws, and a support running next to each foot piece in order to create space to attach the platform pieces of the bed frame. The rest of the supports were spaced out evenly in the remaining area in the center.
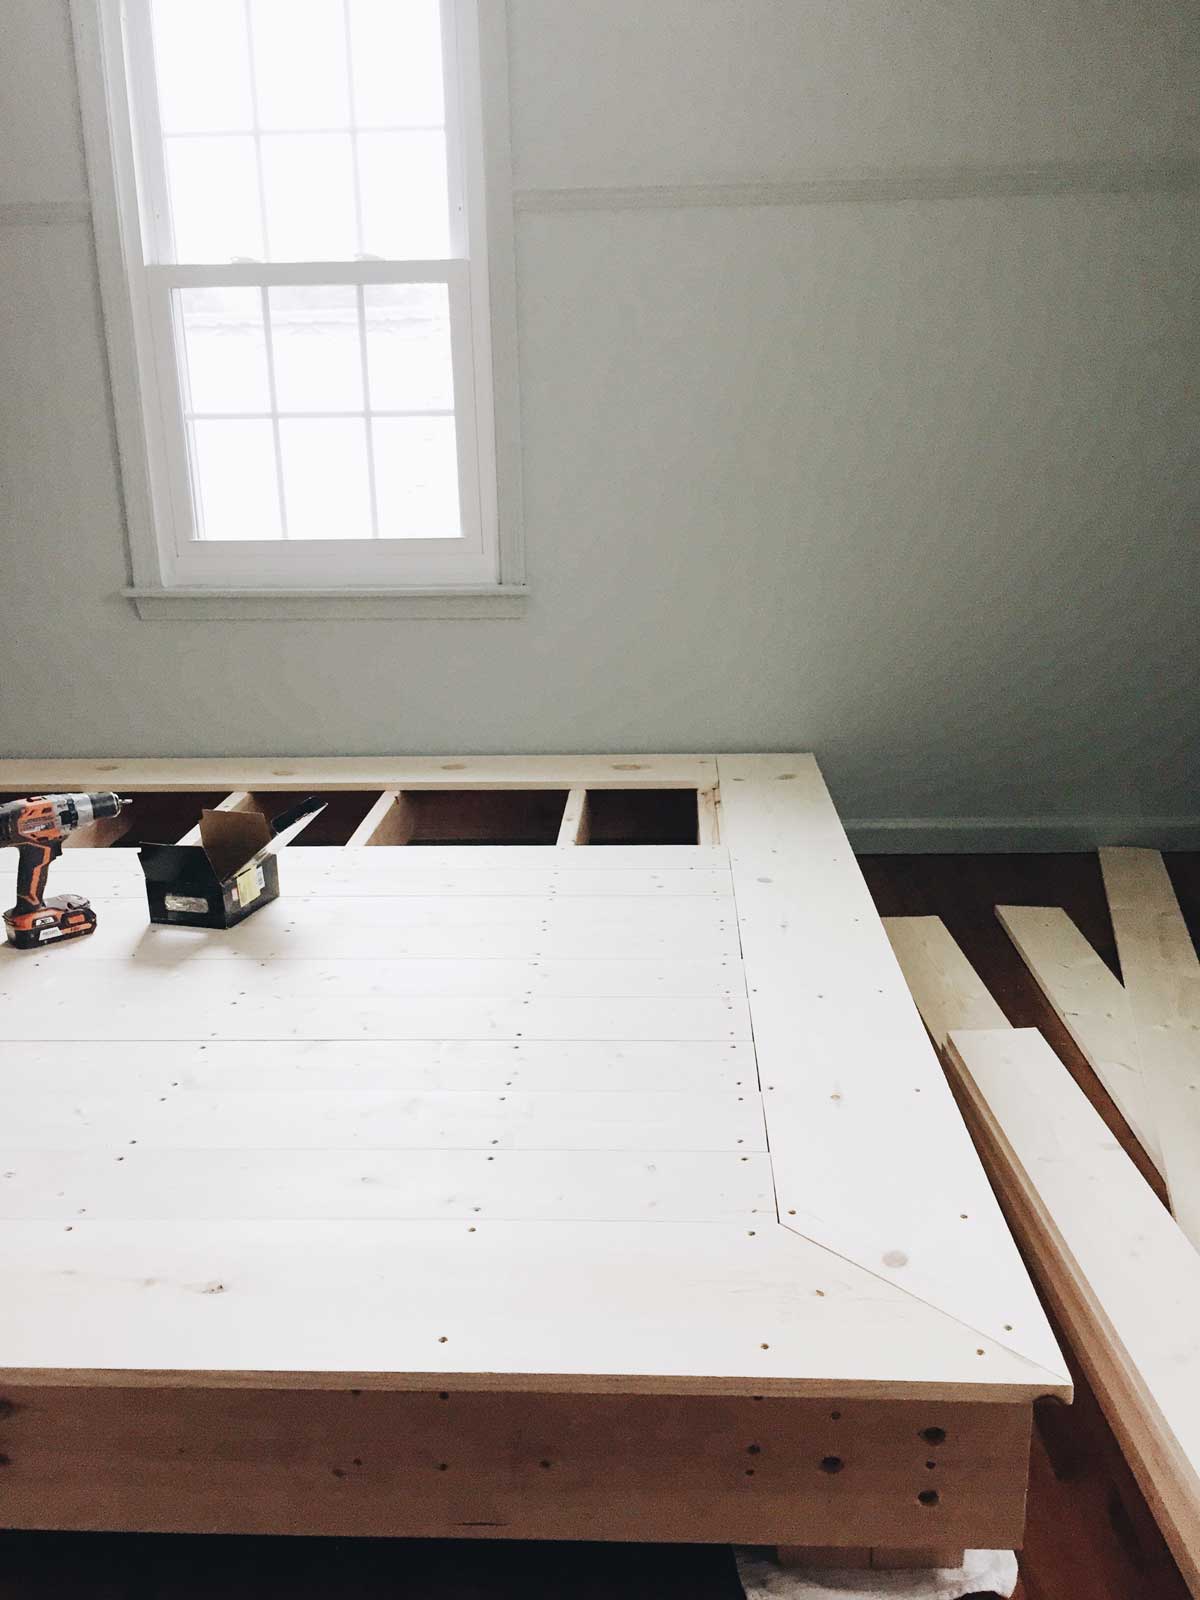
- Cut and sand the 1” x 10” pieces for the border of the platform. It’s a good idea to do a custom measurement for these pieces. We angled the pieces at 45 degrees where they meet at the front of the bed, but left them un-angled at the back.
- Attach the border pieces to the support beams and apron pieces with 2” screws.
- Cut and sand the 1” x 6” pieces to complete the platform. Double check that the length between the border pieces doesn’t change significantly before you cut all the 1” x 6” pieces.
- Attach the 1” x 6” platform pieces to the support beams with 2” screws.
- Cut the plywood sheet into (2) pieces measured at 17 1/4” x 90 1/16” and sand.
- Glue, clamp, and screw the plywood pieces together using 1 1/4” screws. This will be the headboard.
- Cut notches in the bottom corners of the headboard so it matches the silhouette of the back of the bed.
- Screw the headboard to the back of the bed using 3” screws.
- Round the corners of the bed frame with a power sander.
- Caulk seams and fill screw holes with spackle.
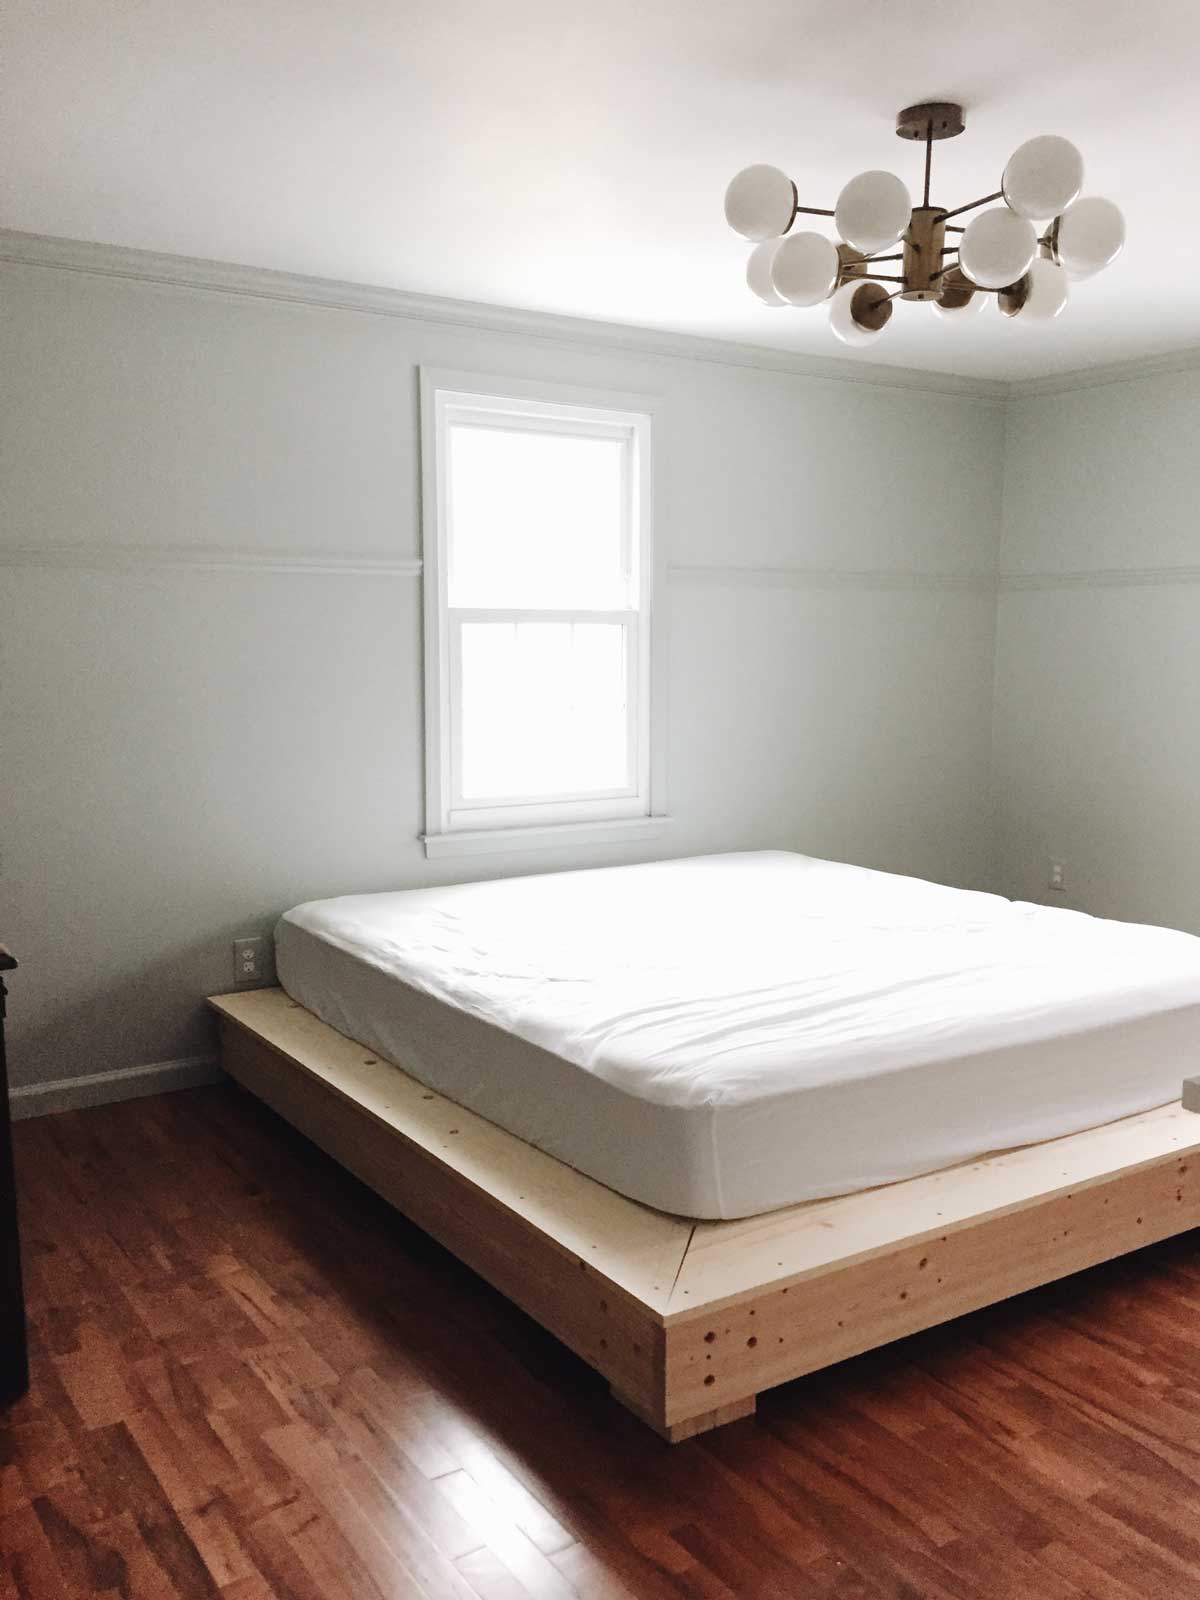
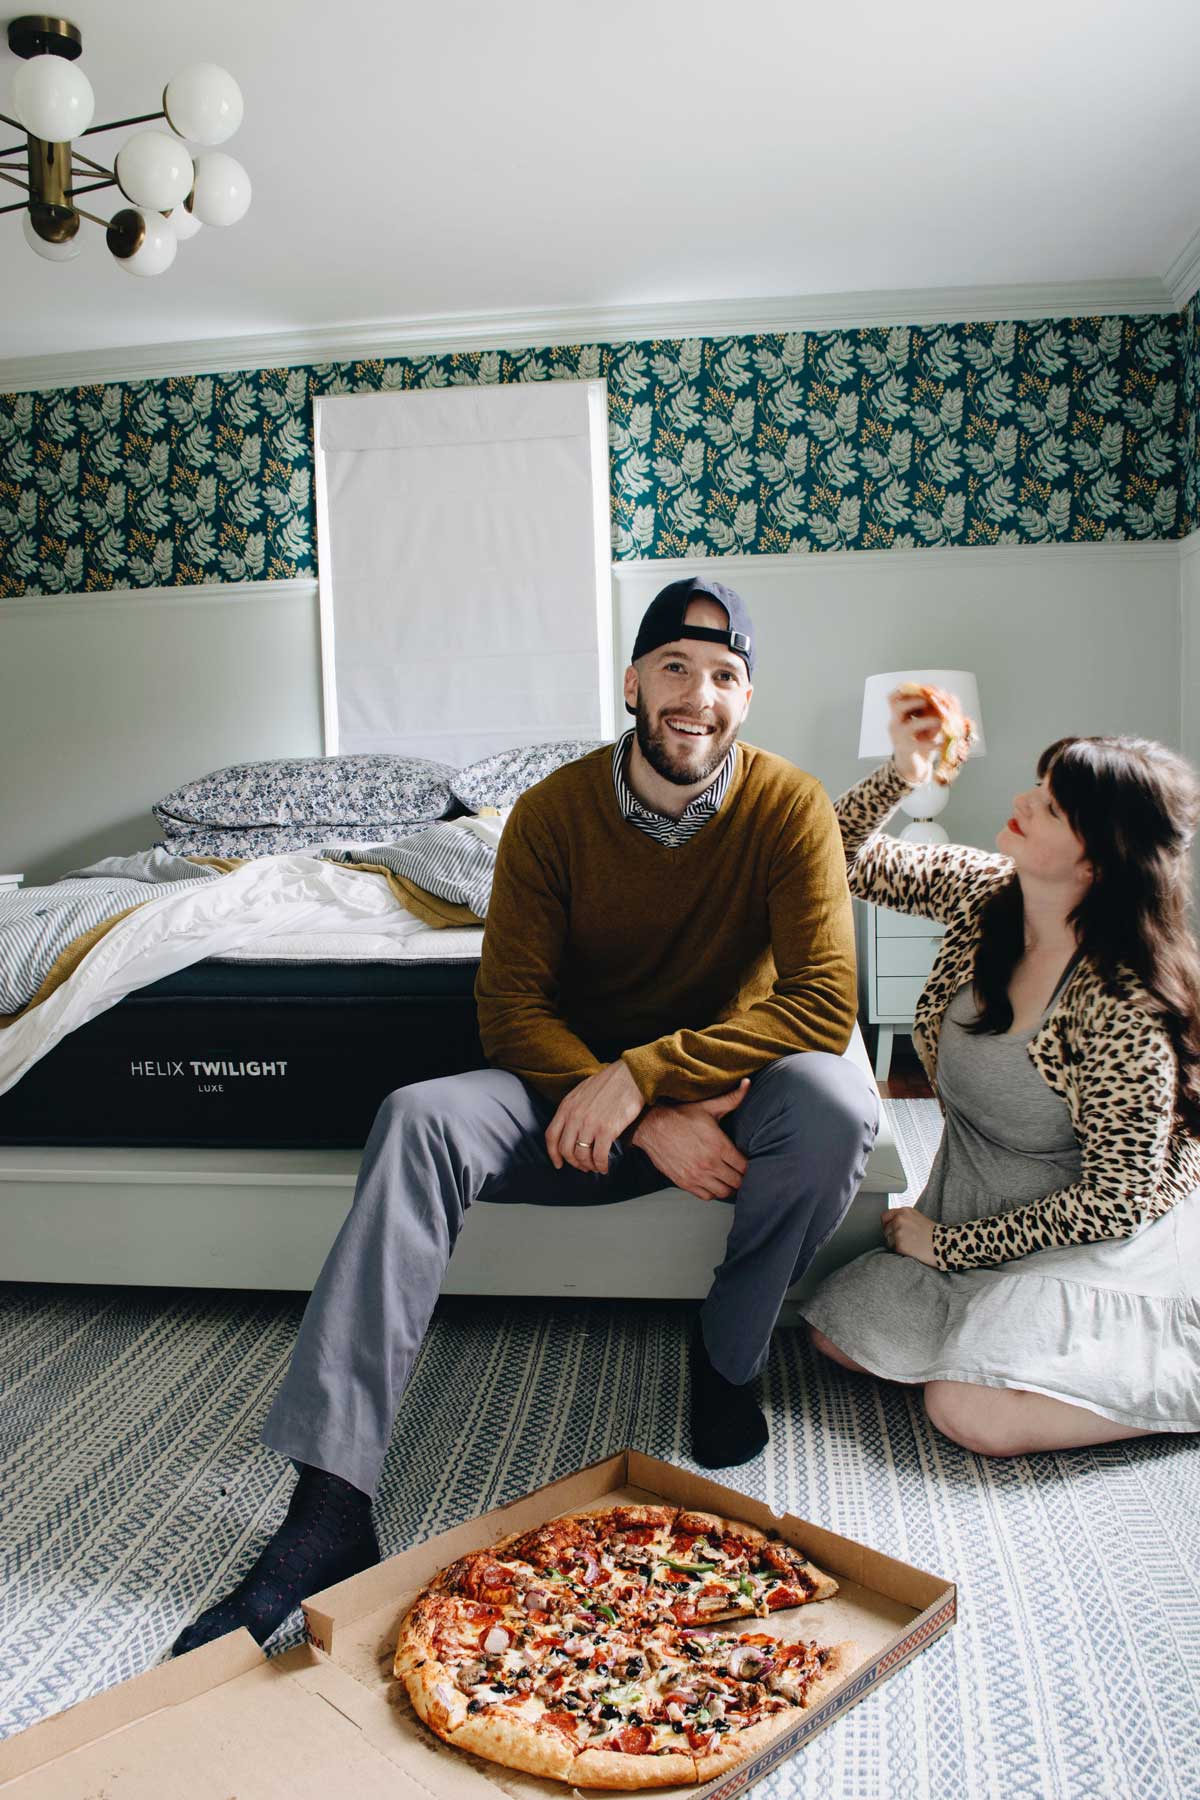
I love everything about our new bed set up! By diy-ing it we got just what we wanted for our bed itself and saved money. Plus finally found the mattress of our dreams.
During a renovation, it is easy to focus money on the common areas of your home, but from our recent investment in the master bedroom, I see how important that is too! It is such a restful respite for us.