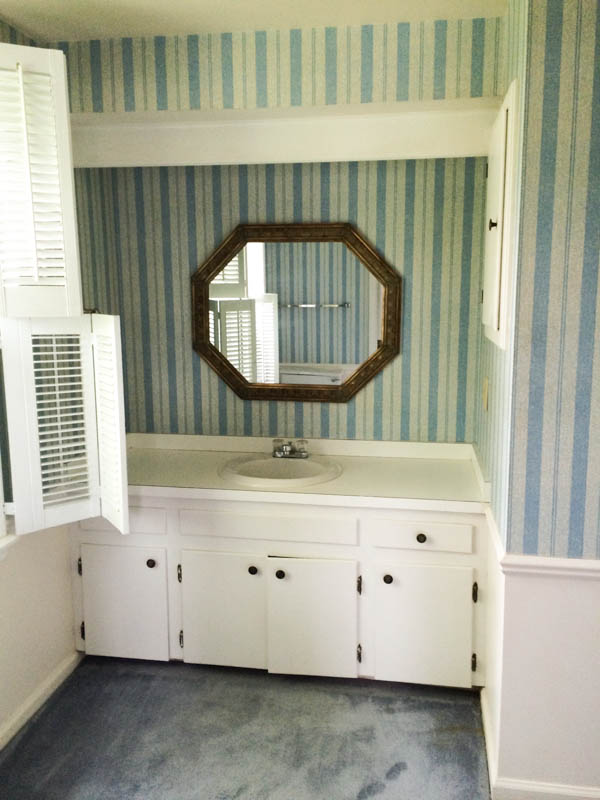
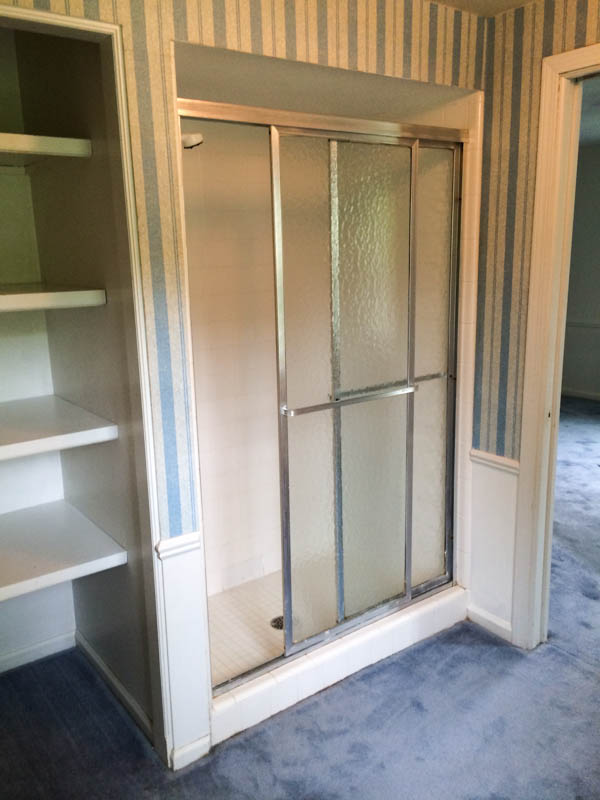
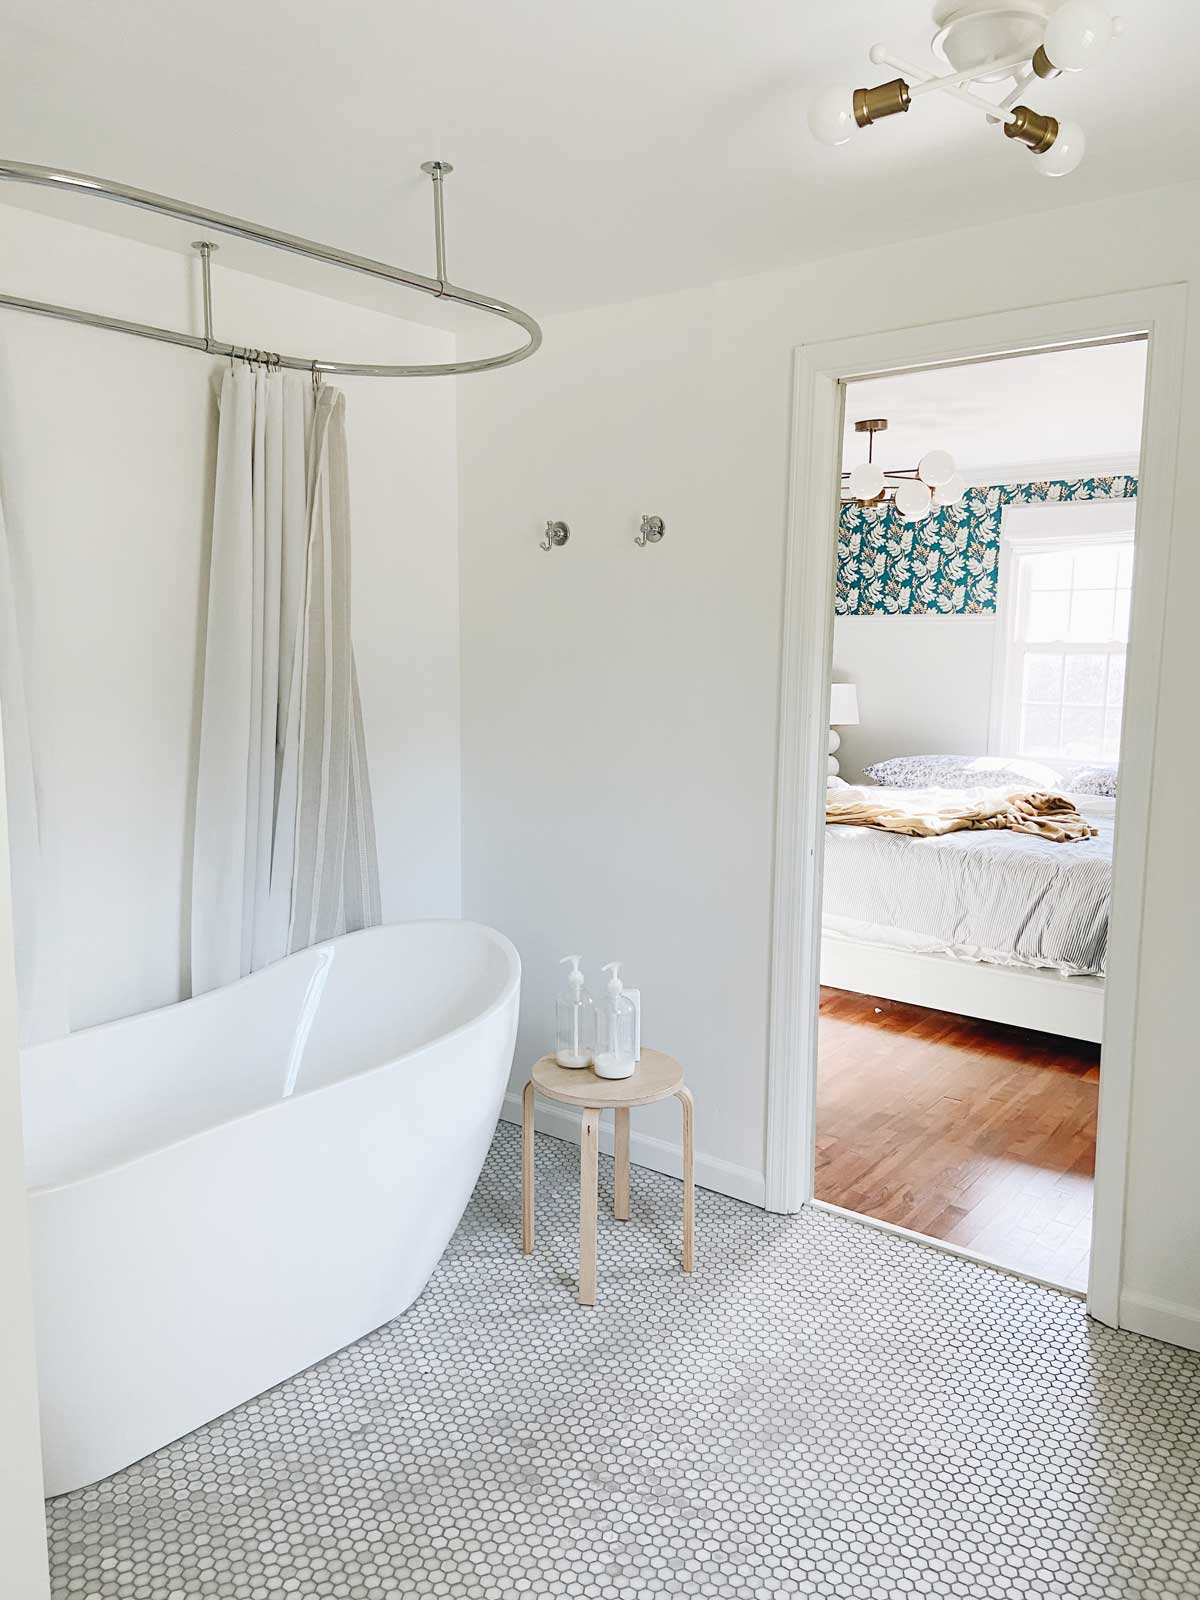
WELL THIS IS A SATISFYING SIGHT. Our master bathroom, my new favorite room of the house. Let us go back to the beginning and I will bring you along for this story of hope and triumph. Stylistically, the defining characteristics of the “before” bathroom were blue carpet and wallpaper. Functionally, it had a single stall shower that was tiled in, with a large shelving space as part of it. It was on my wishlist to convert that area to have a freestanding bath.
Below is the before and after photos!
IT MAKES ME SMILE ONE THOUSAND SMILES.

light fixture | honed marble hex tile | shower curtains | soap pumps | freestanding bath | bath faucet | exposed shower plumbing | shower curtain rod | shower spout | white vanity | vanity hardware | chrome sink faucet | brass mirror
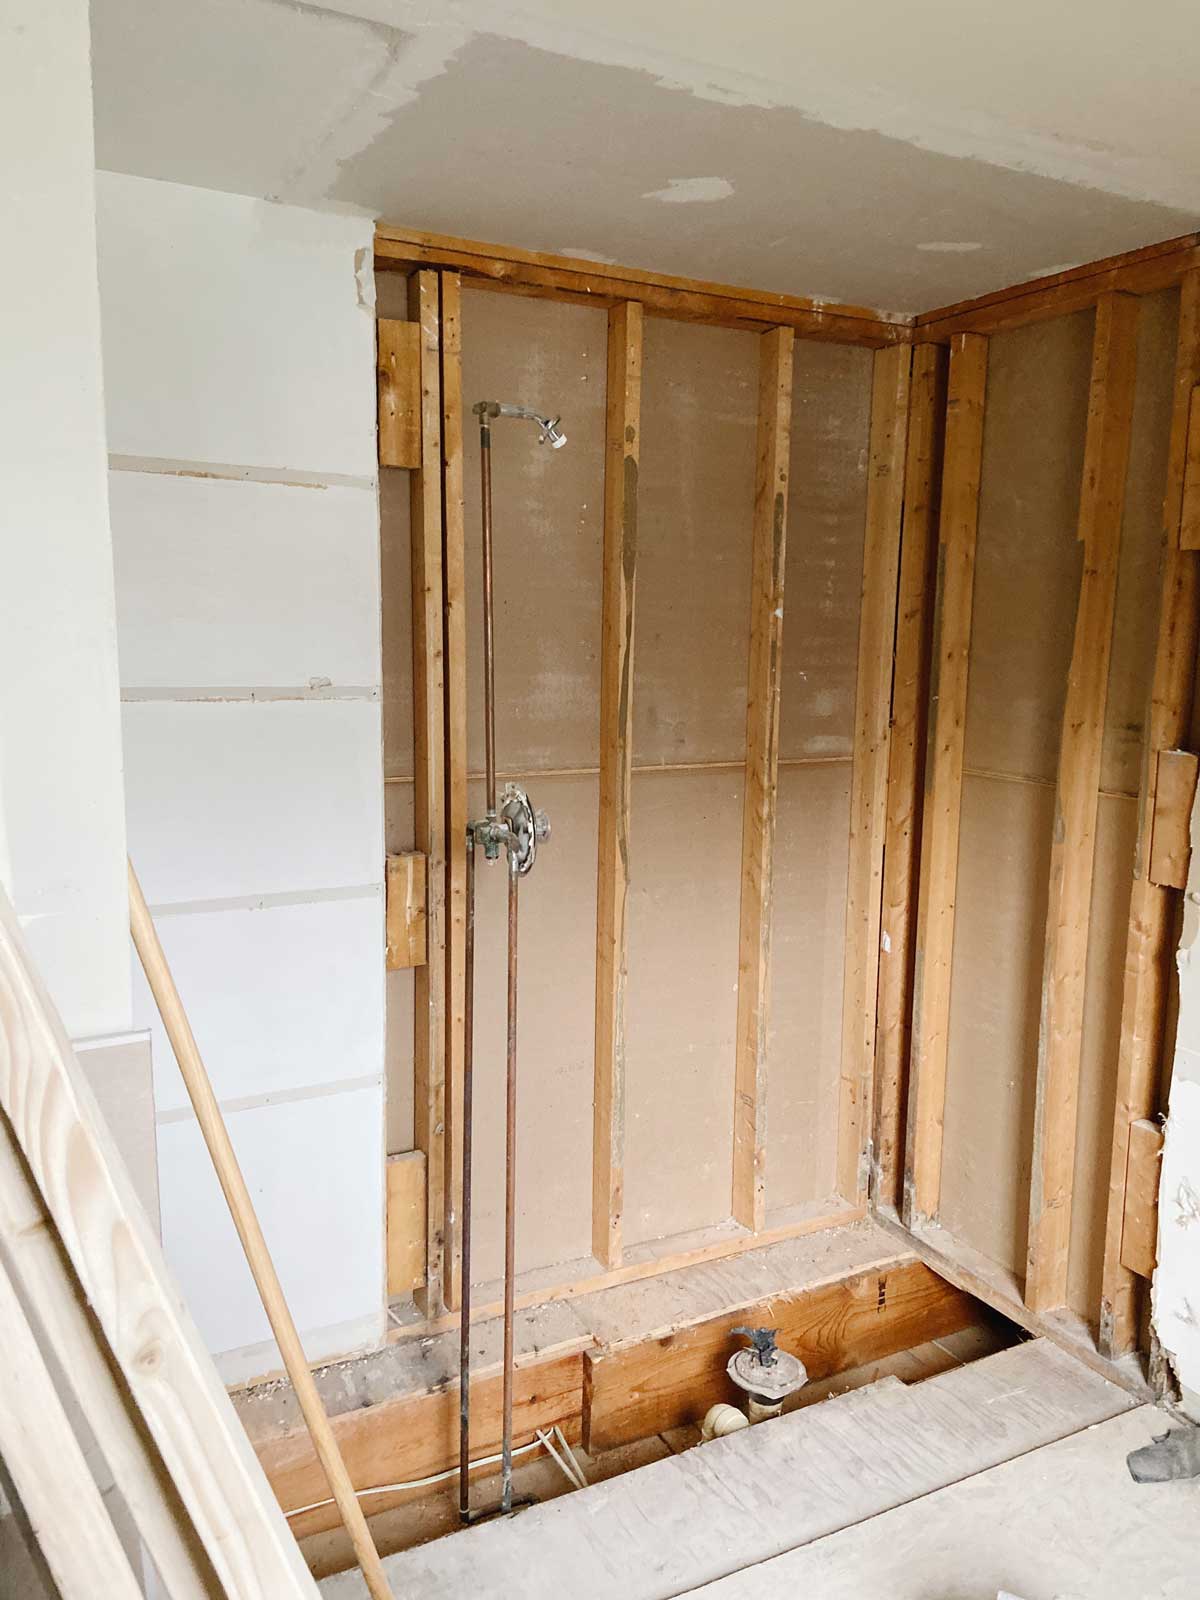
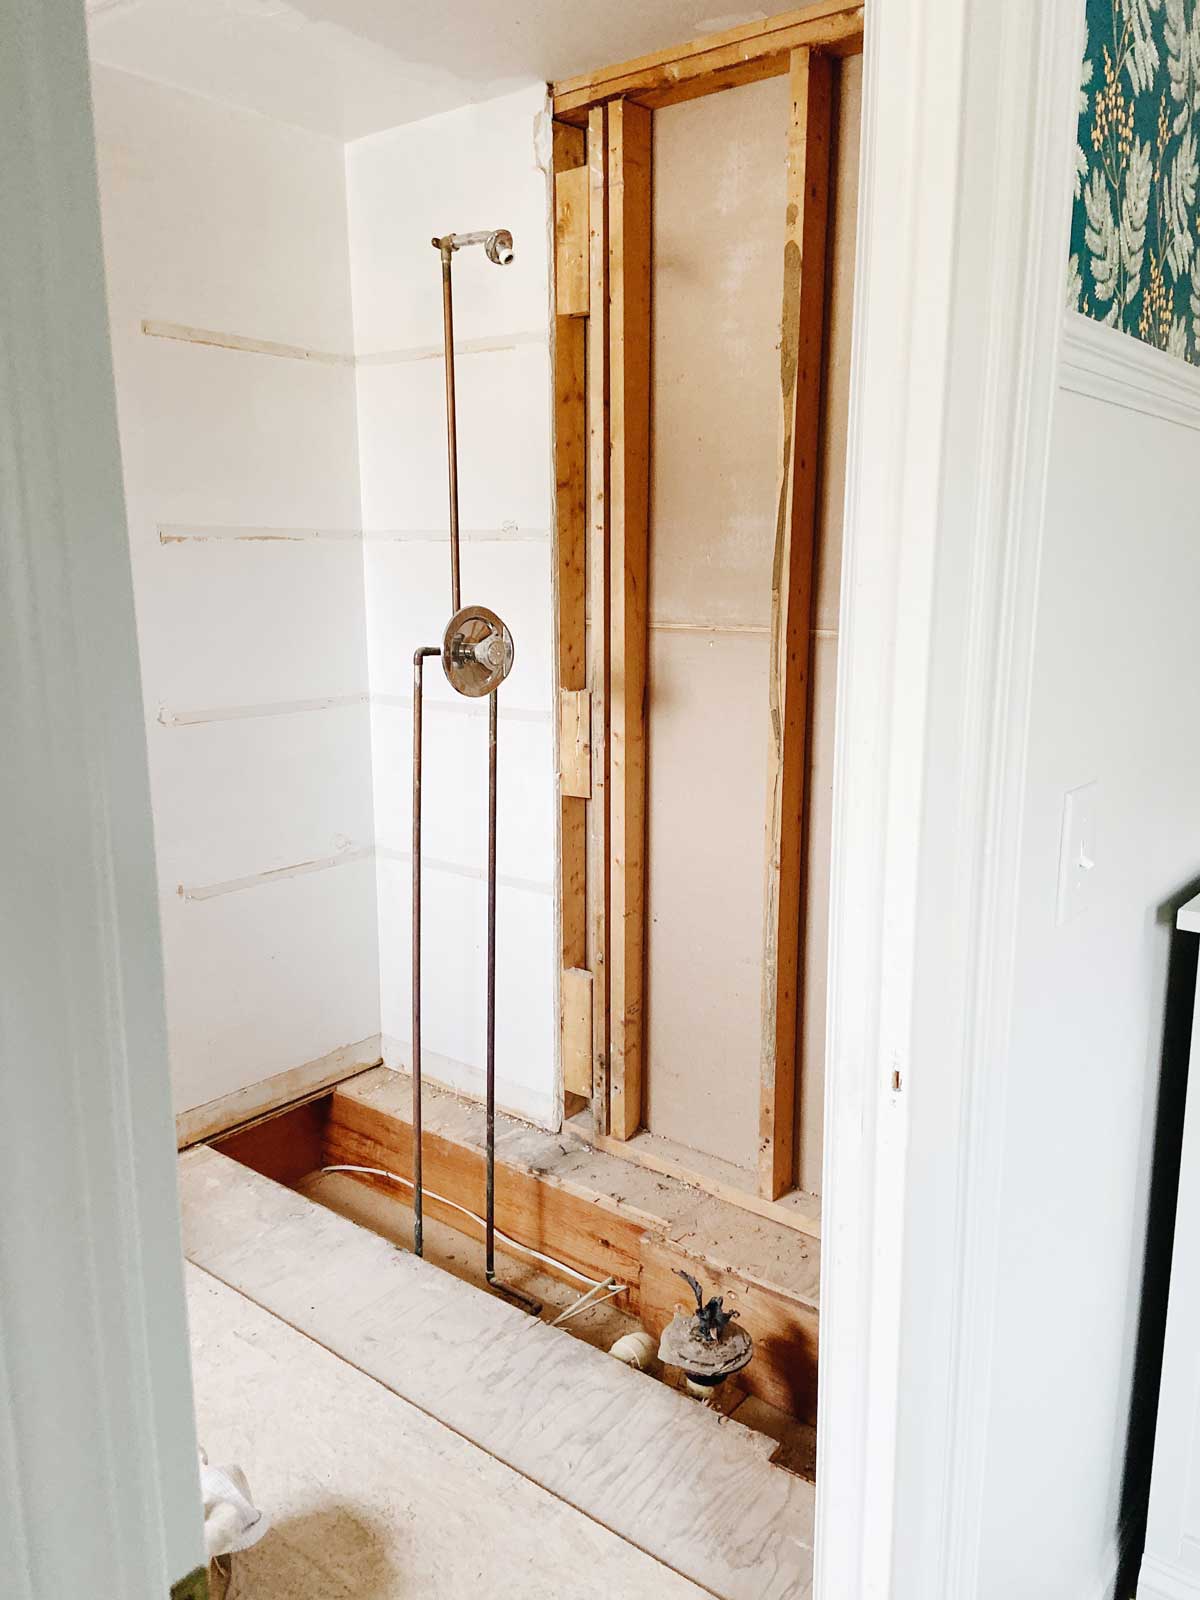
Mostly this was done DIY style, save for a few plumbing movements for the shower we hired out to someone more trustworthy and knowledgable than ourselves. First we gutted everything down to the subfloor and in some places, the studs. At that point the shower wall was open so that we could do some plumbing work to install a new laundry closet on the other side. So then the bathroom was on hold while we finished the laundry closet. Once the new laundry space was complete, we moved back to working on the bathroom and the first item on the list was to relocate the plumbing to prepare for the new tub placement.
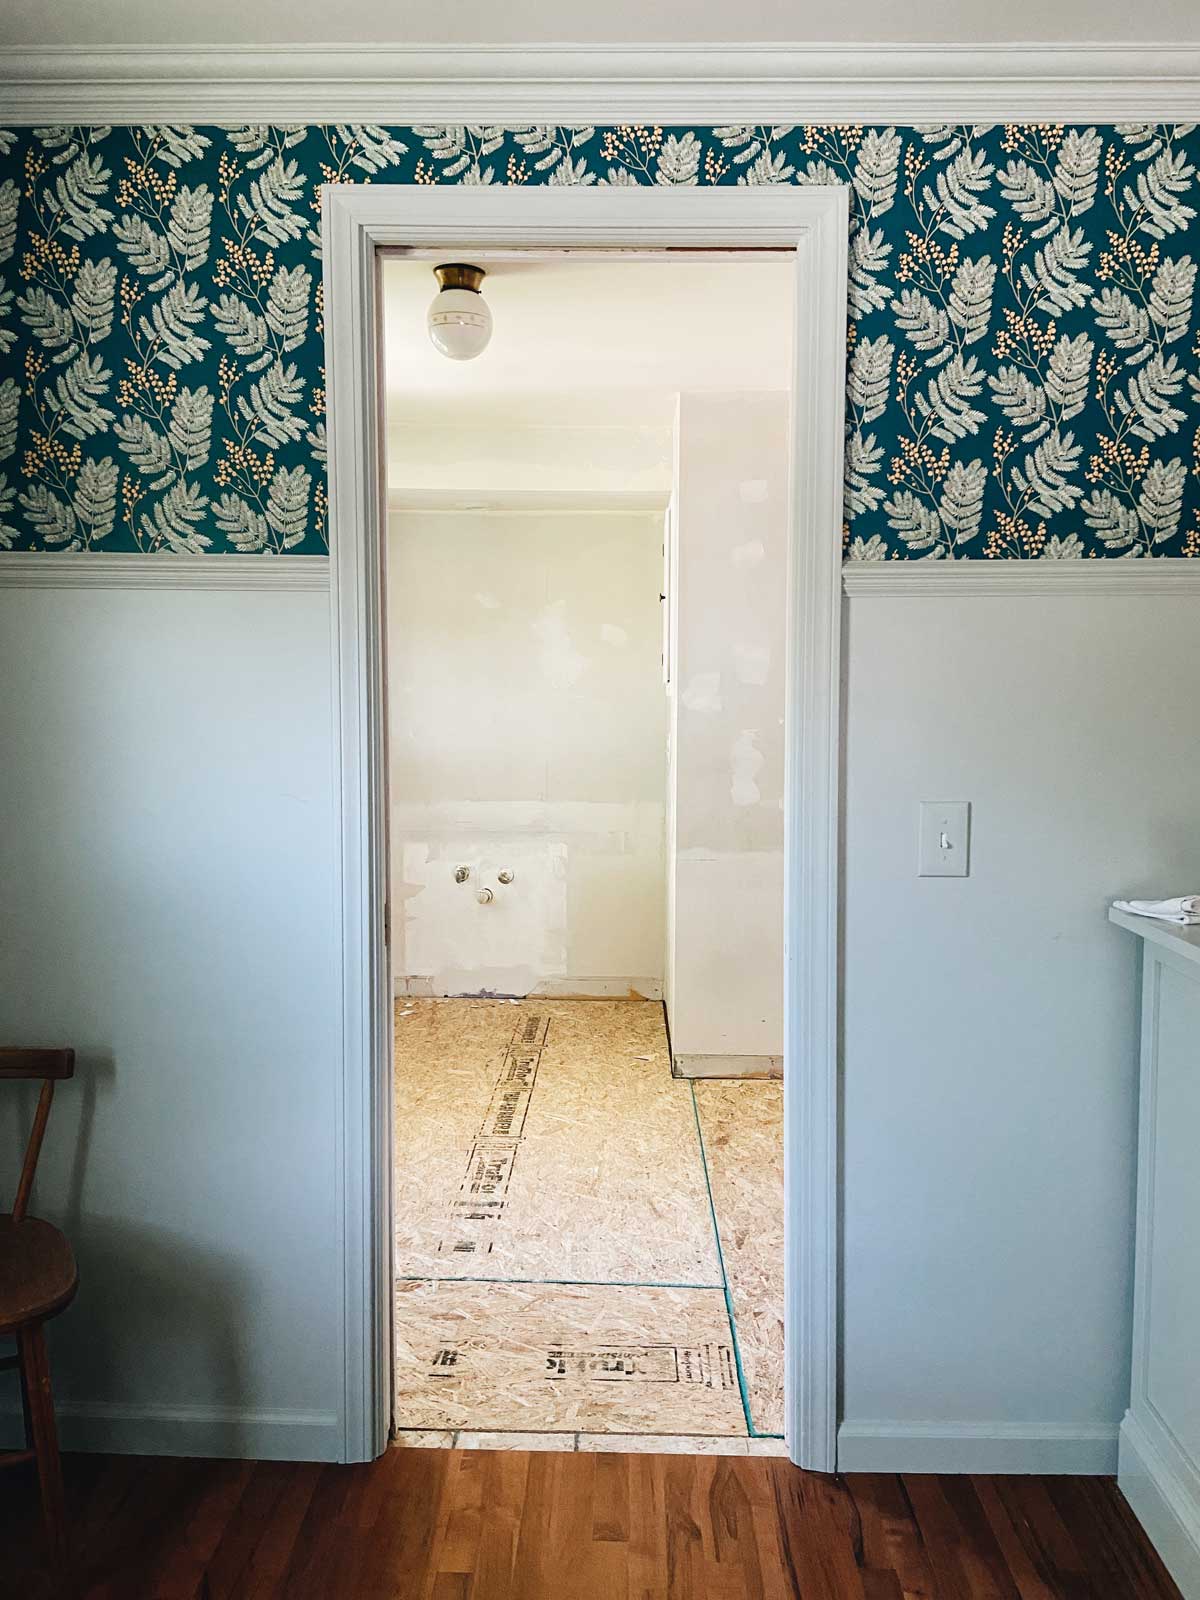
Then we patched all the drywall from the shower and vanity removal and replaced the subfloor. (I feel like in any bathroom more than twenty years old, water damage is a given). The subfloor being replaced is always a favorite step for me. It just feels solid and clean and has the excitement of the first step after demo is complete when you are now building up again.
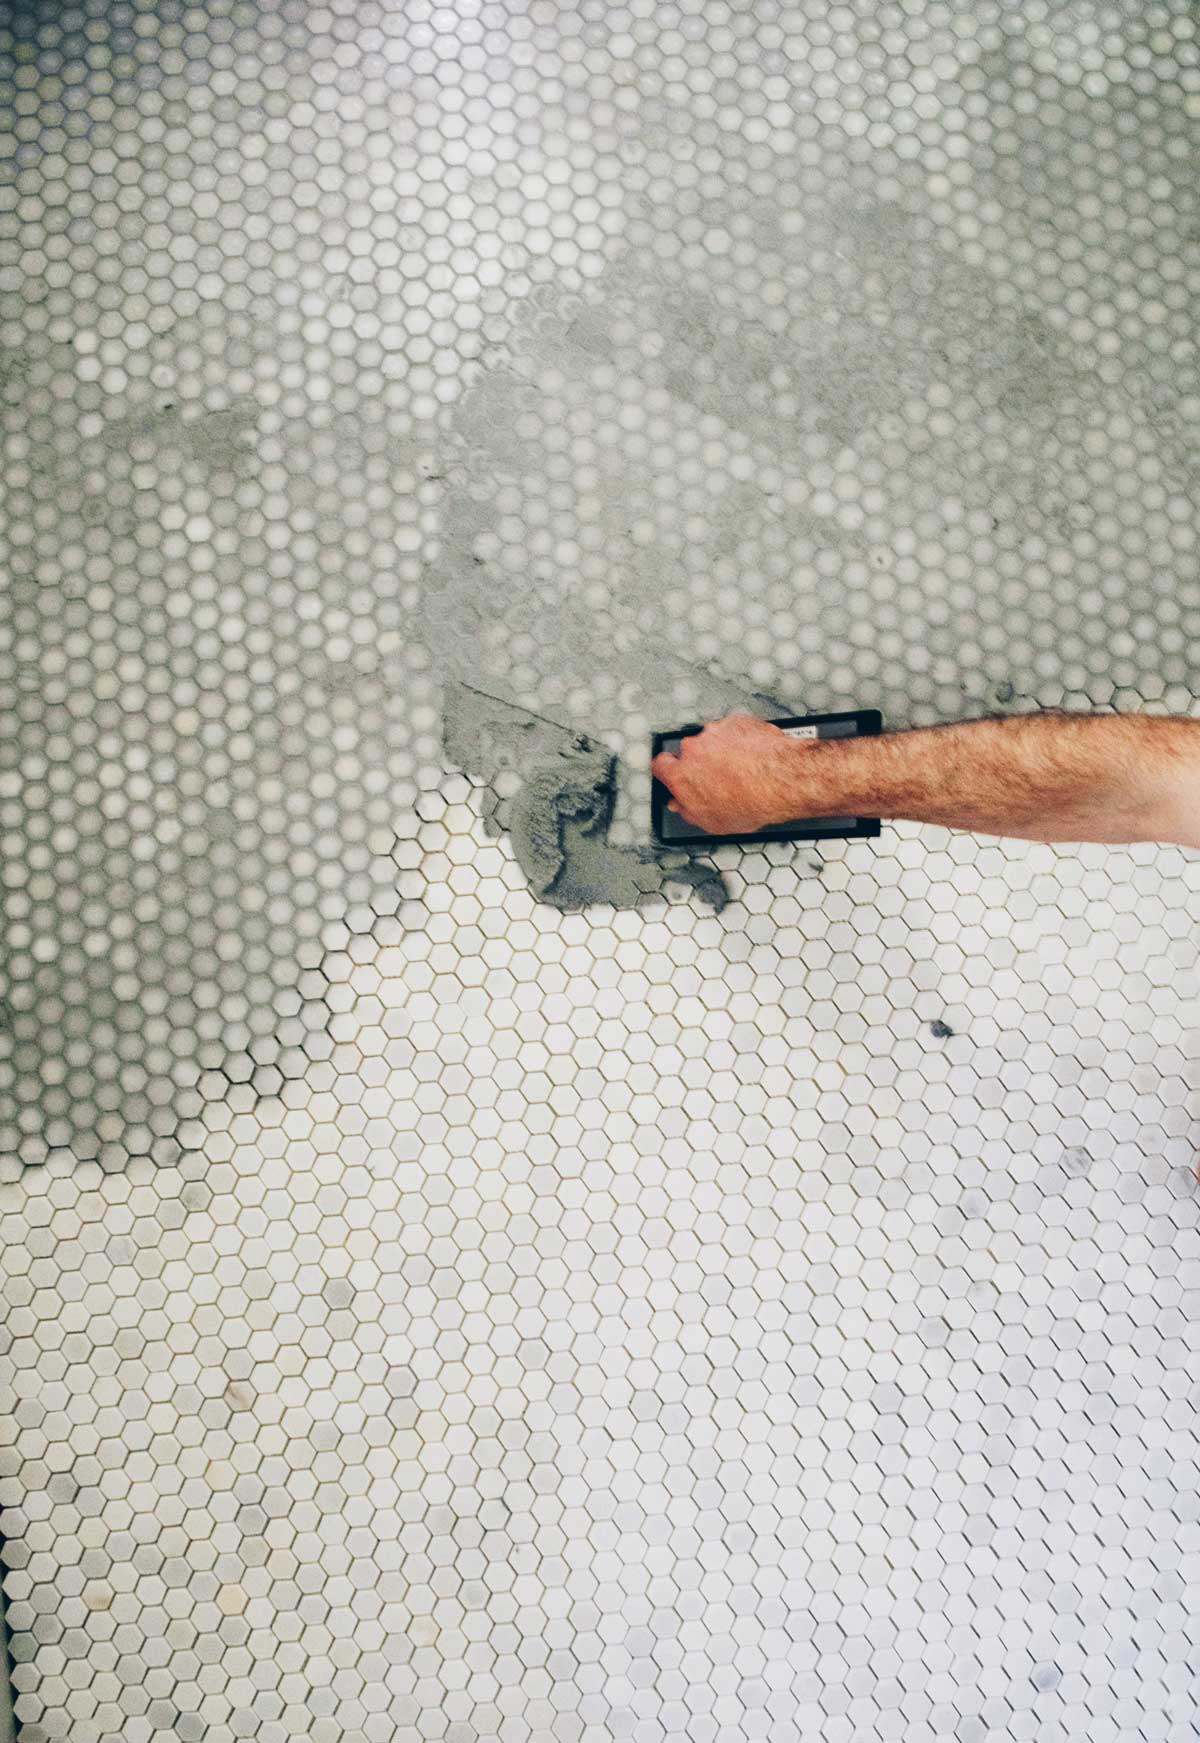
Next was tiling. We did a honed marble hex tile, which we wrote a post about here. Then it was yet another exciting part! Installing the vanity, new toilet, tub, and ALL THE GOOD DETAILS like the light fixture and hardware. The fixture in here is the armstrong three light flush mount in matte white from kichler, which I loved in our upstairs landing makeover and used again here.
One of my favorite decor tricks is to repeat elements throughout a home for it to feel thoughtful and cohesive. To me it’s really stylistically pleasing when the same light fixture pops up a few times throughout a house.
Okay I have to pause for another before and after – from a different angle! This time the shower area.
To go along with the brass details of the fixture, I did a dramatic brass mirror over the vanity. The vanity we chose is just a really simple, most-inexpensive-one-I-could-readily-find type piece. It came with some not good looking polished nickel knobs. Swapping those out for the more petite ones (only like, $2 at hobby lobby!) with a bit of character helped the vanity significantly.
The metals almost everywhere else are chrome because one of my favorites is the depth that mixing metals brings. I say no more than three, but also not less than two.
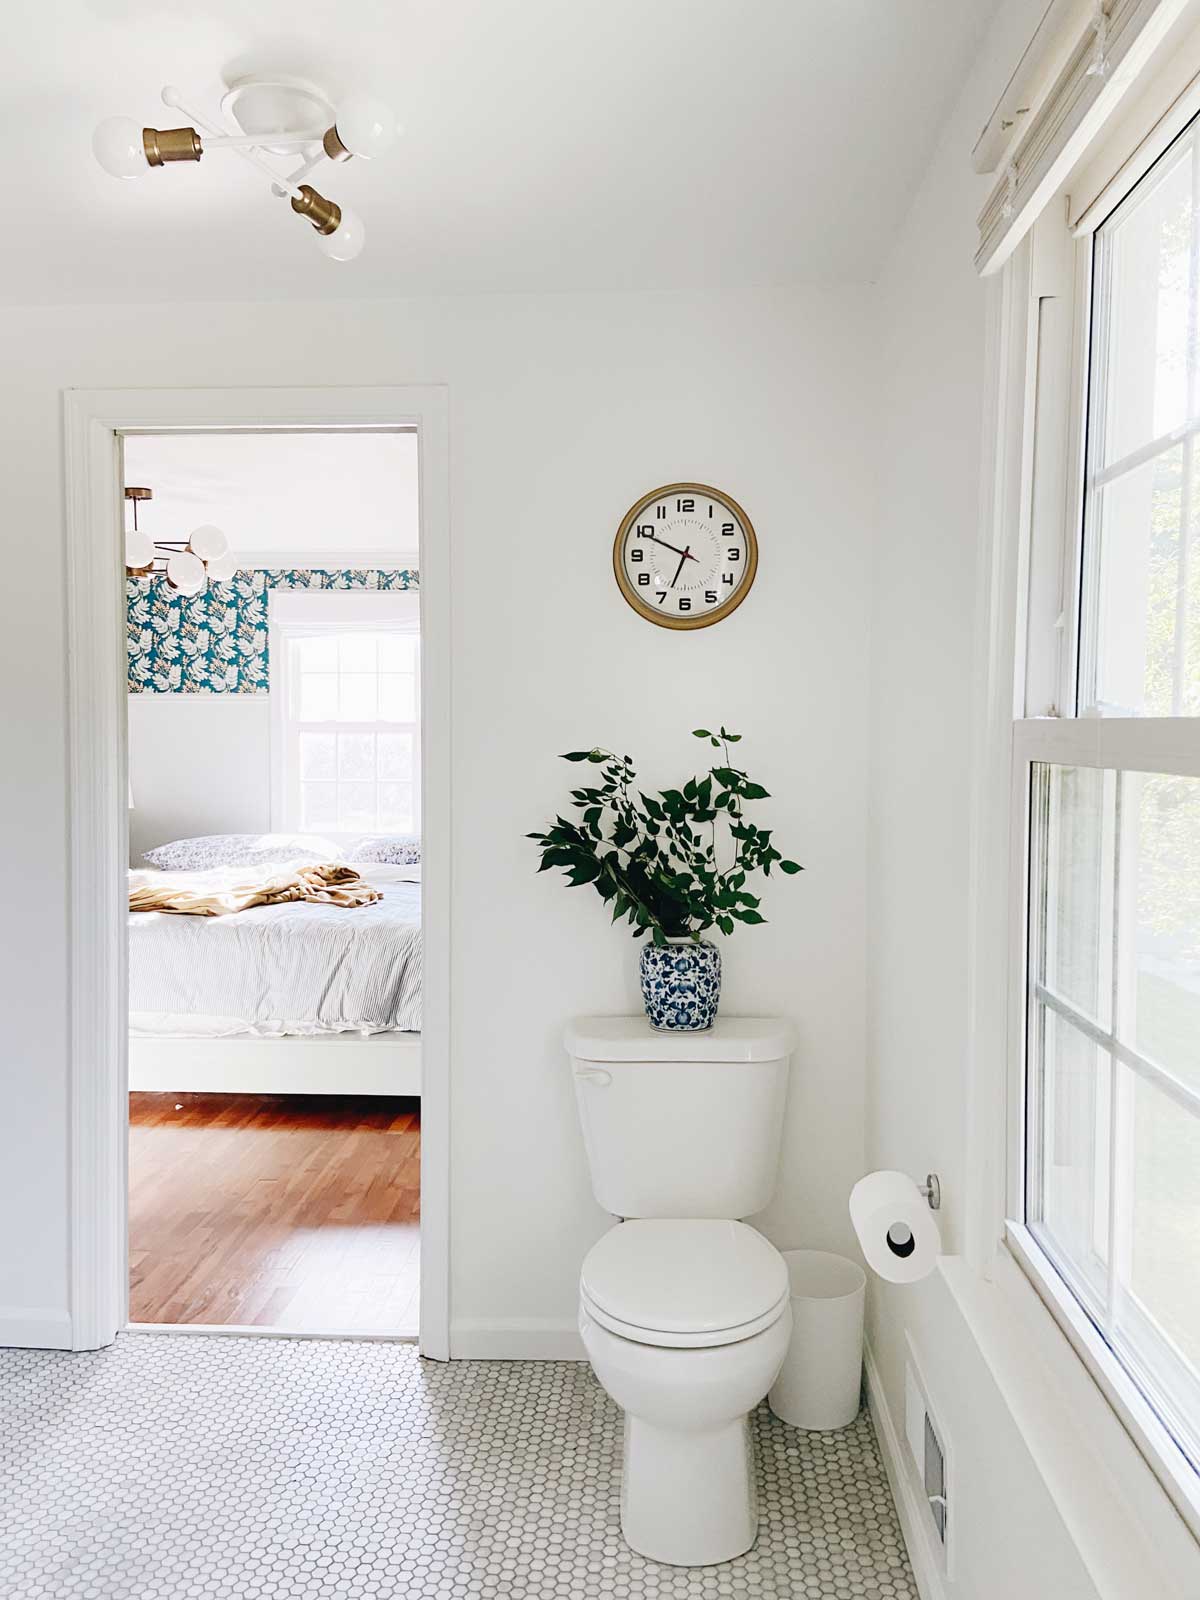
light fixture | honed marble hex tile | toilet paper holder | toilet | blue and white vase (similar) | wall clock | trash bin (similar) | towel hooks
It’s a bit hard to believe this bathroom is finally done. Because we didn’t use it for so long, it feels like a little addition has been added to our house! I debated some about the color to paint the walls, because I am now considering resale.
If it was just for me, I would have done everything a dramatic olive green. But because I was on the fence and white always makes things seem bigger, we chose “our” white for this house, ralph lauren “chalk white” in eggshell. (And I just painted the master closet a dramatic navy so that fulfilled the dramatic color urge partly!)
We ended up with a relaxing neutral look with stone and metals being the main features, which I find so peaceful and beautiful for a room like this.