I have wanted to add a little something to our dining room that would be high impact but inexpensive. When I thought of this color blocking paint concept with a little bit of wall paneling I was like YEP THAT’S THE ONE. It has added personality to the room and despite many things that would make me expect the contrary, it has somehow made the room feel BIGGER? I don’t know, I guess some dark paint can do that and make part of the room feel like it’s an endless expanse more or less.
We LOVED this project!
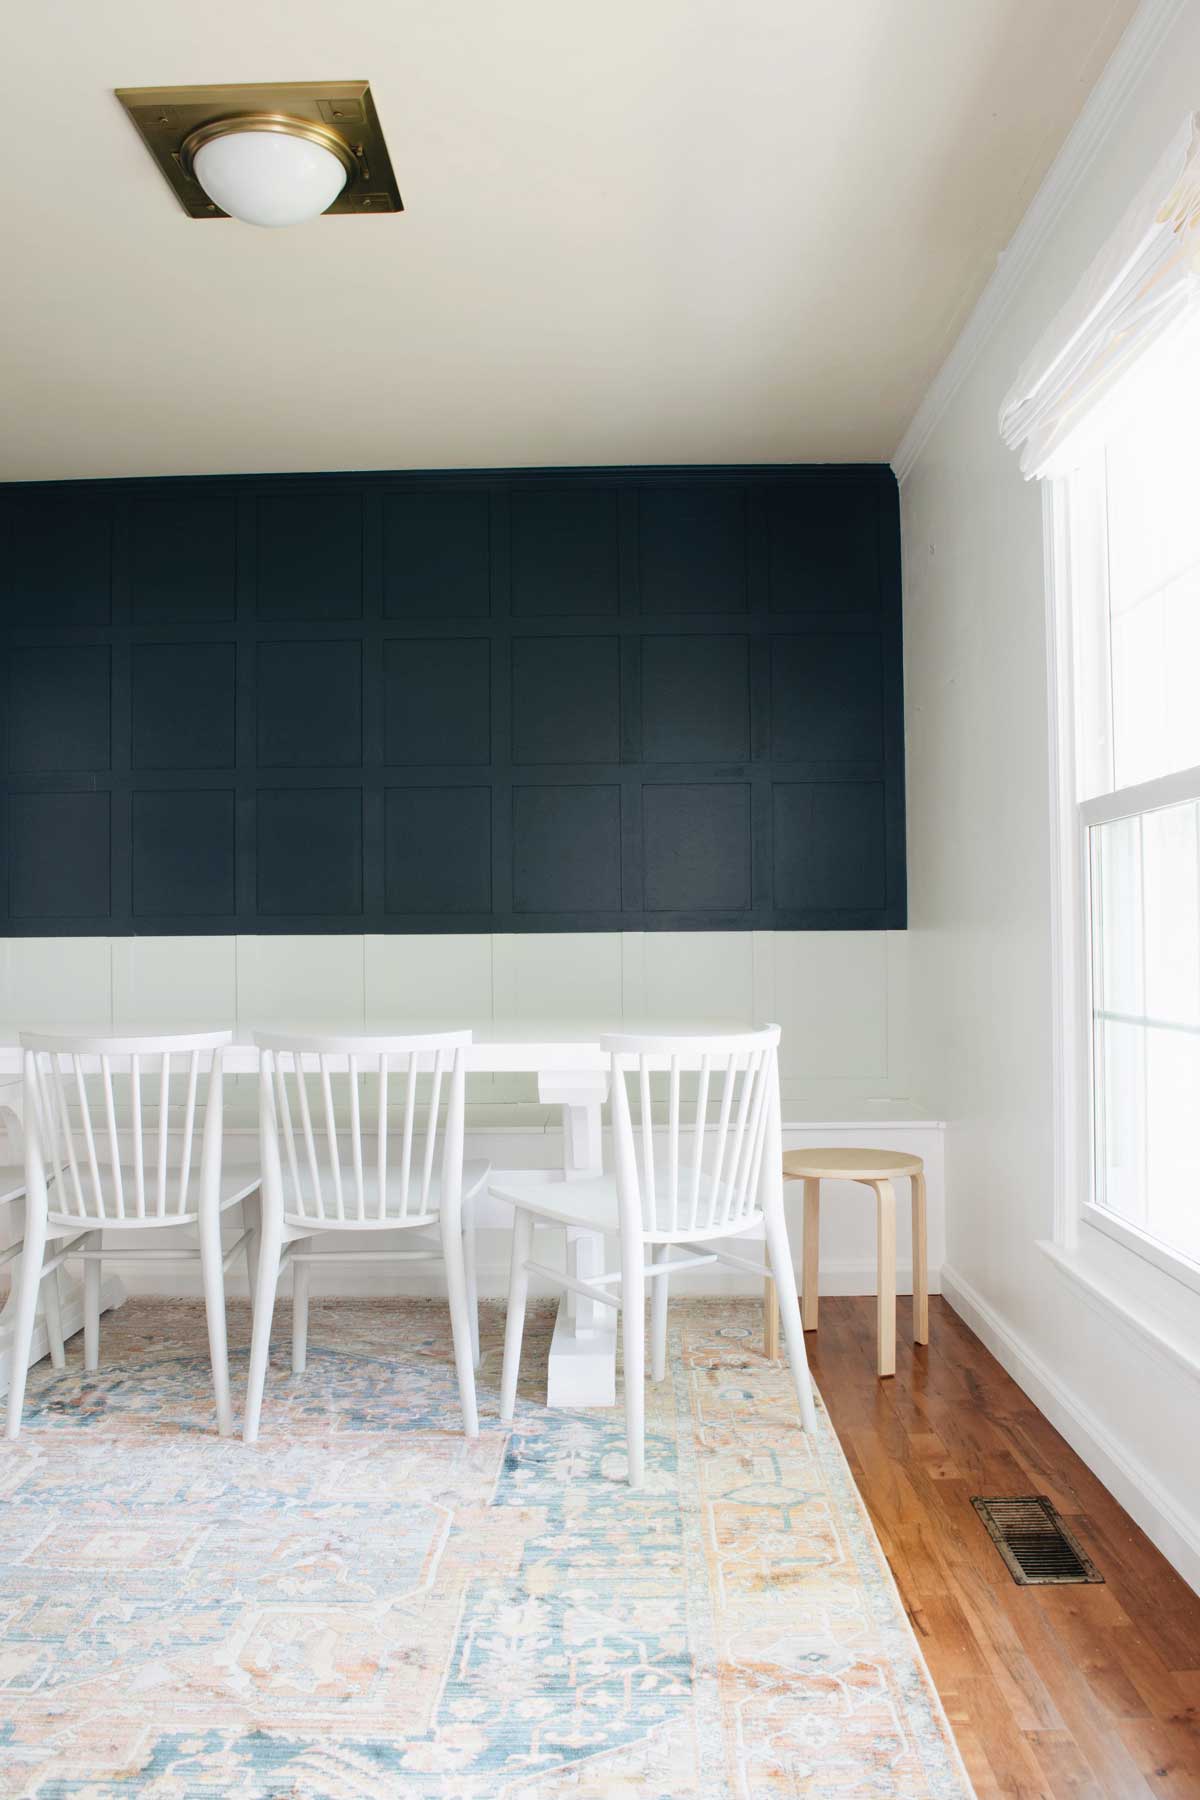
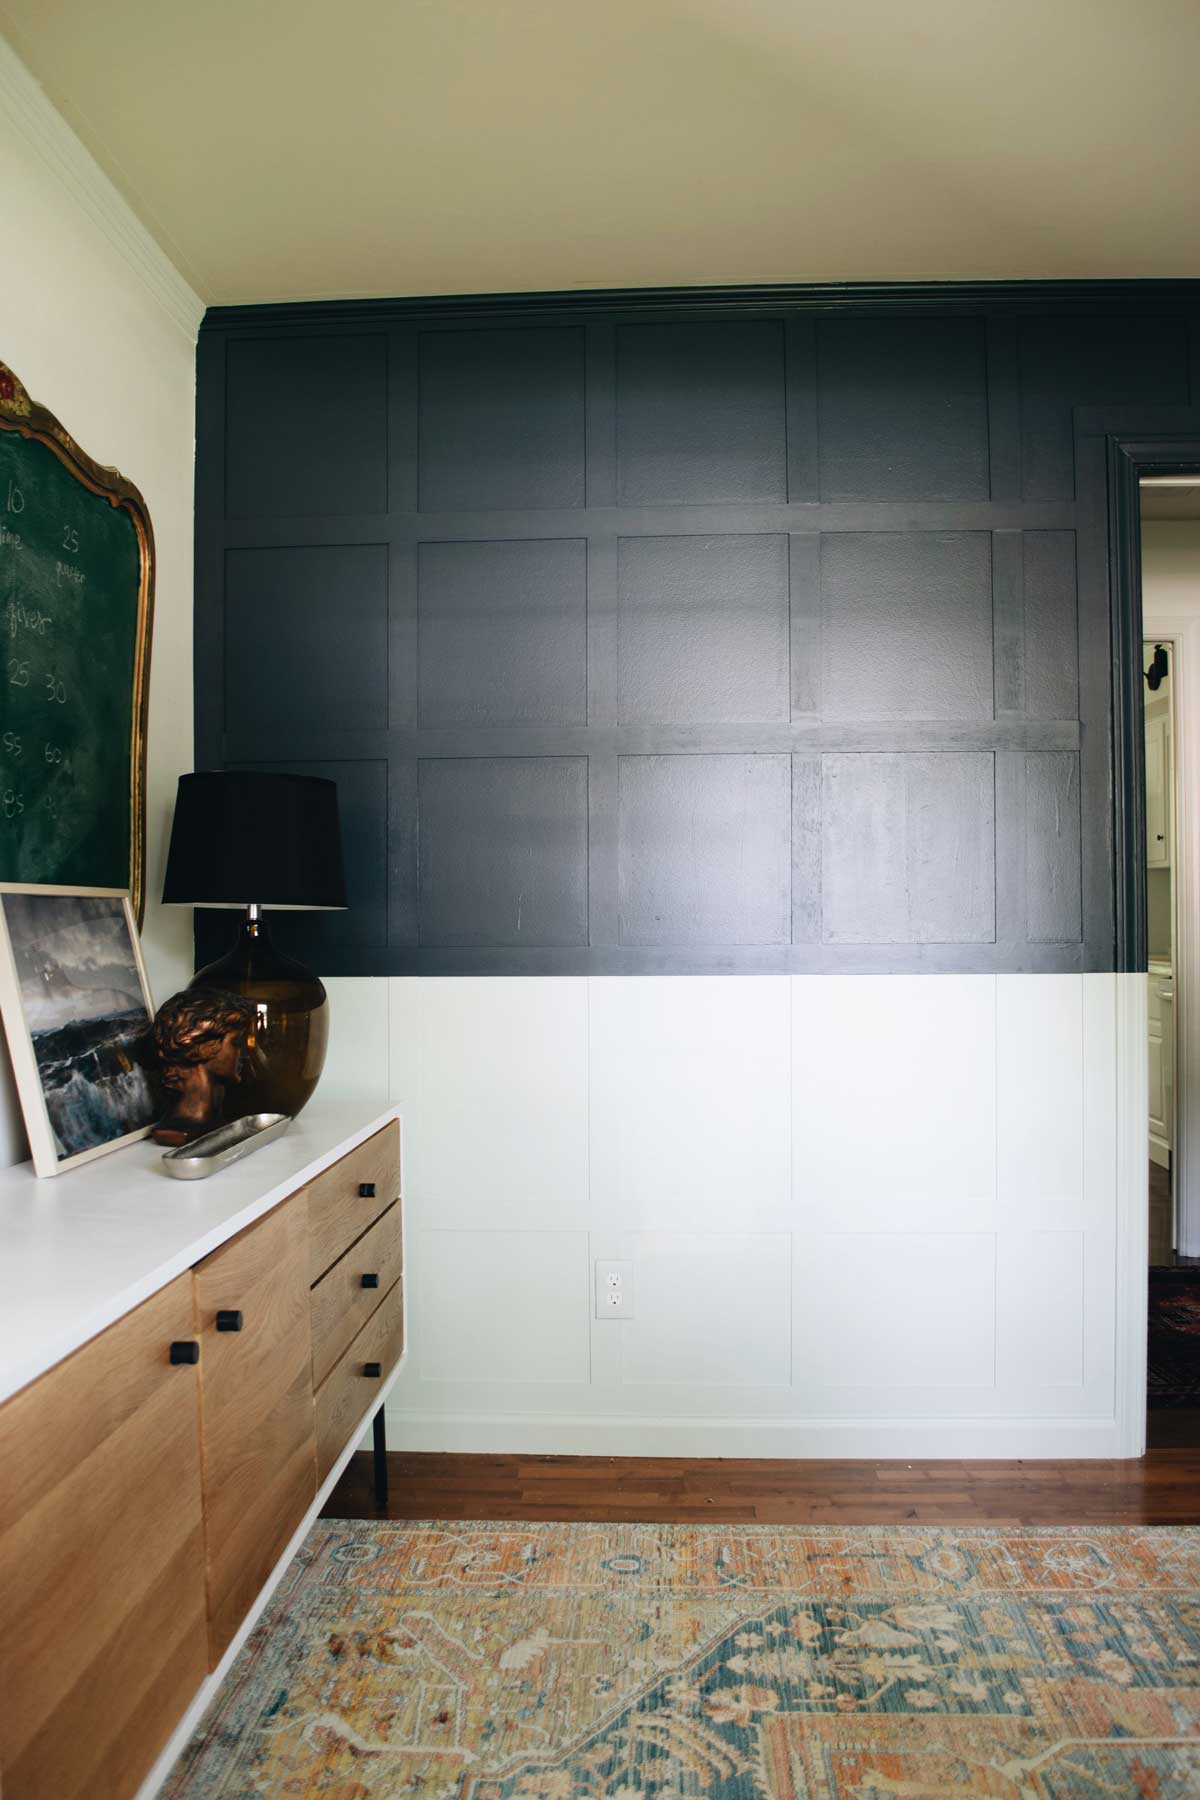
medallion fringe rug | dining table diy | dining banquette diy | wood stool | brass flush mount light fixture| white dining chairs | sideboard | mustard lamp (similar) | black lamp shade | ornate chalkboard | silver tray (similar)
MATERIALS
- (3) 5mm x 4’ x 8’ plywood underlayment cut in 2 and 1/2” strips ($45)
- 1/2” brad nails ($9)
- spackle ($6)
- caulk ($3)
- delicate surface frogtape ($9)
- eggshell paint in behr “midnight blue” and behr “flora” ($45)
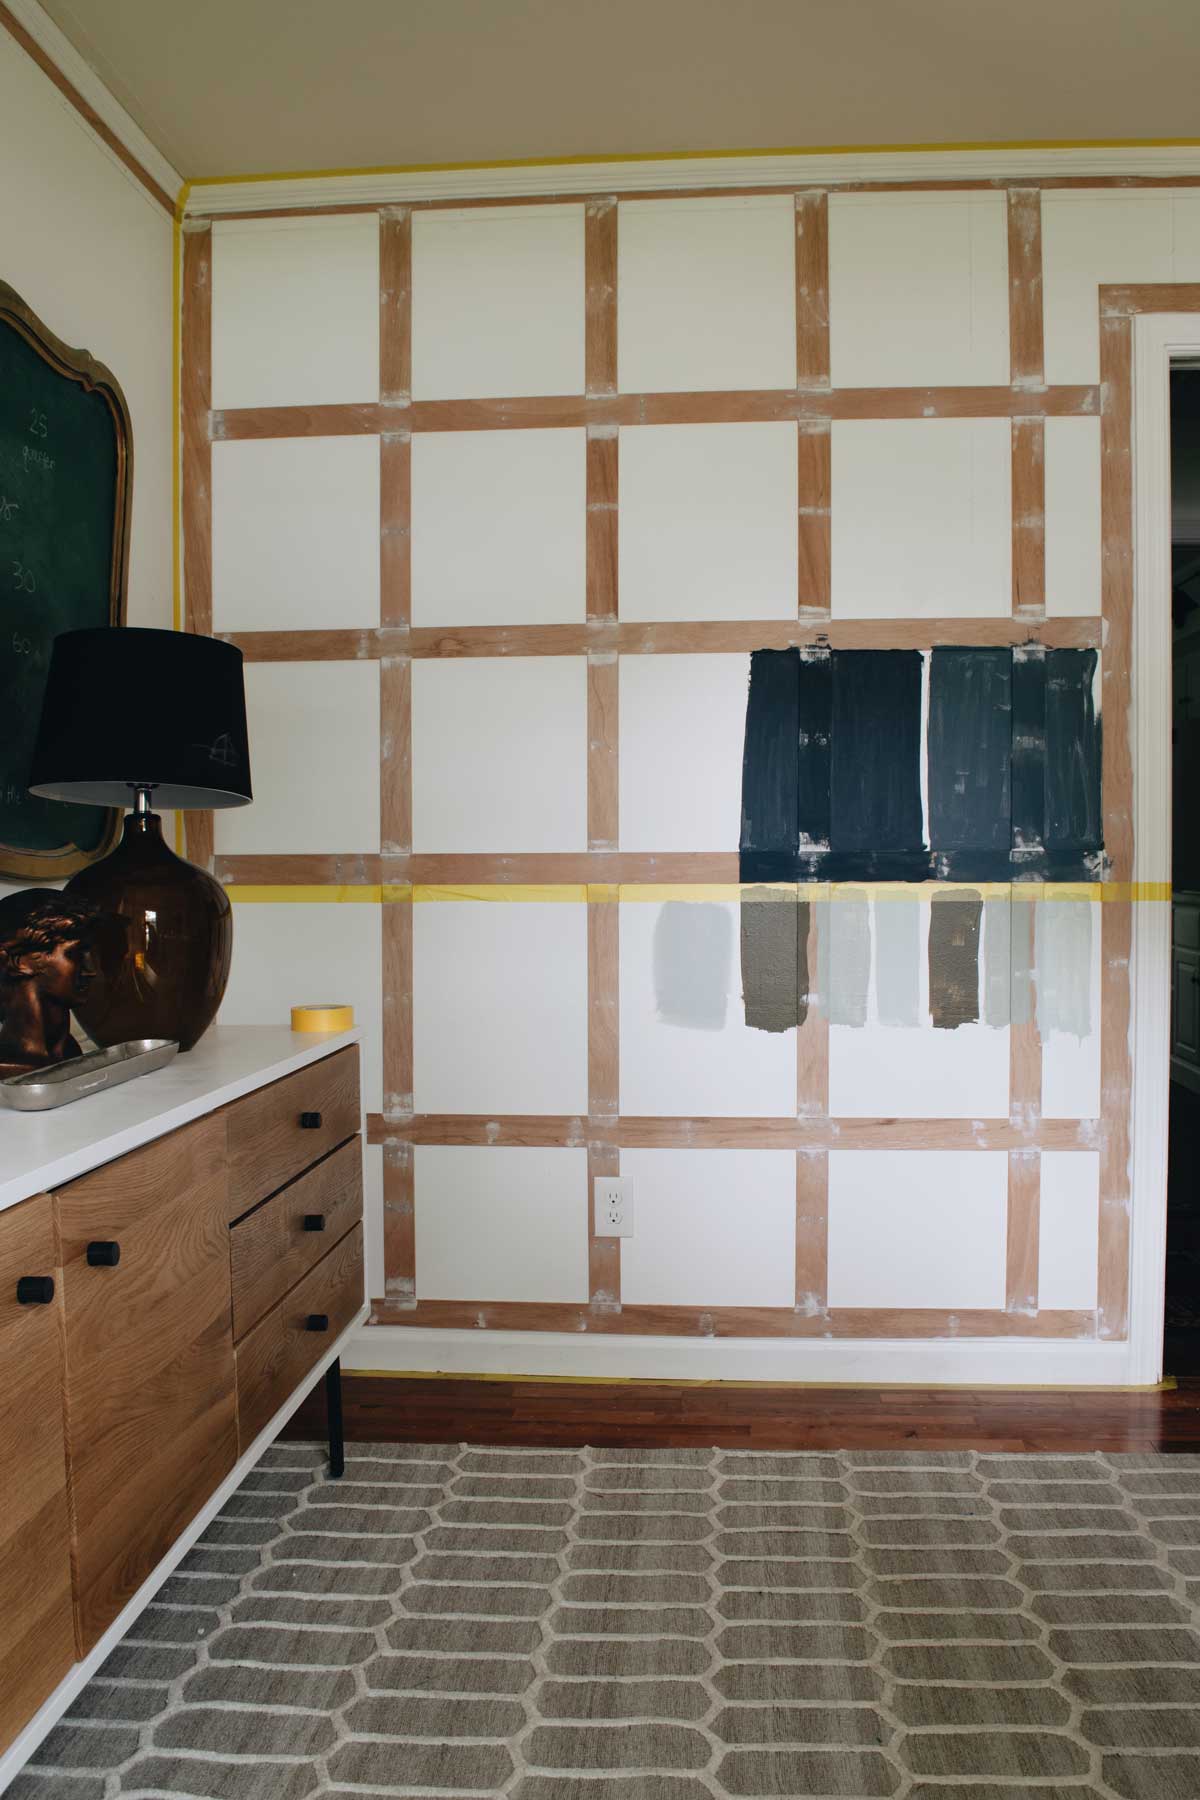
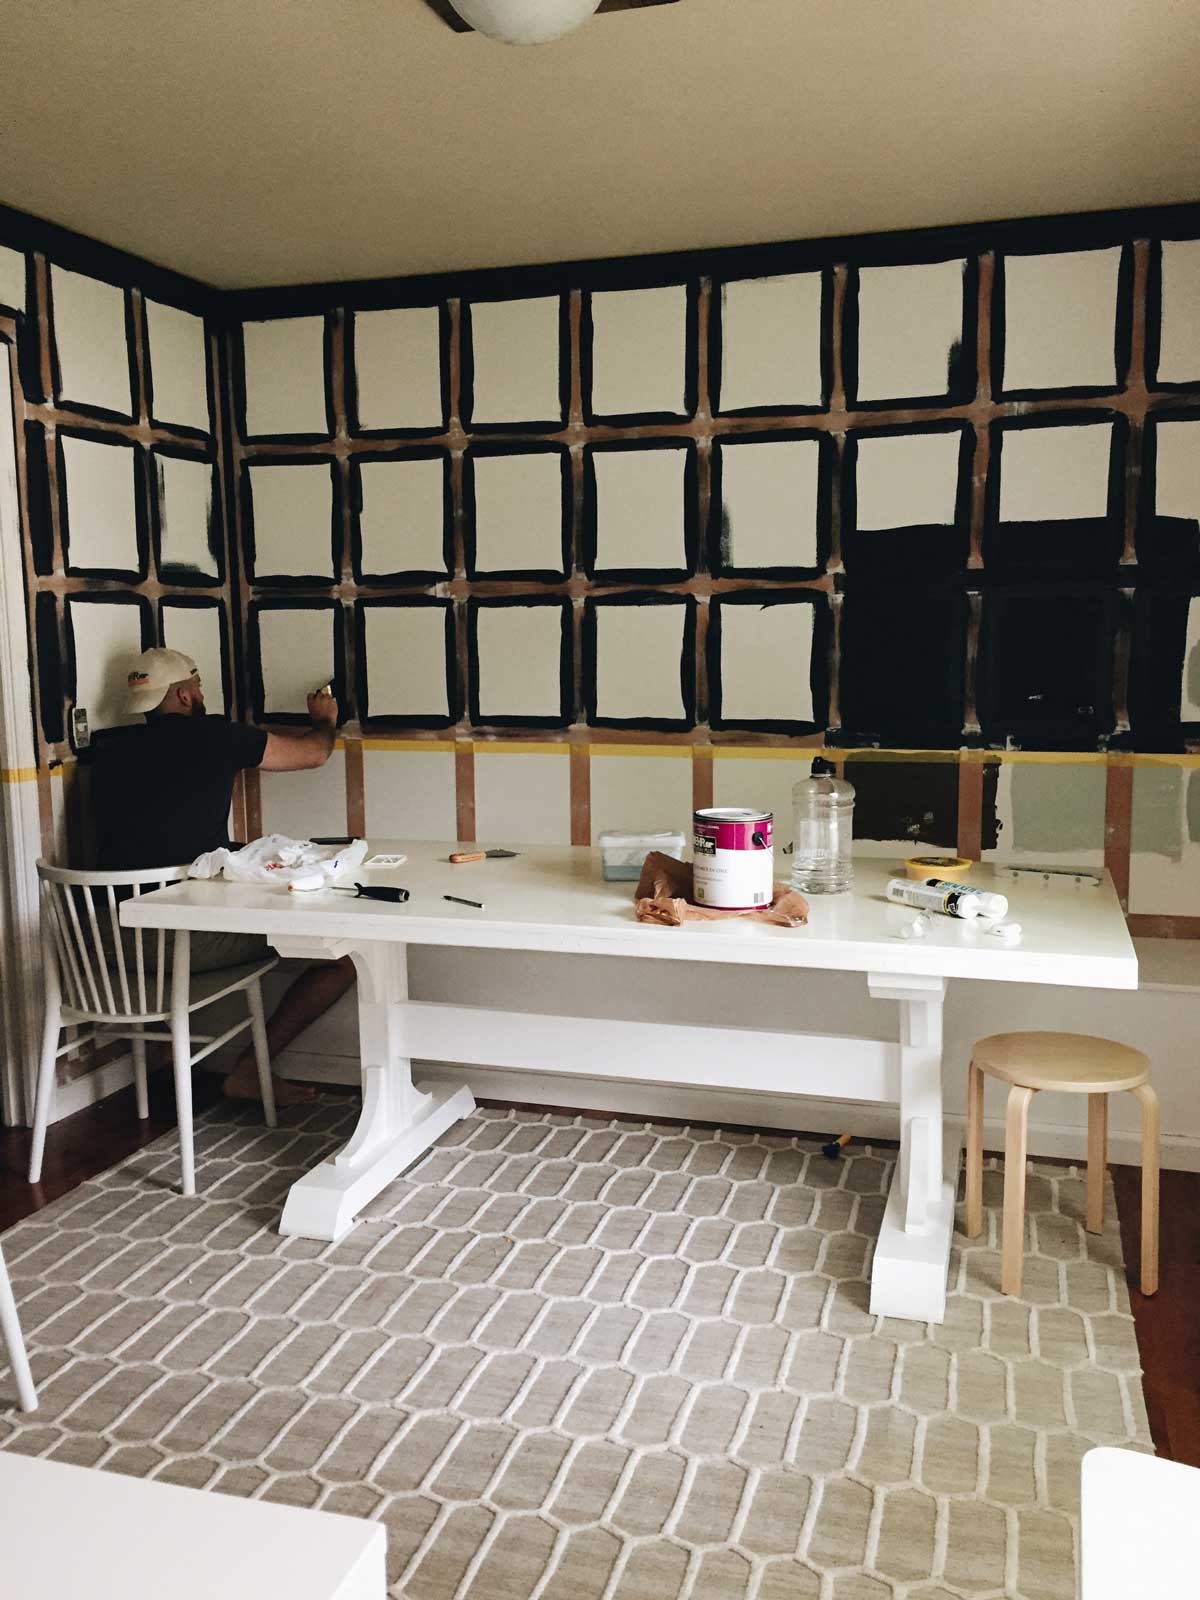
PROCESS
- Create a border around the wall(s) where the board and batten will be applied by nailing strips of the wood up against the ceiling, down corners of walls, above baseboards, and around doorways or windows if necessary. We added strips behind our baseboards to make a seamless transition between the lower border piece and the baseboard. If your baseboards are thicker than the strips, you won’t need to do this. We also added some petite crown molding after this step, which is optional as well.
- Mark with pencil where horizontal strips will be attached for reference while nailing in.
- Attach the horizontal strips using the brad nails, putting sets of two nails approximately 8 inches apart down the length of the strip. Double check alignment with a level while putting the nails in.
- Mark where vertical strips will be attached.
- Attach the vertical strips using the brad nails, putting sets of two nails approximately 8 inches apart down the length of the strip. Use a level like in step 3 to double check alignment.
- Spackle nail holes and sand once dry. Wipe surfaces with damp cloth to remove dust.
- Caulk seams. Tape off border using delicate surface frogtape.
- Paint top section.
- Re-apply frogtape and paint bottom section. Remove tape!
The impact of this $120 project is HUGE. We love it so much and feel like we arrived at what we were looking for on the walls in the dining room.


We swapped out the rug too with one from our nursery. This new one is a good price and very forgiving for dinner or art messes.
I can’t wait to keep building off of this and the great thing about this feature is the walls look addressed even without hanging any art.
My next thing to do in here would be to get a chandelier for more light centered over the table! But PSA – what we have in the photo is a rare, good looking flush mount fixture and it’s available on amazon!