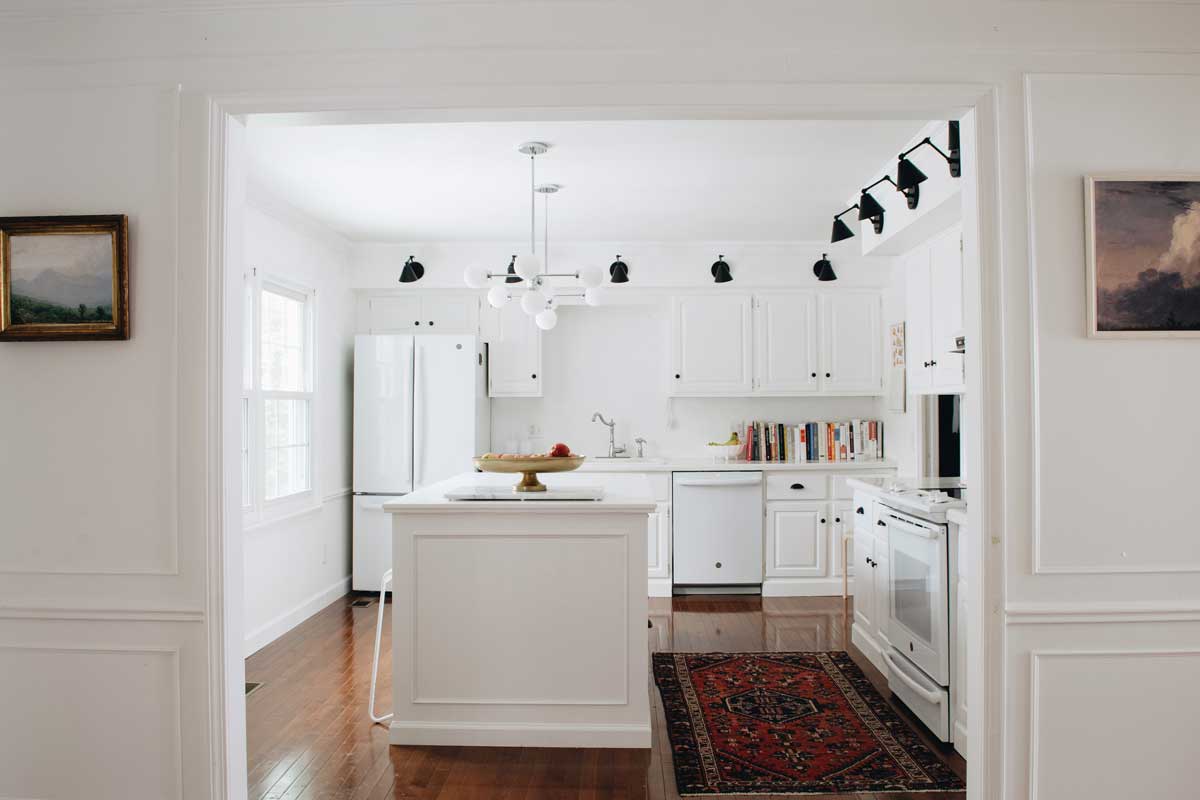
Over the past year we undertook the enormous task of re-doing the flooring in our home. We installed solid hardwoods in our whole house, everywhere except the kitchen and bathrooms. They have made our floorplan feel larger, more continuous, and of course, updated. Goodbye, hodge podge of off white, blue, brown, and green carpets. (And some tile, too.) The type of floors we used are not laminate, vinyl, or the click together kind, but the nail-each-board-in-plank-by-plank ordeal.
Being nine rooms in, we have our method down. This is an overview of our process.
STEP ONE
Remove carpet, carpet pad, and tack strips using a utility knife and pry bar. Unscrew any vent covers on the walls.
STEP TWO
Remove baseboards from wall. Overtime I got better at a method I found that never caused any damage to the boards while removing them. First, slide a utility knife between the baseboard and wall, just to get things loose. Then insert a painter’s tool into the opening and tap with a hammer. Finish pulling them off with pry bar. Make sure there are no remaining nails in the wall.
STEP THREE
Remove all staples from the subfloor. Hammer down any stray nails.
STEP FOUR
Saw door jambs. I would hold a wood floor plank up to the jamb and then knew the perfect height to cut them using a jamb saw.
STEP FIVE
Thoroughly sweep and shop-vac the subfloor.

STEP FIVE
(Note: On the very first room, we installed an anchor row before putting down underlayment. There are more details on doing this here.)
Install underlayment. We used the silicone paper from Lumber Liquidators. It is the cheapest option and we have been pleased with it. Roll it out and attach it to subfloor using a staple hammer. Sheets should overlap about 3 to 4 inches. Cut out holes for any ground vents. When trimming the underlayment, allow it to curl up the wall a few inches.
STEP SIX
Begin installing planks. We left a quarter inch expansion gap around our walls and that has worked well in both summer and winter. Use a dead blow hammer and tapping block to secure board as tightly as possible on to the groove of the previous row.
Using a pneumatic floor nailer, shoot nails into the side of the board. When close to a wall or in a tight space, we had to face nail with a nail gun. Avoid this whenever you can because it creates a hole in the surface of the wood that must be filled in with wood putty. Use a jigsaw and carpenter’s square to make special cuts to move around doorways, vents, or install a partial row at the end of the room.
Avoid h-joints (when boards one plank away from each other end at the same spot) or stair steps (when the end of planks create a stair case). Varied planks create a nicer look and are more stable.
STEP SEVEN
Reinstall vents and baseboards. Fill in any nail holes with putty.
This is a general picture of how to lay woods floors. There are lots of different scenarios you could run into and we are not experts. We found this video really helpful too. We sometimes teased that guy during viewings, but he holds a special place in our hearts.
When we first started on this project we felt a little in over our heads. By the end of the project, we knew our process really well and any flooring challenges we came across were able to easily problem solve. If homeowners want to, we can do so much to change our homes ourselves.
Here are other posts about choosing our maple flooring and tools and equipment for laying hardwood floors.
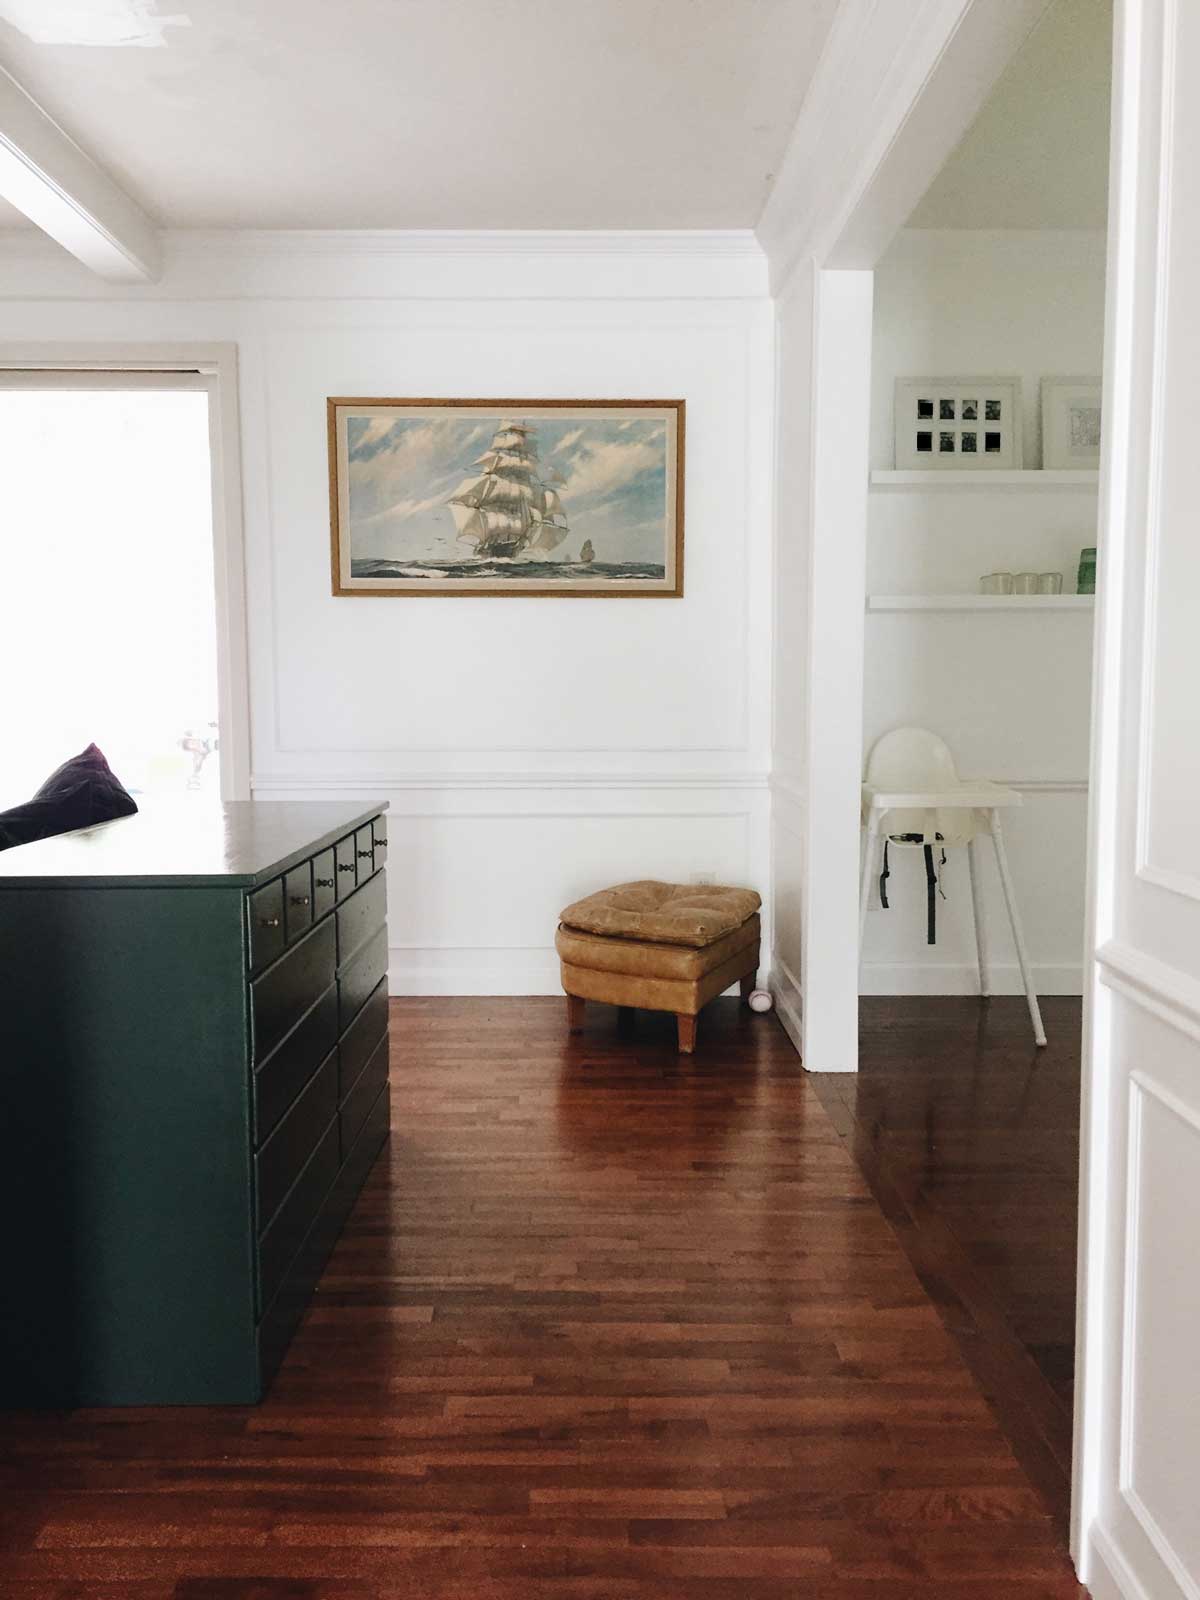
Over the past year we undertook the enormous task of re-doing the flooring in our home. We installed solid hardwoods in our whole house, everywhere except the kitchen and bathrooms. They have made our floorplan feel larger, more continuous, and of course, updated. Goodbye, hodge podge of off white, blue,