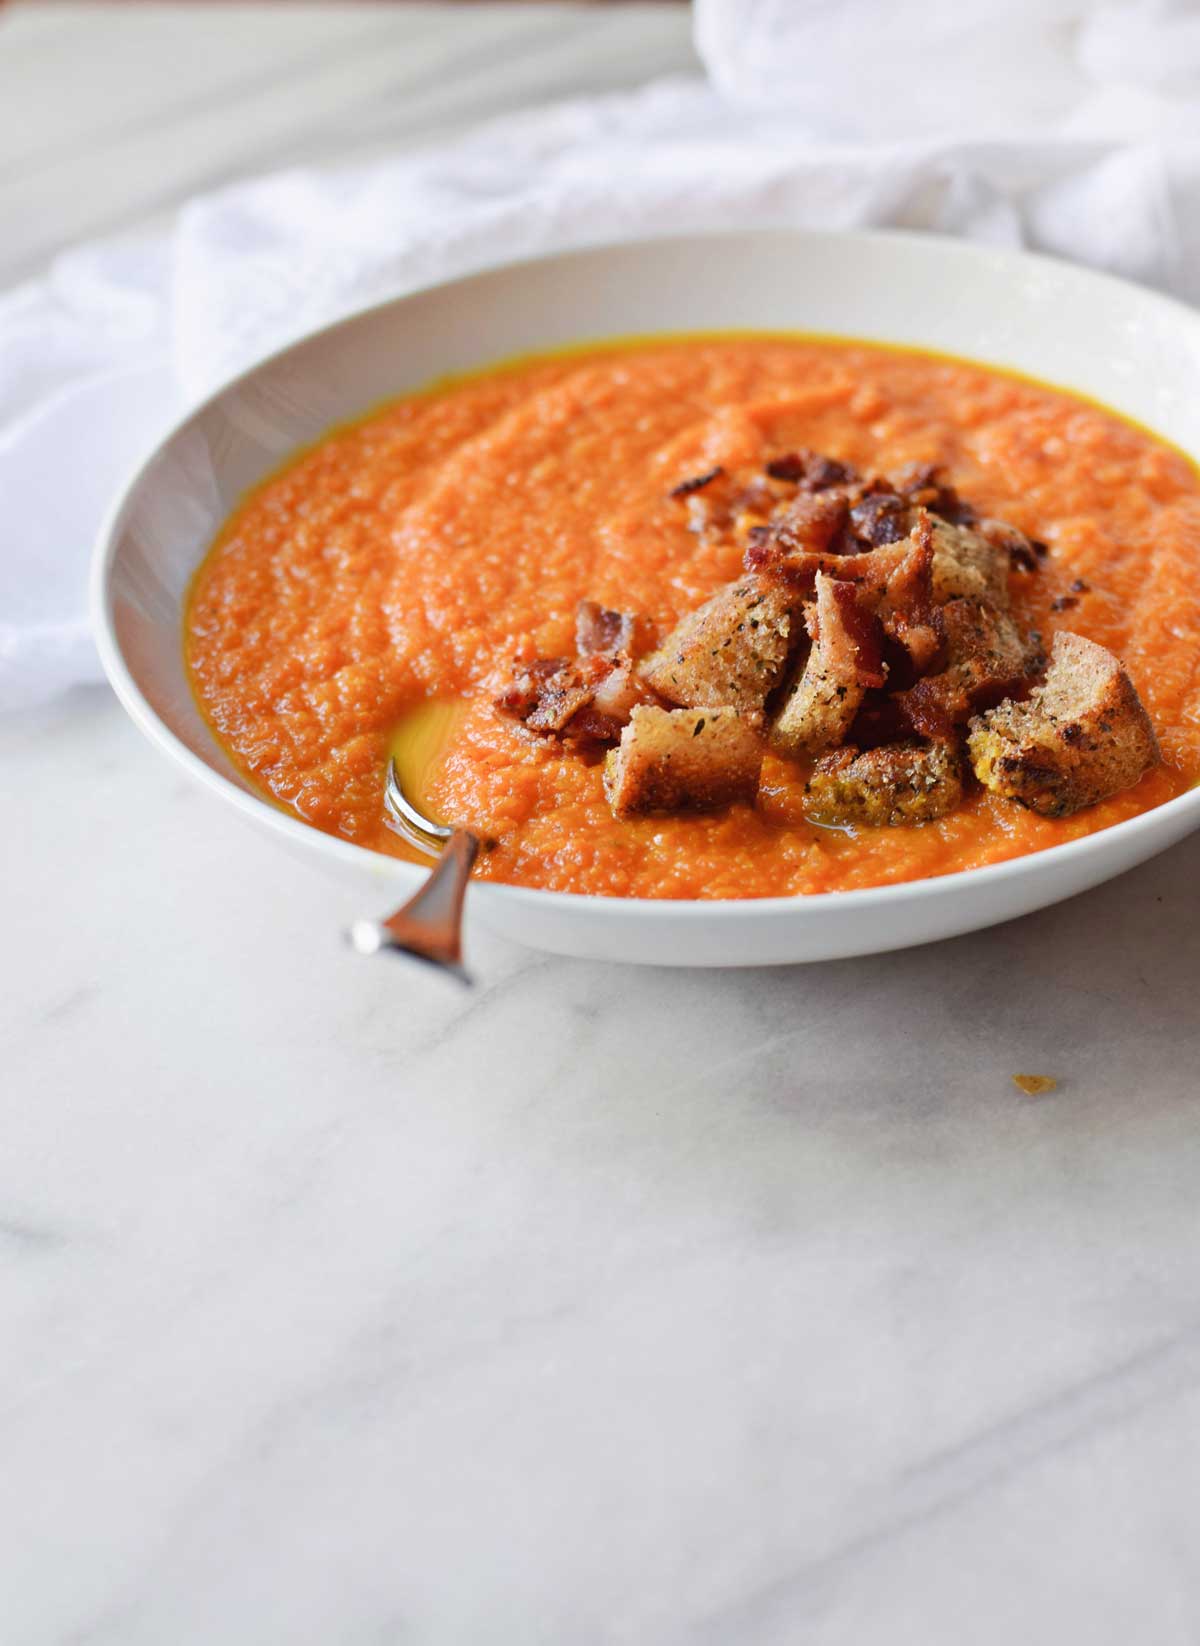
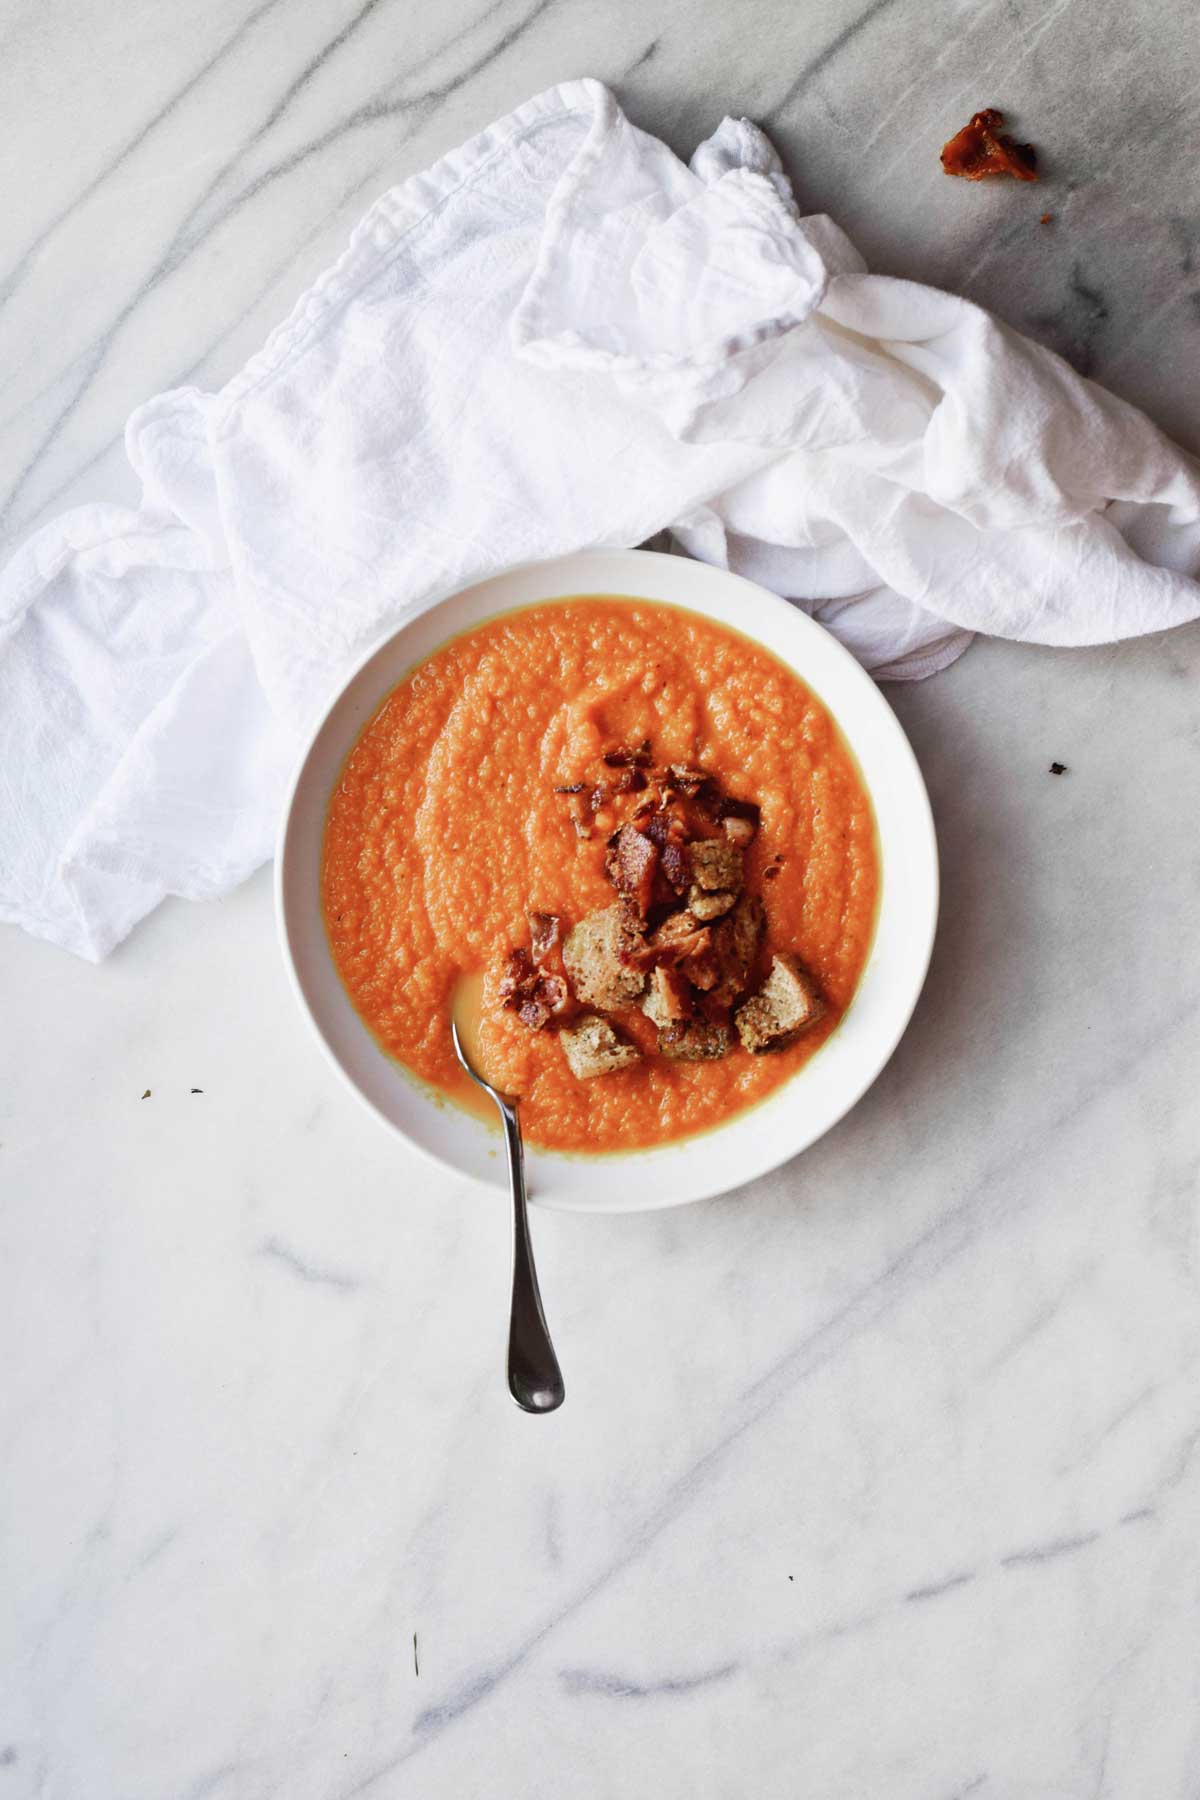
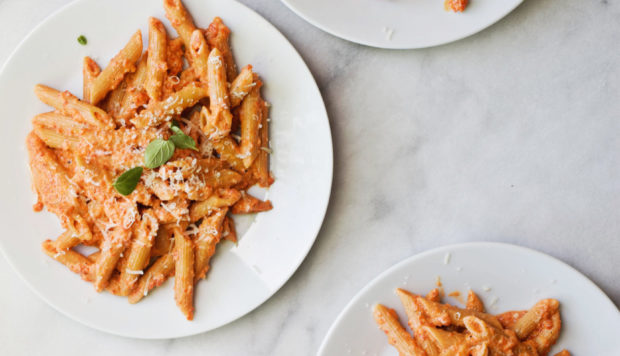
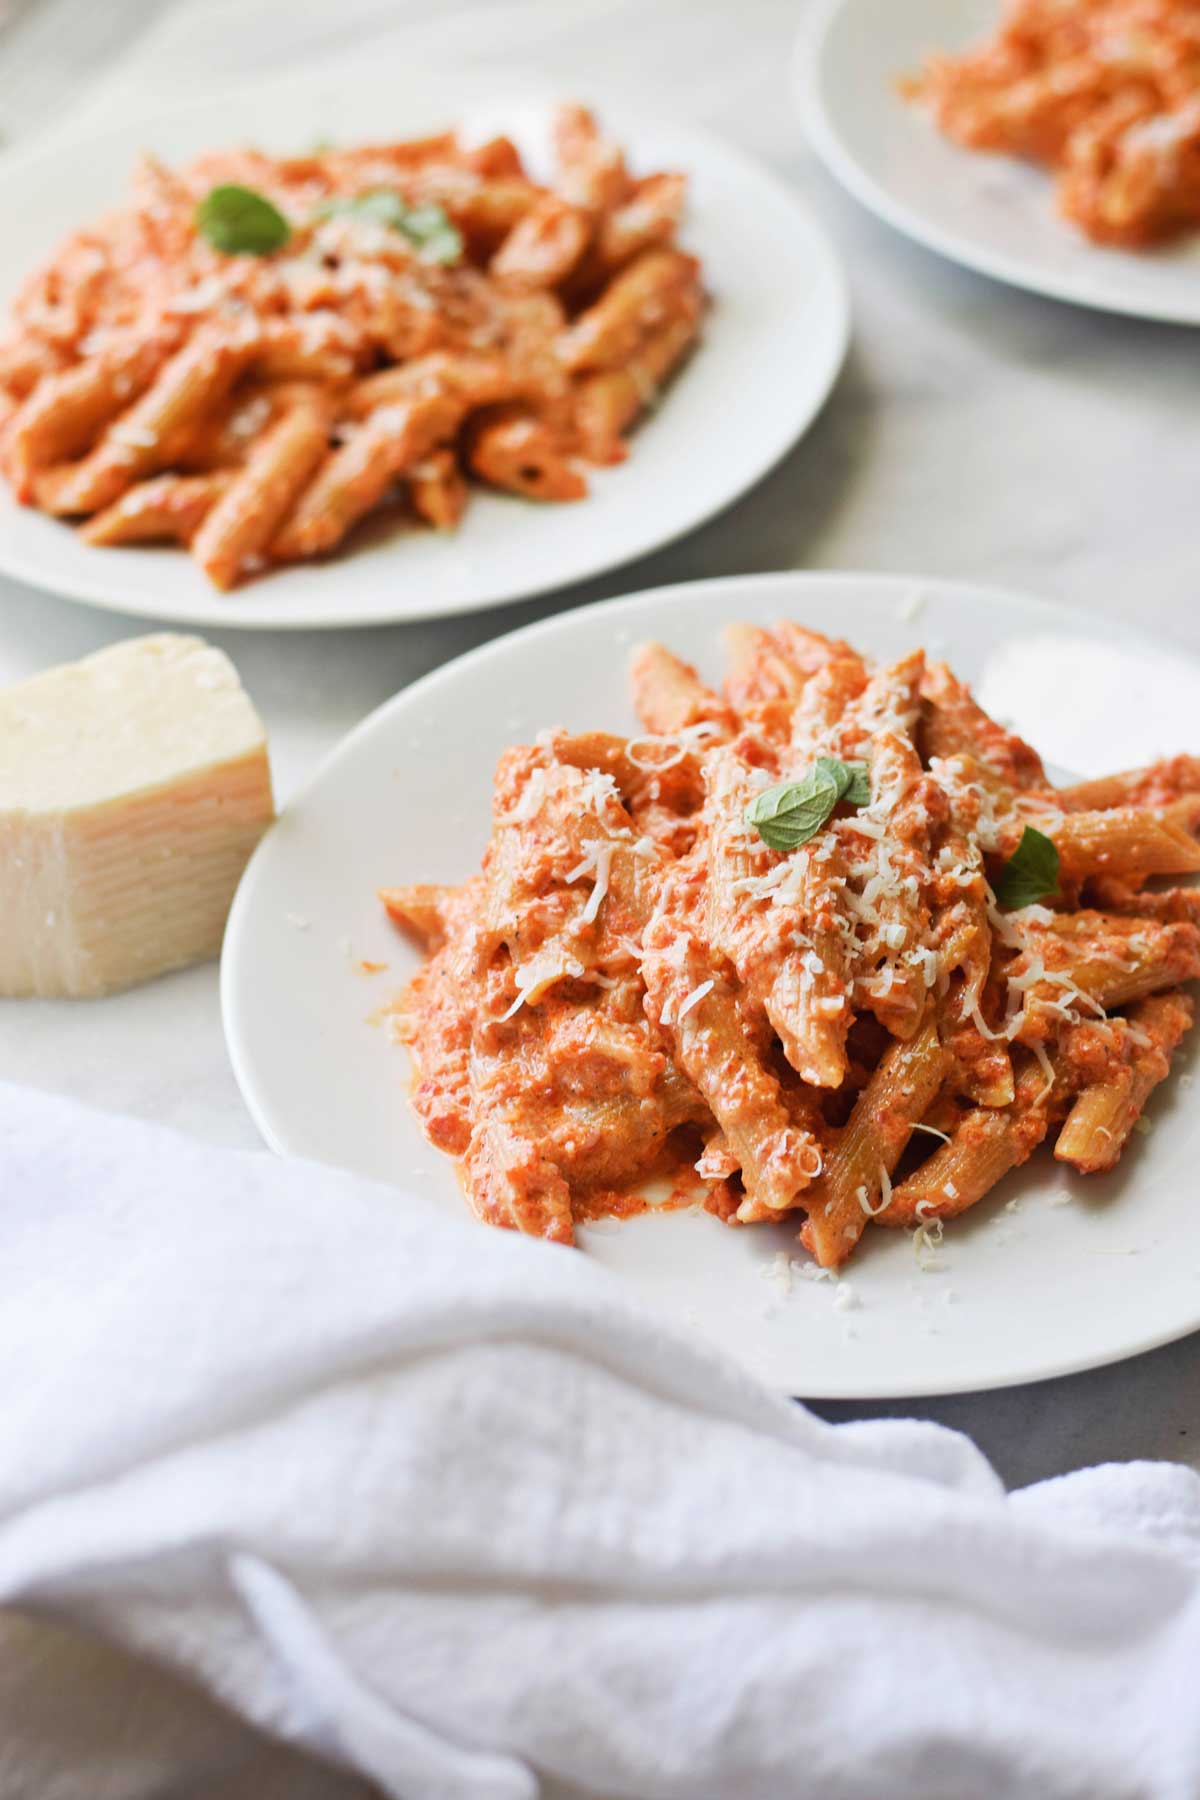
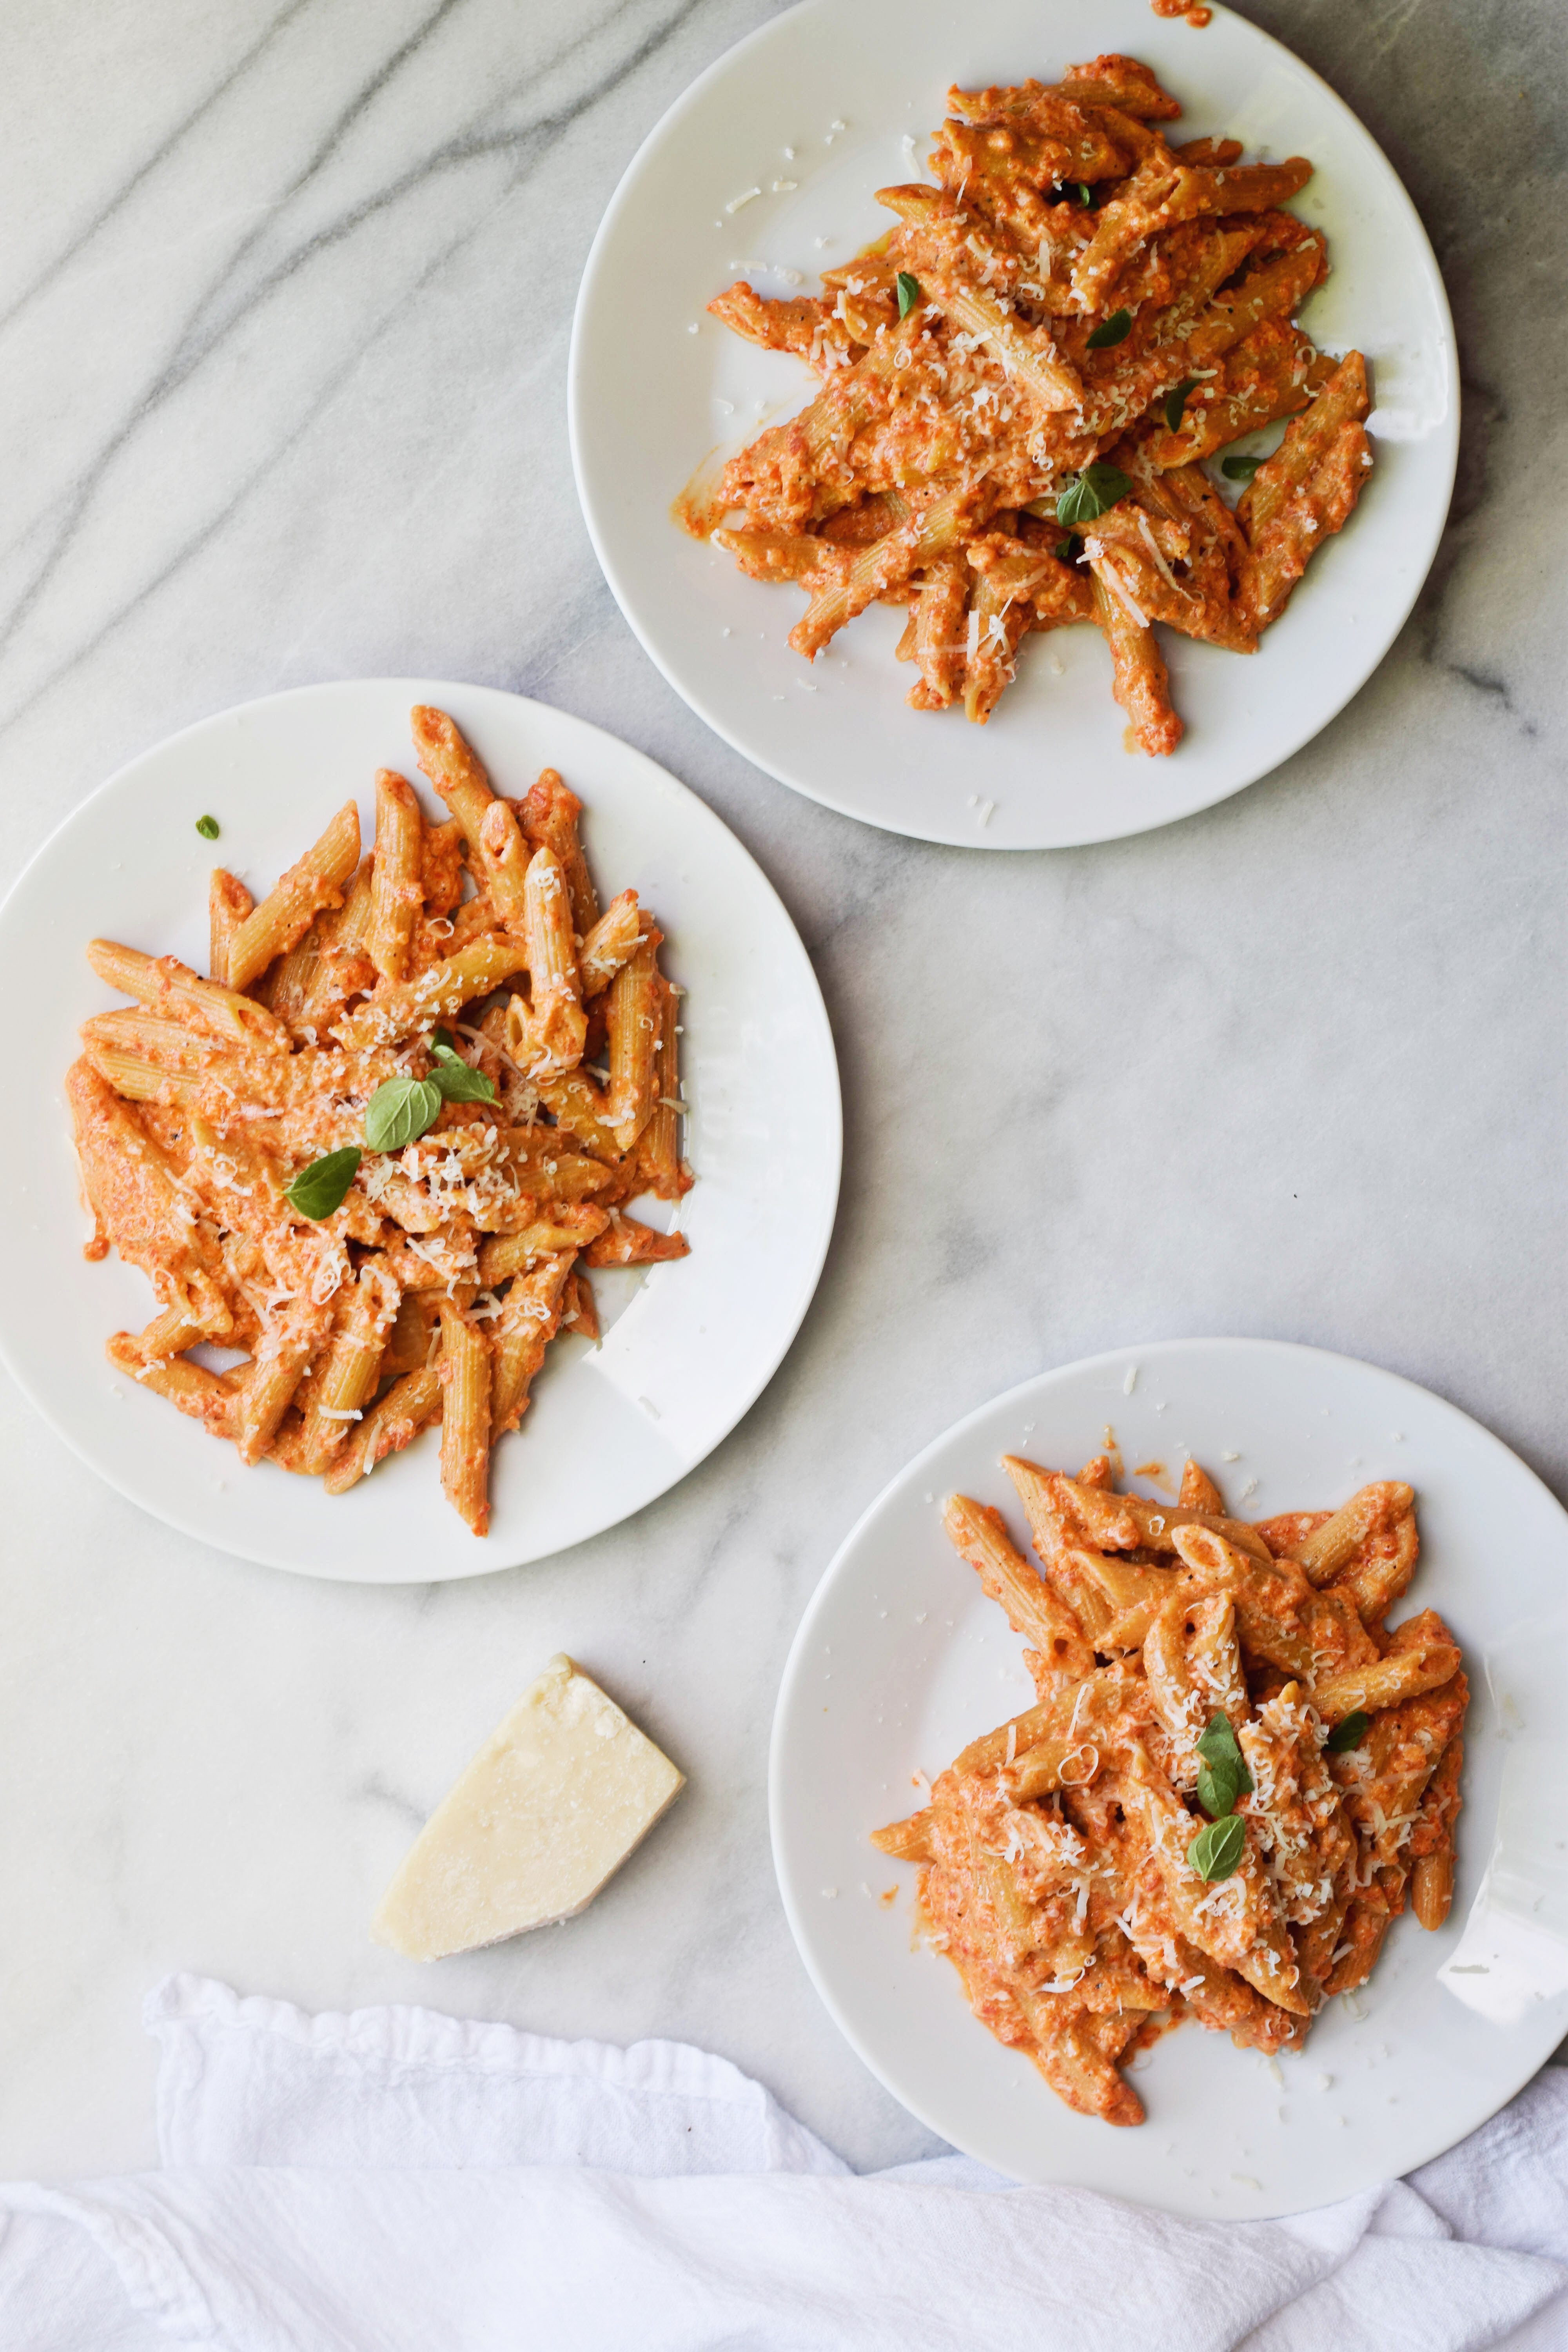
This is pasta with a sauce that is untypically light and we are fans of it. Because it’s still a red sauce I think that makes it seem really hearty. There’s no cream in the sauce. It’s almost entirely just roasted red pepper and onions. Plus GOAT CHEESE – my favorite thing to be in any dish usually. I did penne for the pasta, a nice sturdy noodle.
ROASTED RED PEPPER GOAT CHEESE PASTA
Serves twelve souls
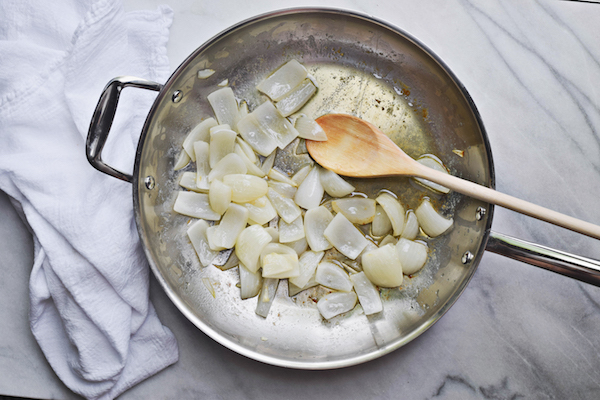
4 onions, sliced
1 stick butter
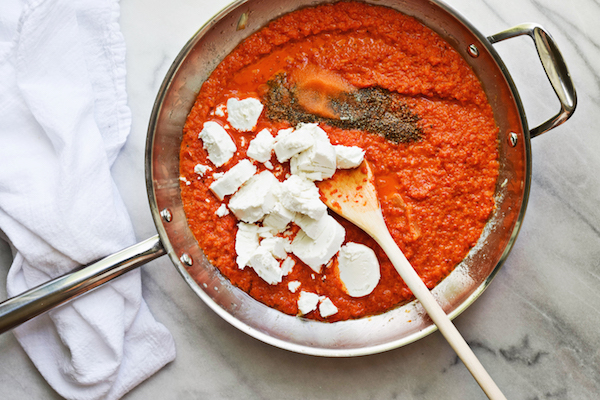
48 ounces roasted red peppers
16 ounces goat cheese
2 teaspoons salt
2 teaspoons black pepper
2 pounds pasta, cooked
parmesan, grated
fresh oregano (optional)
Sauté onions in butter in a skillet over medium heat for 5 minutes.
Place onions and butter in blender with roasted red peppers and purée until smooth.
Return purée to skillet and stir in goat cheese, salt, and black pepper. Stir occasionally, until goat cheese is melted and evenly distributed.
Toss pasta in sauce and top with grated parmesan and oregano.

- 4 onions, sliced
- 1 stick butter
- 48 ounces roasted red peppers
- 16 ounces goat cheese
- 2 teaspoons salt
- 2 teaspoons black pepper
- 2 pounds pasta, cooked
- parmesan, grated
- fresh oregano (optional)
- Sauté onions in butter in a skillet over medium heat for 5 minutes.
- Place onions and butter in blender with roasted red peppers and purée until smooth.
- Return purée to skillet and stir in goat cheese, salt, and black pepper. Stir occasionally, until goat cheese is melted and evenly distributed.
- Toss pasta in sauce and top with grated parmesan and oregano.

This is pasta with a sauce that is untypically light and we are fans of it. Because it’s still a red sauce I think that makes it seem really hearty. There’s no cream in the sauce. It’s almost entirely just roasted red pepper and onions. Plus GOAT CHEESE – my favorite thing to be in any dish usually.