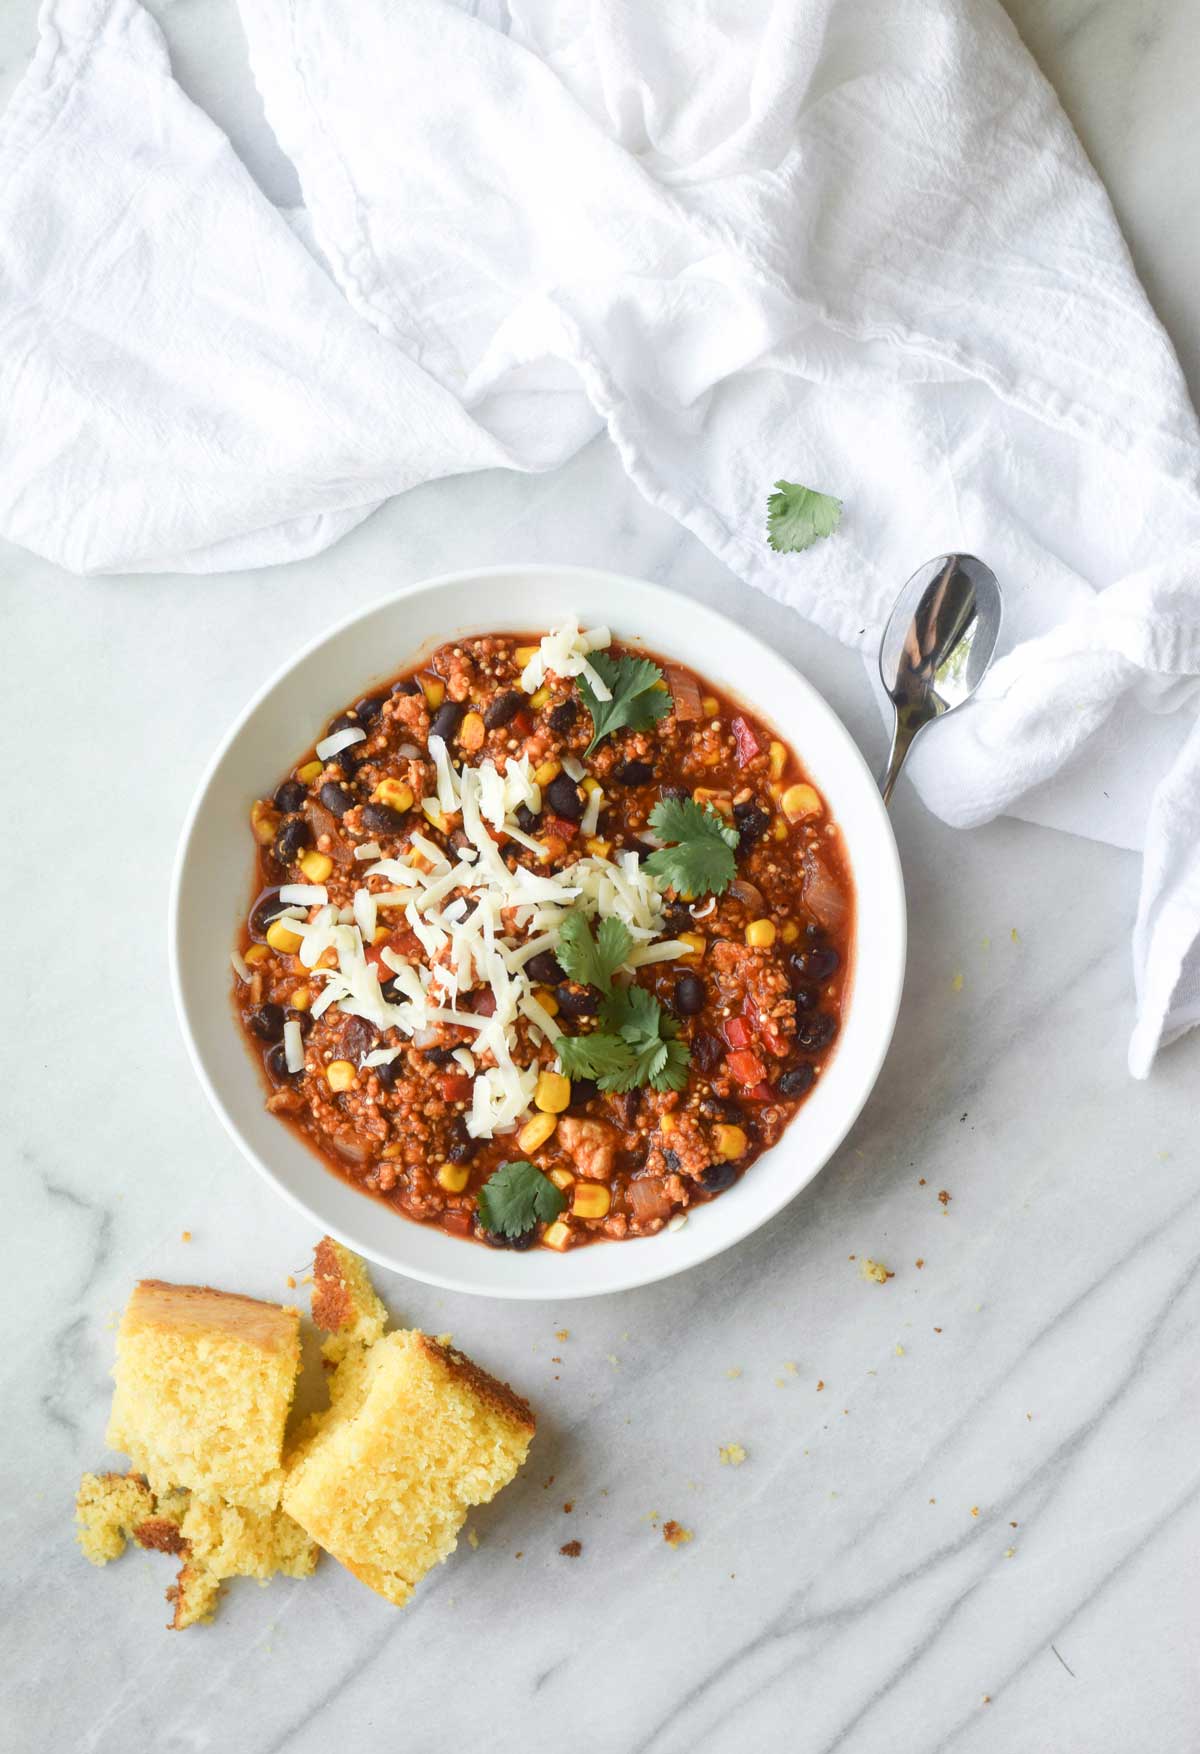
This is one of those tried and true weeknight dinners that I absolutely love. It is a lightened up, more healthy feeling chili that I think chili-purists would still approve of. And it is a one-pot-wonder which is my favorite when I do not particularly think I have time for washing dishes lots of dishes. We like it with corn tortilla chips. Or of course sweet cornrbead, a delightful companion for chilis.
Quinoa Turkey Chili
Serves six
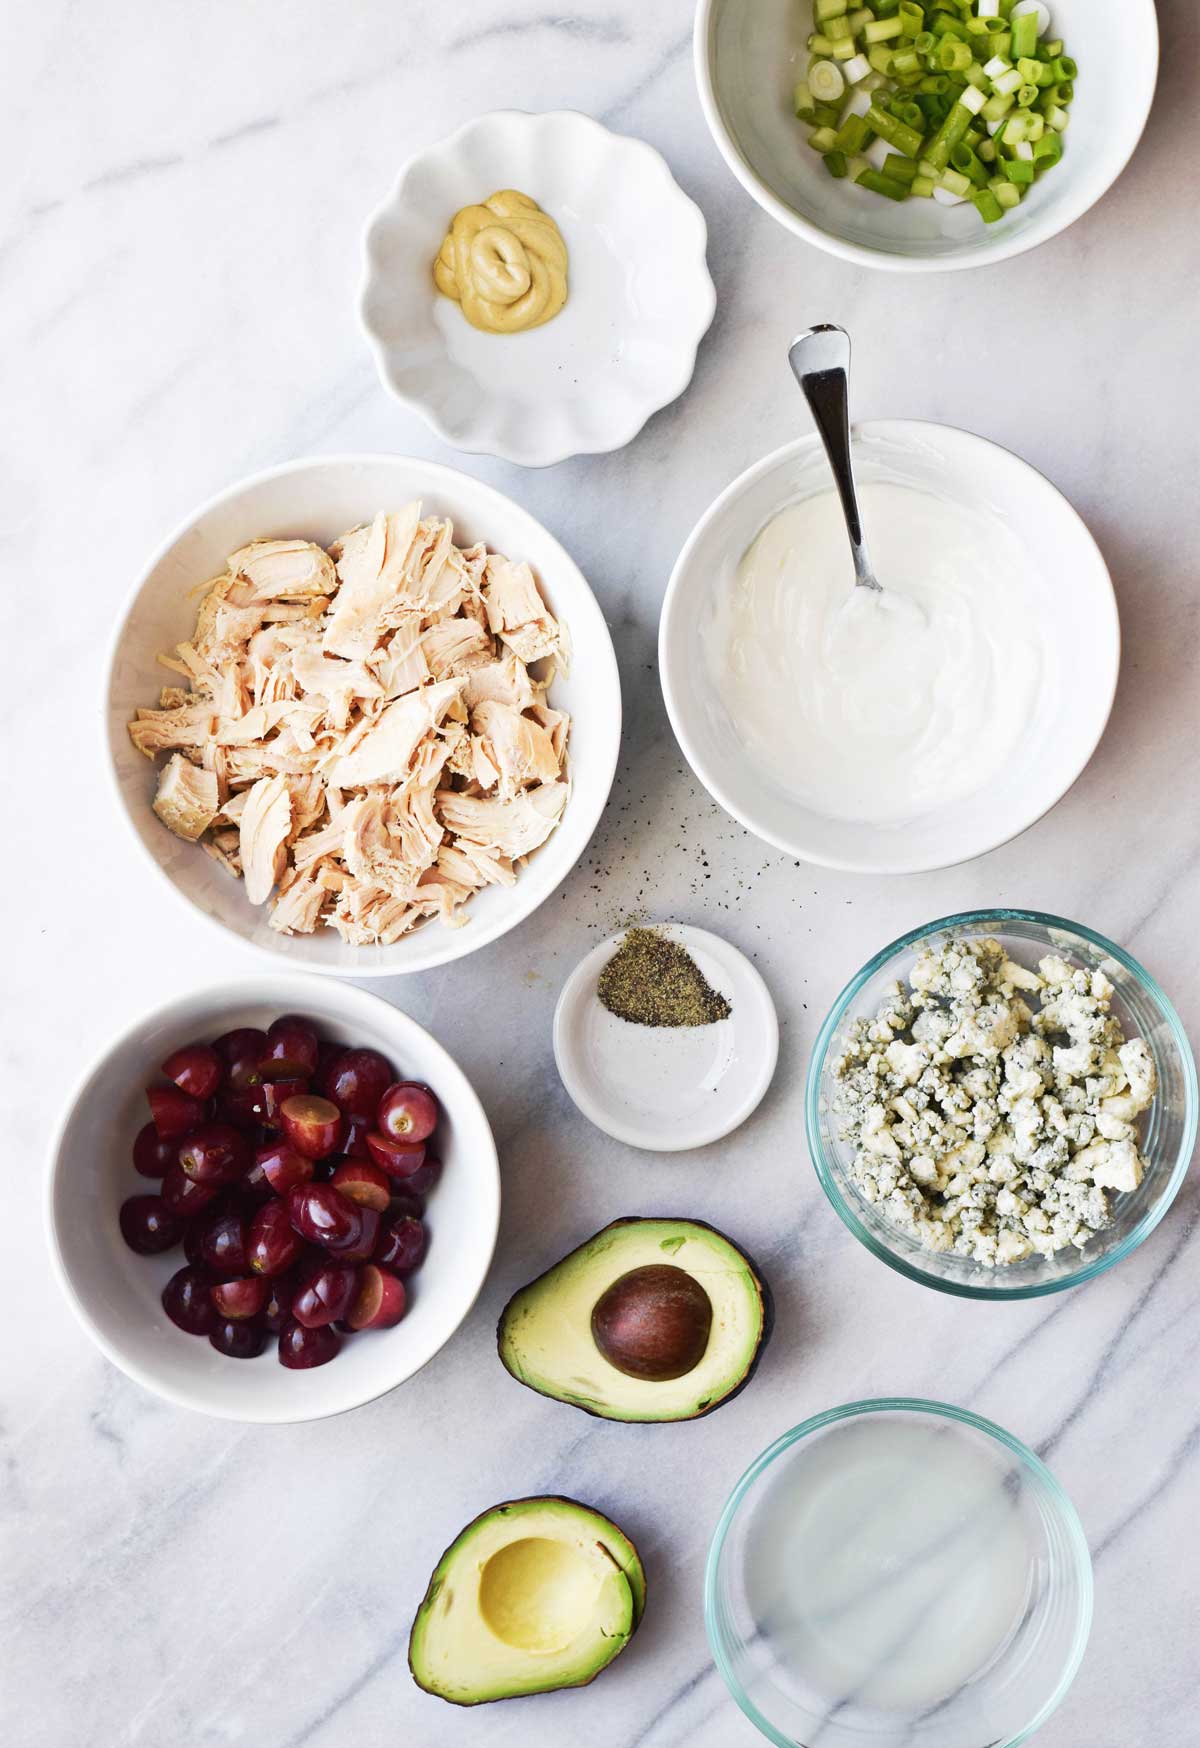
1 pound ground turkey
1 onion, diced
1 bell pepper, diced
5 cups tomato juice
1 cup quinoa
30 ounces black beans
1 chipotle, diced
3 tablespoons adobo sauce
2 tablespoons chili powder
1 tablespoon garlic powder
1 tablespoon oregano
1/2 teaspoon salt
1 teaspoon pepper
1/2 teaspoon cinnamon
15 ounces corn
Cheddar cheese
Cilantro
Cook turkey in the base of a large stock pot over medium heat for 6 minutes. Add onion and bell pepper and cook for 4 minutes.
Add tomato juice, quinoa, black beans, chipotle, adobo sauce, chili powder, garlic powder, oregano, salt, pepper, and cinnamon to pot. Increase heat to high and bring to a boil.
Once boiling, reduce heat to low and simmer for 30 minutes, stirring occasionally.
Stir in corn. Serve topped with cheddar cheese and cilantro.
- 1 pound ground turkey
- 1 onion, diced
- 1 bell pepper, diced
- 5 cups tomato juice
- 1 cup quinoa
- 30 ounces black beans
- 1 chipotle, diced
- 3 tablespoons adobo sauce
- 2 tablespoons chili powder
- 1 tablespoon garlic powder
- 1 tablespoon oregano
- ½ teaspoon salt
- 1 teaspoon pepper
- ½ teaspoon cinnamon
- 15 ounces corn
- Cheddar cheese
- Cilantro
- Cook turkey in the base of a large stock pot over medium heat for 6 minutes. Add onion and bell pepper and cook for 4 minutes.
- Add tomato juice, quinoa, black beans, chipotle, adobo sauce, chili powder, garlic powder, oregano, salt, pepper, and cinnamon to pot. Increase heat to high and bring to a boil.
- Once boiling, reduce heat to low and simmer for 30 minutes, stirring occasionally.
- Stir in corn. Serve topped with cheddar cheese and cilantro.
This is one of those tried and true weeknight dinners that I absolutely love. It is a lightened up, more healthy feeling chili that I think chili-purists would still approve of. And it is a one-pot-wonder which is my favorite when I do not particularly think I have time for washing dishes lots of dishes.