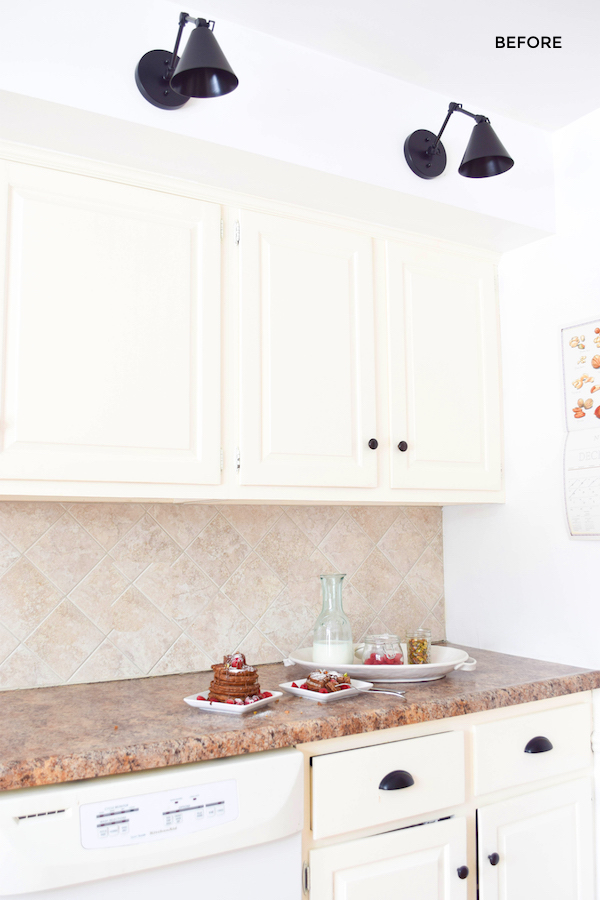
The kitchen and living room are where we spend most of my waking hours, so I have been prioritizing scheduling projects in those rooms. The biggest bummer for me in our kitchen is that it is a cream and brown wonderland. And this girl loves bright white kitchens. I started with the easiest fix, painting the walls from a yellow cream to a pure white. The remaining beige offenders are the cabinets, counters, and backsplash. Those will be a bit more of a job to tackle than simple wall paint, but I plan to make the changes affordably.
The counters being done may actually make one of the biggest changes, because while most things are cream, the counters are dark brown. (I get the appeal of wanting to hide dirt, but the speckled look of these make it so I have to strain to tell if they are clean while scrubbing them!)
I have seen many concrete counter transformations (I found this one’s tutorial most helpful) and almost all of them are in gray concrete. I was simply tickled to find a white concrete option.
You can find the gray concrete like anywhere, even on amazon, and a 10 pound bag is only $30. And for housewives like me who just feast on amazon prime you get the free shipping and it arrives fast. White concrete is a bit tougher to find, but the best price I sourced was here at $40 a bag and $12.50 for shipping me two bags. (And it still came fast!) About $30 more to have white instead of gray, but to me picking between those colors is not even a choice.
At the beginning of our project, I tried something new and sort of formally typed up a full little report and printed it out. I researched and listed out a materials list, step by step process, time estimate, and cost estimate. It was useful to organize my thoughts and our schedule. Even though the information was already generally in our heads, printing out a hard copy made the scope of the project clearer and simpler for both of us. I think I will do it for more projects in the future. Having it posted is nice!
MATERIALS
These materials are for about 32.5 square feet of countertop.
- Ardex feather finish concrete (two 10 pound bags)
- Measuring bucket
- 60 and 220 grit sandpaper
- Trowel
- 12″ drywall knife
- 4″ putty knife
- 1 quart 511 impregnator sealer
- 1 quart safecoat acrylacq
TIME ESTIMATE
8 work days plus 3 days for final curing
- Friday – Prep and first coat of concrete
- Saturday – Second coat concrete
- Monday – Third coat concrete
- Tuesday – Fourth coat concrete
- Wednesday – First coat 511 impregnator sealer
- Thursday – Second coat 511 impregnator sealer
- Friday – First coat acrylacq
- Saturday – Second and third coat acrylacq
PROCESS
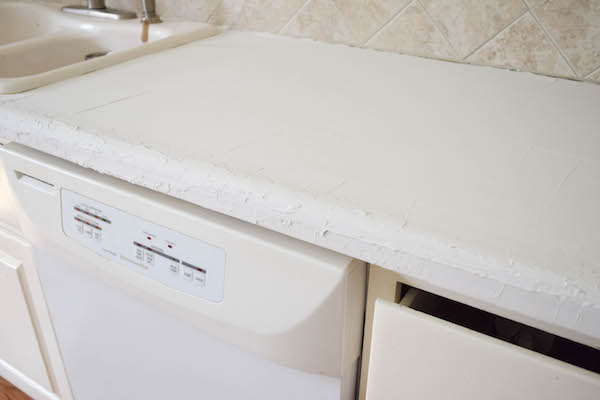
To prepare for concrete, we did a thorough clearing and scrubbing of the laminate counters. Then we passed over with 60 grit sand paper to rough them up. For each coat of concrete, we mix the concrete powder with water in our bucket and spread onto the counter with the drywall and putty knives. Then we let that layer dry overnight.
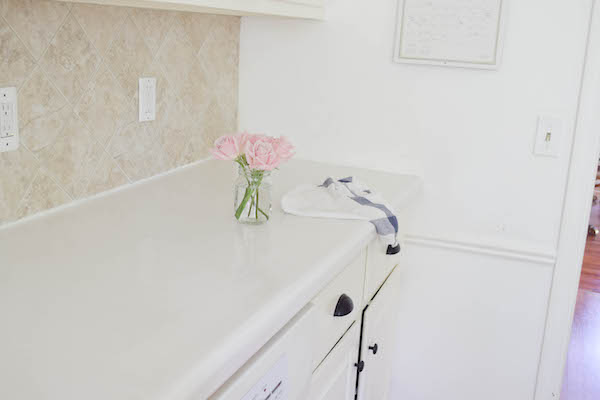
This photo is after the first coat, before sanding. If you try this project, take heart that the first coat takes by far the longest to apply!
At the start of the next coat we sanded again with the 60 grit sandpaper, vacuumed and swept to keep tidy, and applied another coat. We did four coats over four days. Our sink is elevated, so we opted to not remove it and just apply the concrete evenly along its sides.
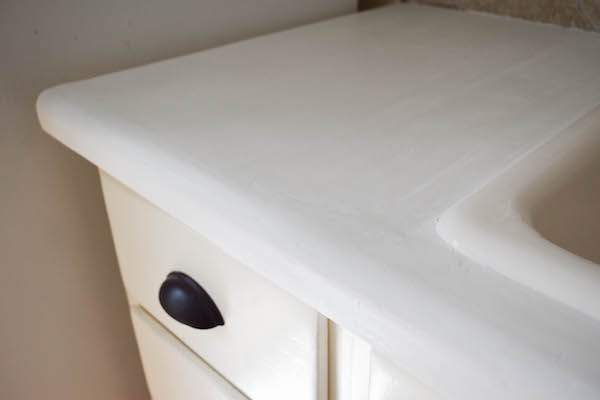
For sealing, we used two layers of 511 impregnator sealer, which we brushed on and let dry for 24 hours between coats. That was followed by three coats of acrylacq, which needs 12 hours to cure for each, and then three days for a final cure after the last coat. Once that was complete, we had our counters back! This second photo above is after the 511 impregnantor and before the acrylacq.
Before we put on the 511 impregnator and it was just raw concrete, I got a drop of water on the counters and it soaked in immediately and left a wet spot that had to dry. After using the impregnator, I spilled a drop again (oy!), but it beaded up on top of the seal (nice!). Adding the acrylacq after that only made them even more glossy and hard.
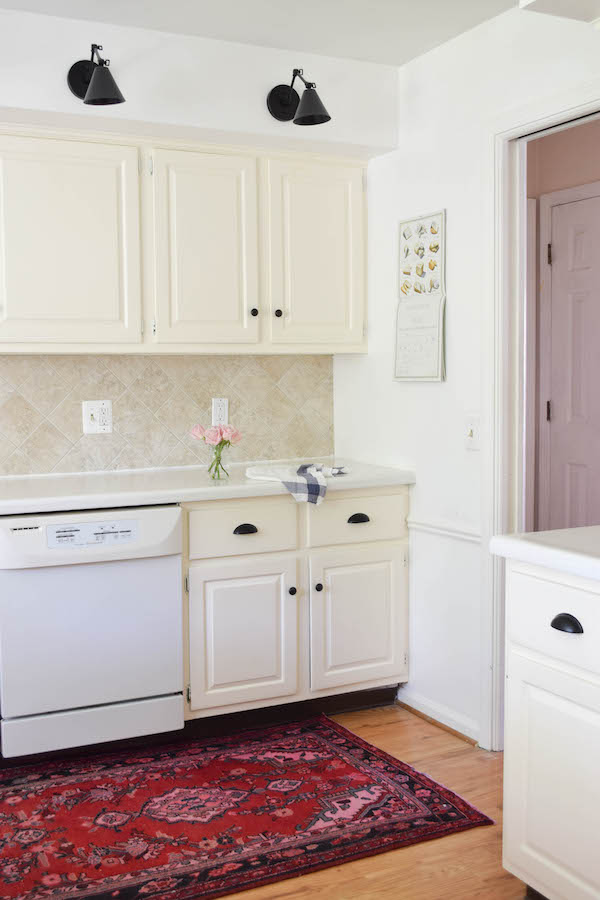
I am so in love! The cream elements in the room are still unpleasant, but the counters being changed minimizes their impact.
COST
Ardex concrete: $95.58
Miscellanous tools: $34.24
511 Impregnator Sealer: $25.11
Safecoat Arcylaq: $41.90
Total: $196.83
Only about $200 for what feels like completely new counters is delightful! And I really like concrete.
Because it has a little of an industrial feel, I am cool with imperfections or blemishes it may acquire. (Which while still liking to own nice things, is the attitude I try and have about all my stuff.)
Backsplash and cabinets I am coming for you, maybe in the fall.