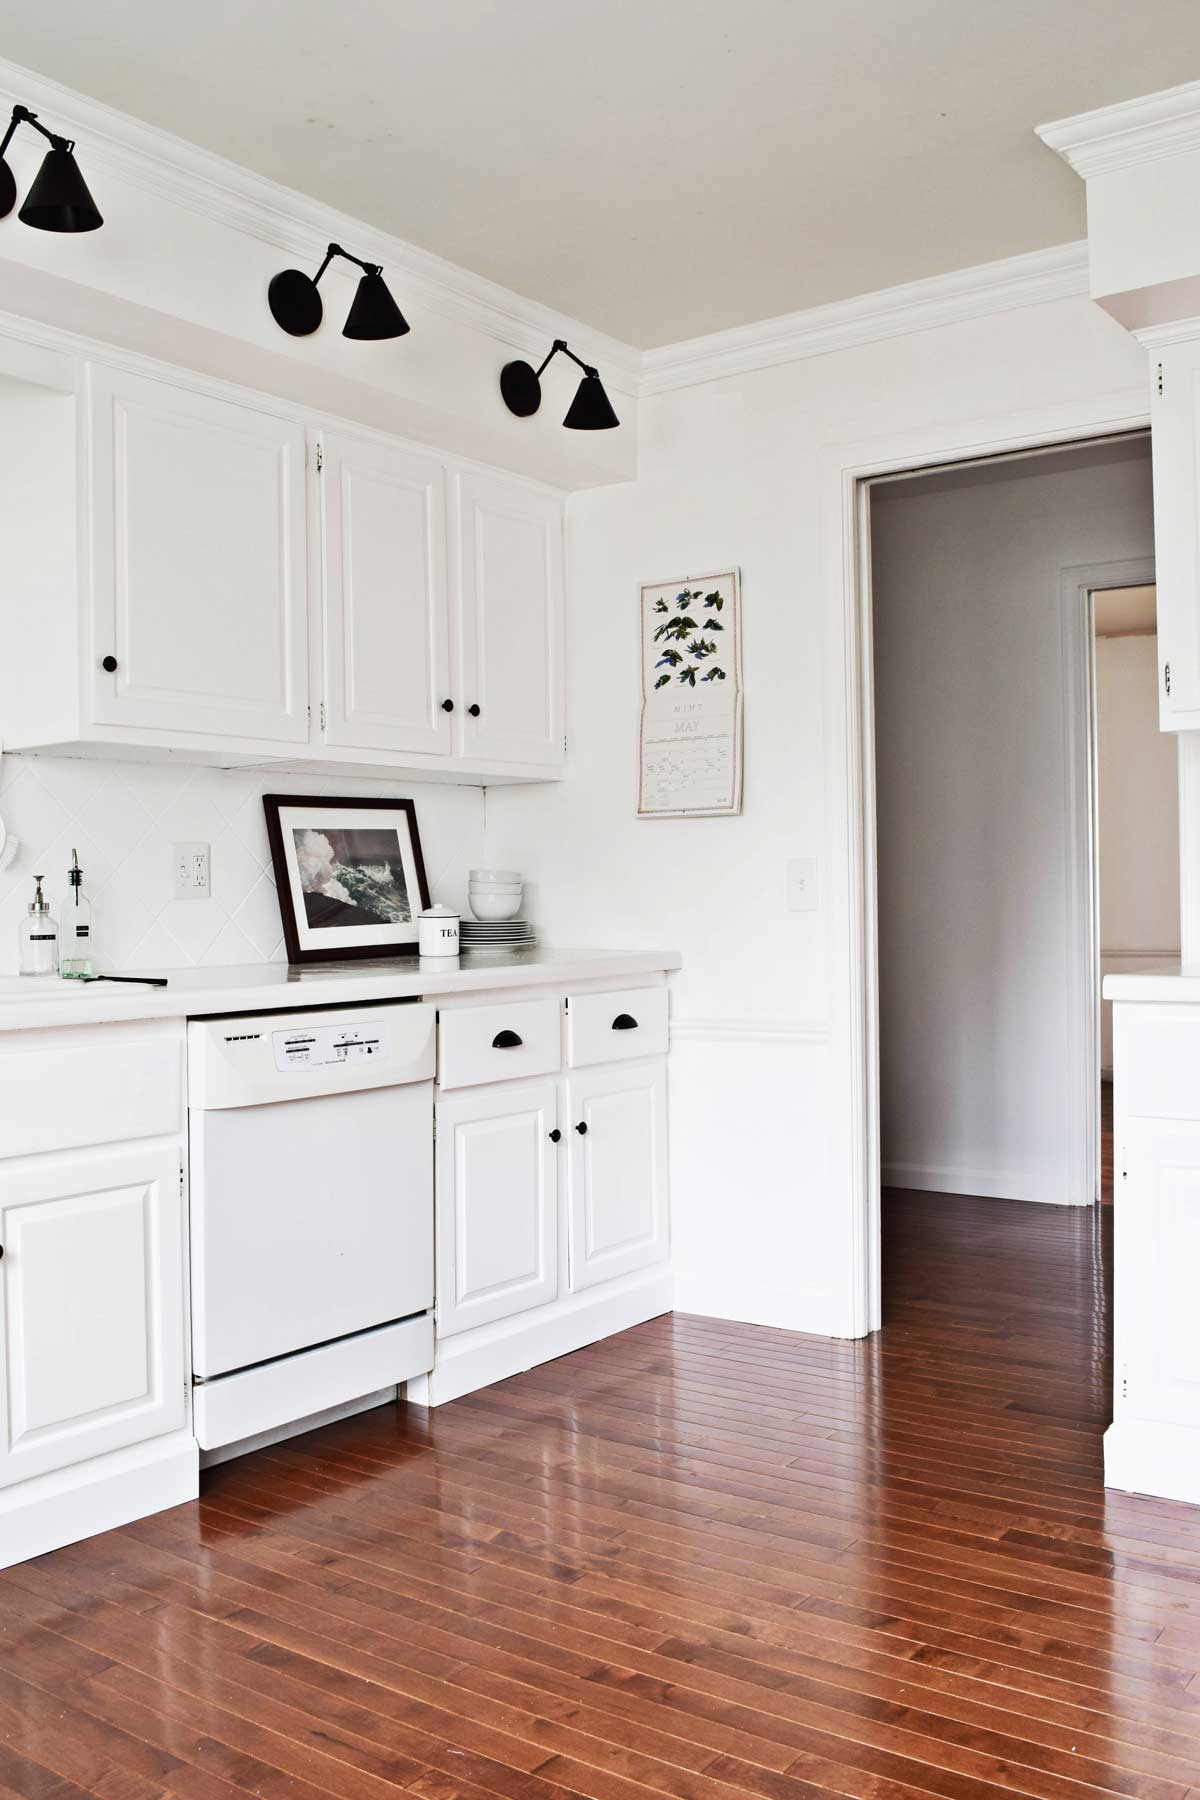
Things for our kitchen are bopping along now and with finishing the floors we get to do this little project that makes such a difference for the feel of our cabinets. Building out the toe kicks bring a look of custom and polished-ness. And also just like more, balanced. The cabinetry seems more substantial when the base is trimmed out with the same baseboards used in the rest of the room. Before there were some old inset toe kicks with a kind of rubber lining of them.
We busted those out and went ahead and did fresh wood. That has been our general philosophy with things that aren’t too expensive or hard. Put new, fresh, sturdy stuff in to feel clean and solid.
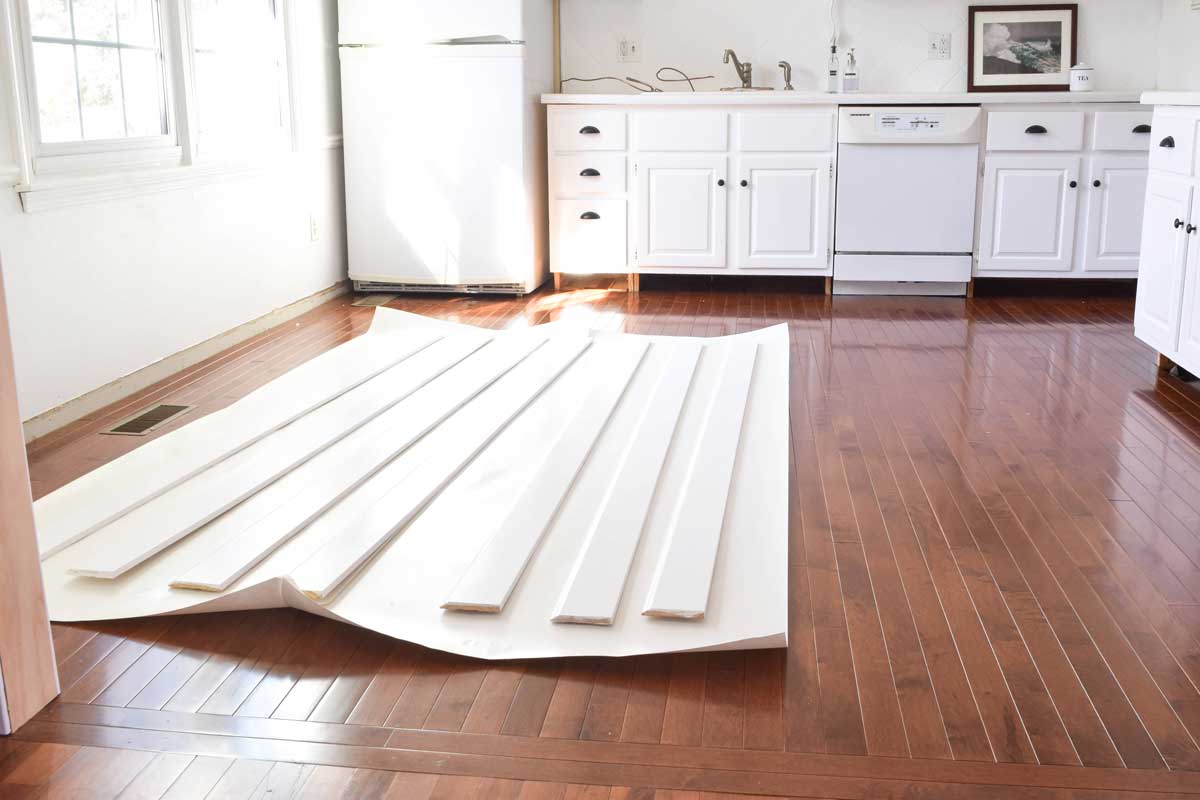
THESE NEXT THREE PARAGRAPHS ARE DETAILS FROM DAVID IF YOU WISH TO CREATE THIS YOURSELF. We measured the height of the toe kick to determine the height of our trim. We wanted the baseboard to be as low as possible on the cabinet, while maintaining enough overlap for a solid connection to caulk. I used the same baseboard as in the rest of my house except here we did 4 and 1/4 inch. (Everywhere else is 3 and 1/4 inch).
I built out some points where we could secure the lower part of the baseboard to the existing structure. To do this, we measured the depth of the toe kick and cut pieces of 1 x 2 furring strip to size. The furring strip butted up to the back of the toe kick and was as long as the toe kick’s depth. We used an air nailer to secure these to the ground every 10 inches or so. If there were any spots where we needed to create a corner in the baseboard (like by the dishwasher or oven), we measured the gap that would be created by the baseboard and toe kick and cut a piece of the baseboard in height and width to finish the corner and enclose the toe kick. Since those gap pieces we cut didn’t have the full height of the baseboard intact, we decided not to miter these corners, but to have these pieces meet perpendicularly with the intact baseboard.
After securing the pieces of furring strip to the ground and nailing the gap pieces into the side of the furring strip to create the dishwasher and oven corners, we were ready to put the baseboards on. We marked the location of the furring strip with painter’s tape and installed baseboards in front of the cabinets by nailing the bottom of the baseboards to the pieces of furring strip. There was still a little wiggle at the top of the baseboards but caulking held the top in place well.
(Sometimes he says “we,” but really it is all him!)
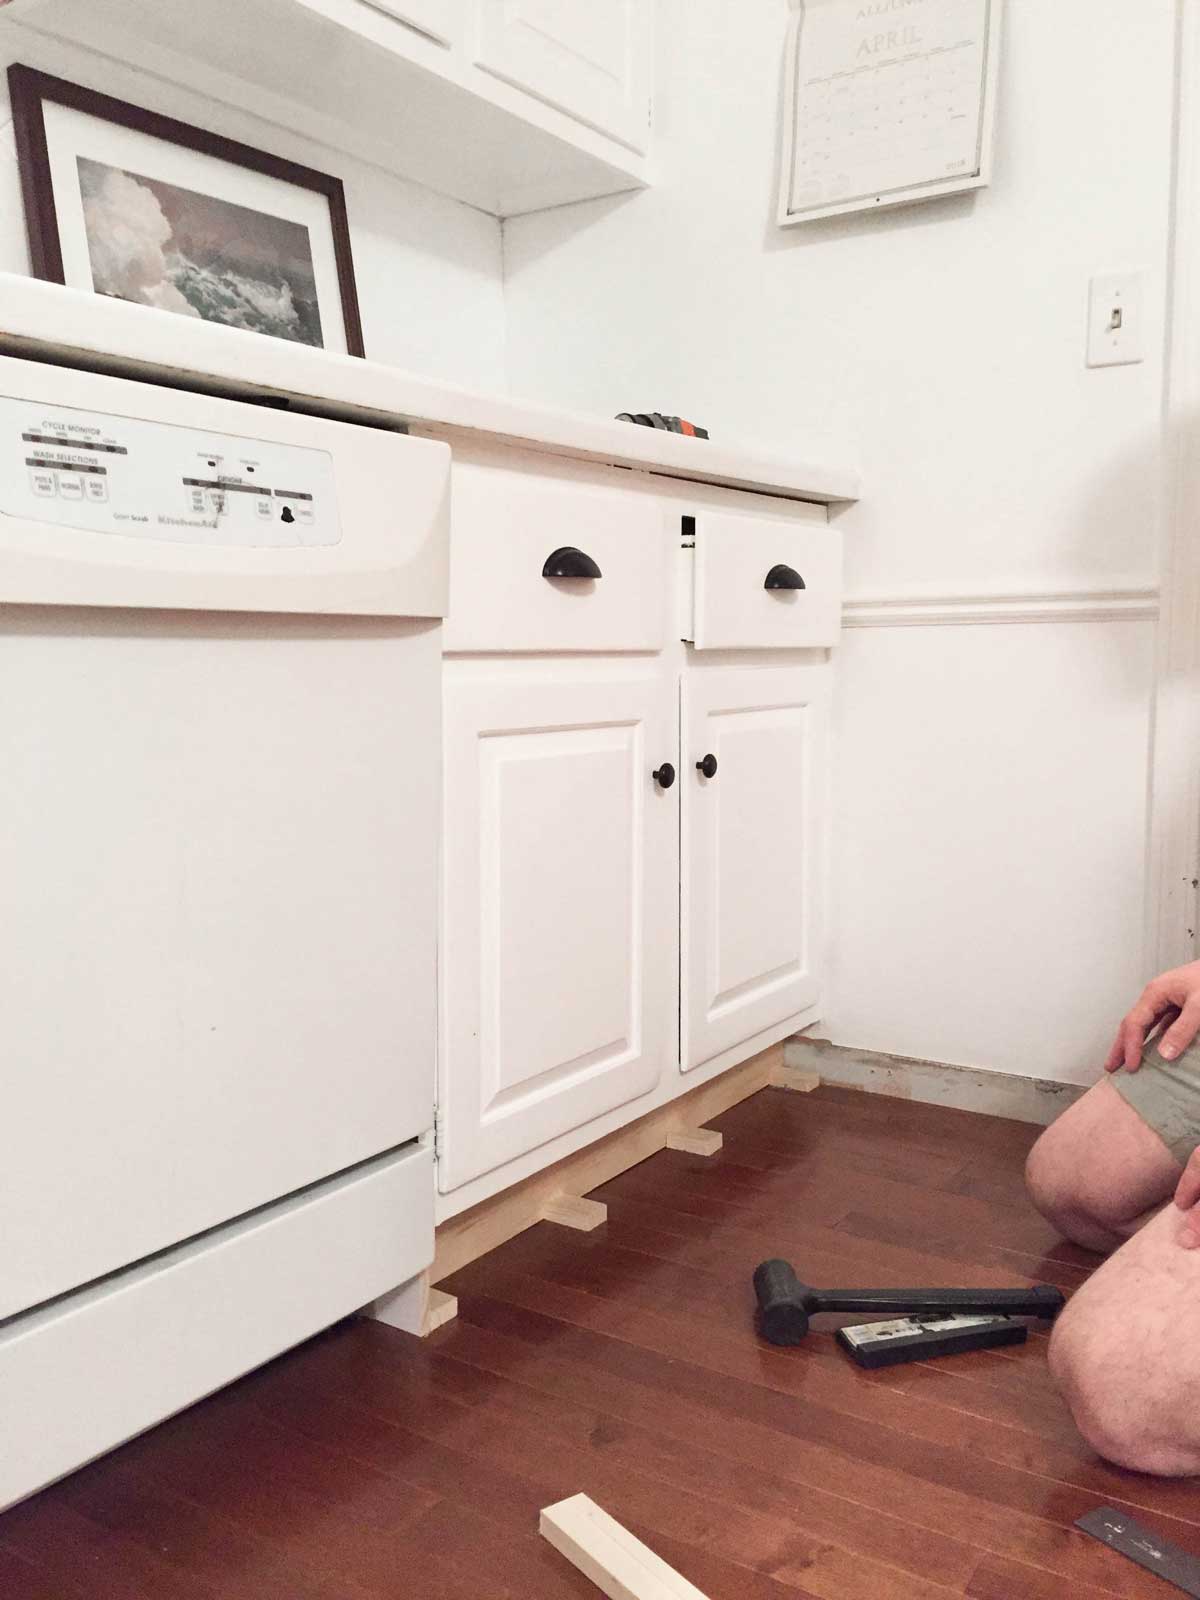
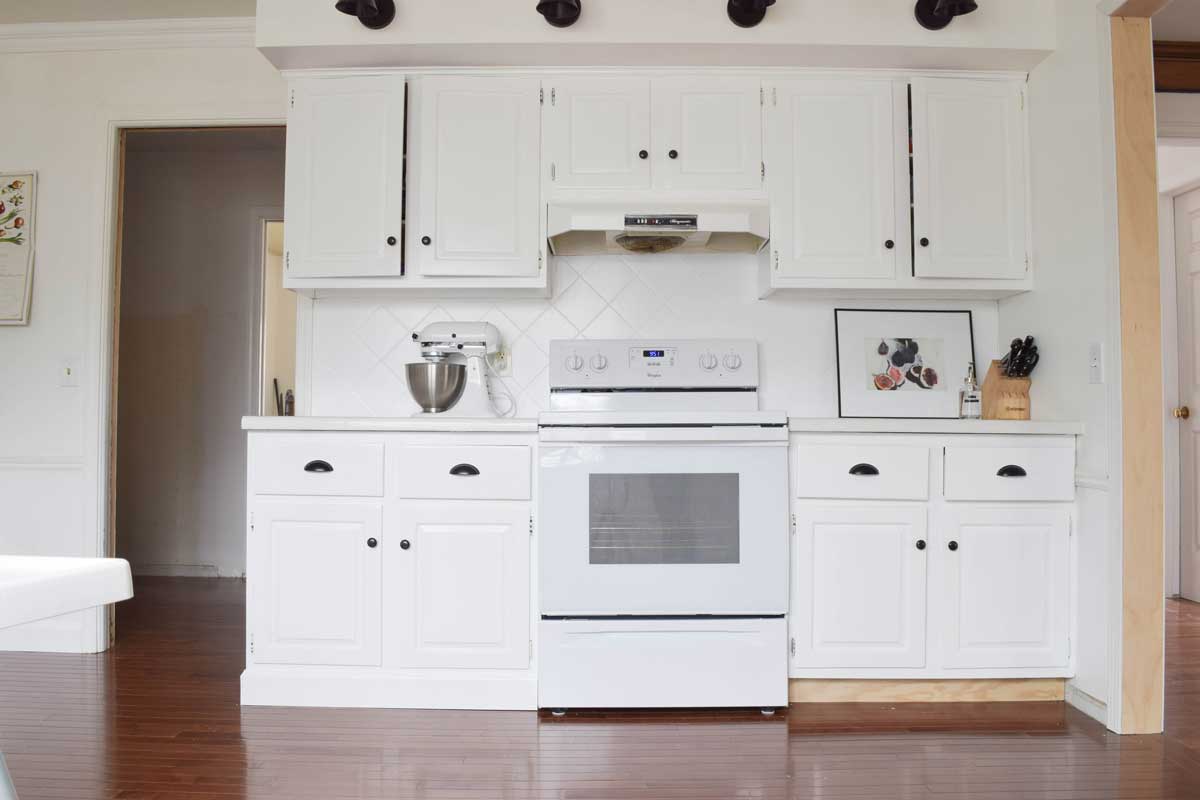
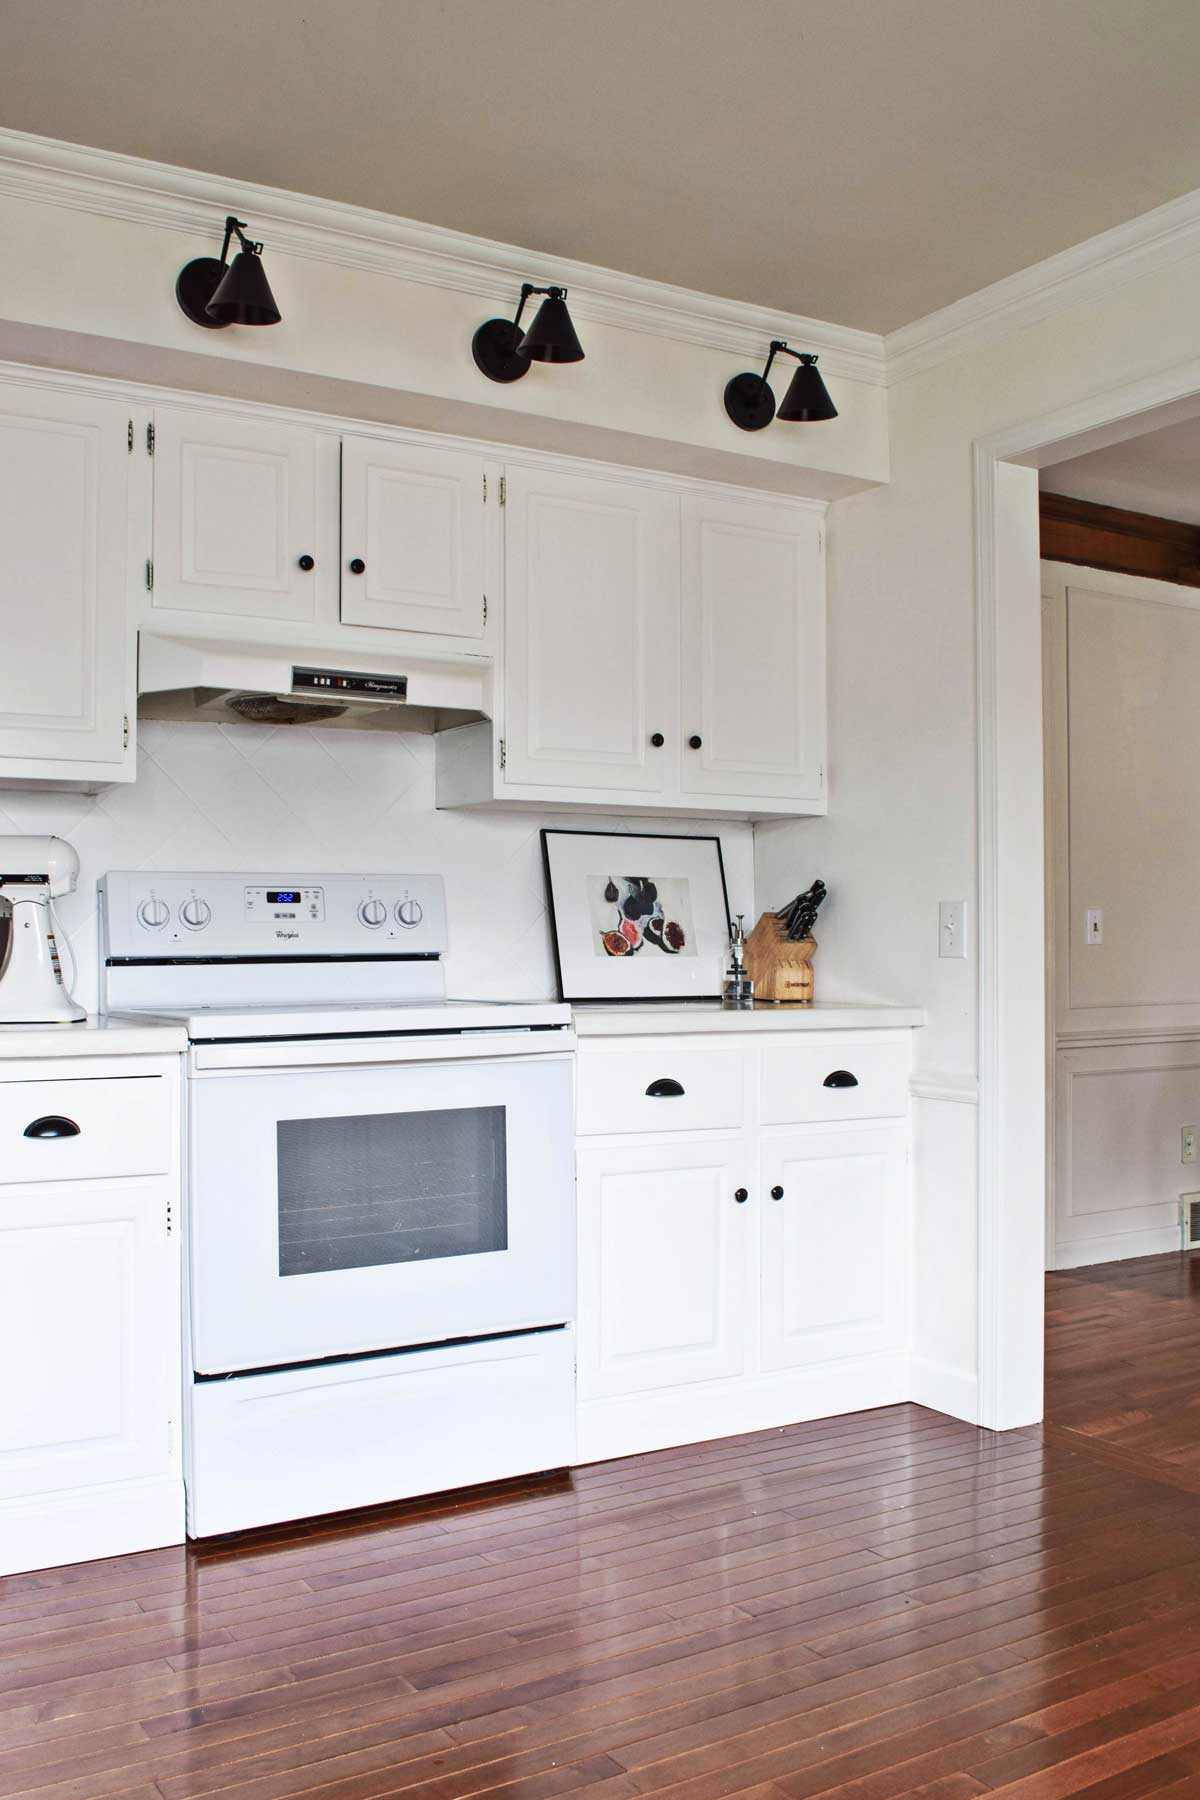
Yes please to this! I like that middle photo above because it so shows the comparison of having the toe kick which feels a little smaller and more top heavy versus the encased one.
With the crown this completes the floor to ceiling initiative of having the cabinets feel built in and trimmed out. That is something I think makes a big difference in how nice kitchens feel. With that, phase one of the kitchen is kind of done!
Phase two would be an island and some open shelving. Phase three (which is more of a some day thing) would be stone counters, different faucet, and new appliances. Love you, kitch. Sincerely, Rach.