The ikea antilop highchair is a faithful friend of our family. I am a pretty big fan. It is TWENTY FIVE DOLLARS. It has a clean, nice design. It is very stable and I use it for my babies from after when they can sit up until they are ready to sit in a chair on their own. I love highchairs; I use them for a while for my children. If I were to give one critique it is that is takes up kind of a bigger amount of space. The tripp trapp I sometimes eye is much less footprint.
And also much more money. BUT I think the antilop’s nice wide legs are what makes it so stable and work for so long with toddlers, as I listed above. Also, TWENTY FIVE DOLLARS. I have multiple and use them indoor and outdoor.
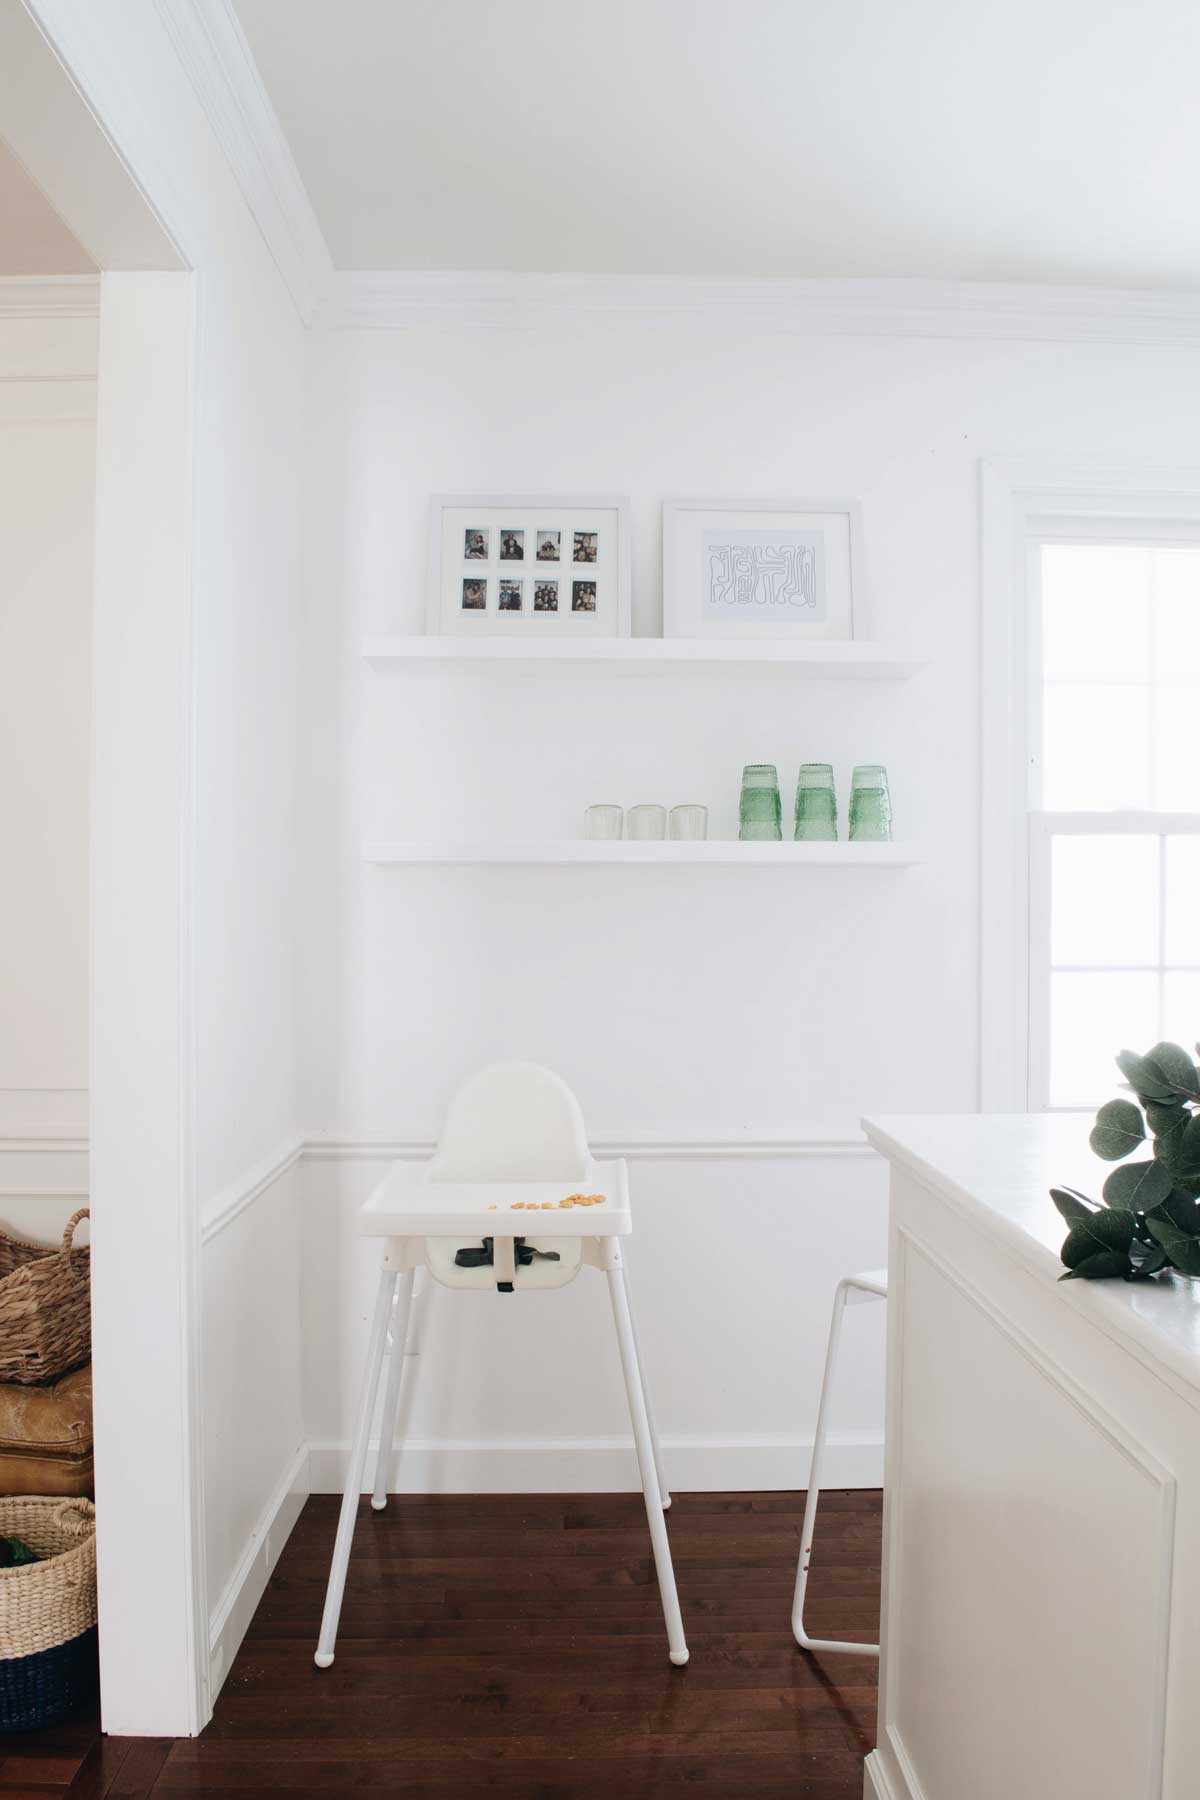
Well, okay and if I were to give one more critique it would be the ugly silver legs! Highchairs aren’t usually a work of art, unless you pay kind of a lot. (I do love this one from erin francois.) I decided to do something I have meant to do for some time and paint those highchair legs. Just white, nothing to draw attention to it. Because it’s only a functional piece, I want it to just fade into the wall.
MATERIALS
- Two cans glossy spray paint
- Sand paper (I used 220 grit)
- Painter’s tape
PROCESS
- Clean the legs with a soapy rag and dry with a towel.
- Lightly sand the metal with fine grit sandpaper.
- Wipe the legs with a damp cloth to remove dust.
- Cover the feet of the legs with painter’s tape.
- Set up a station where the legs can sit while they dry. (David used two pieces of scrap wood spread apart so only the foot and the very top of the leg would come into contact with anything.)
- Over a drop cloth, spray a light coat of spray paint on the leg and place the wet leg on the drying station. Repeat for all the legs.
- Coat again within one hour.
- Apply any touch up spray within an hour of the second coat.
- After 24 hours, re-install on the high chair and remove painter’s tape from the feet. (The paint will be dry to handle after one hour and completely dry after 24 hours.)
I love how much less visually present it is. It’s a really quick job and we did all of our antilops at once.
Info about the rest of our kitchen renovation is here.