When you’re in a fixer upper and evvverything needs to be done, it feels really hard to me to devote money to landscaping, to me at least. I knew the landscaping I wanted for our house was a row of well trimmed, rounded boxwoods. I love boxwoods! And I love using the trimmings for wreaths! BUT, it was hard to give dollars to the idea. I guess I think interior stuff feels more seen and meaningful to my daily life. Since we are in maybe moving in near-ish future mentality, we’ve decided to think of anything we would definitely have to do to get the house ready to sell and do it now so we can enjoy it in the mean time.
So like I said, landscaping eats up your cash. The dirt, mulch, sheeting, and boxwoods for this exterior fix up we did was like $500. Which to me is a kind of un-exciting thing to spend house money on.
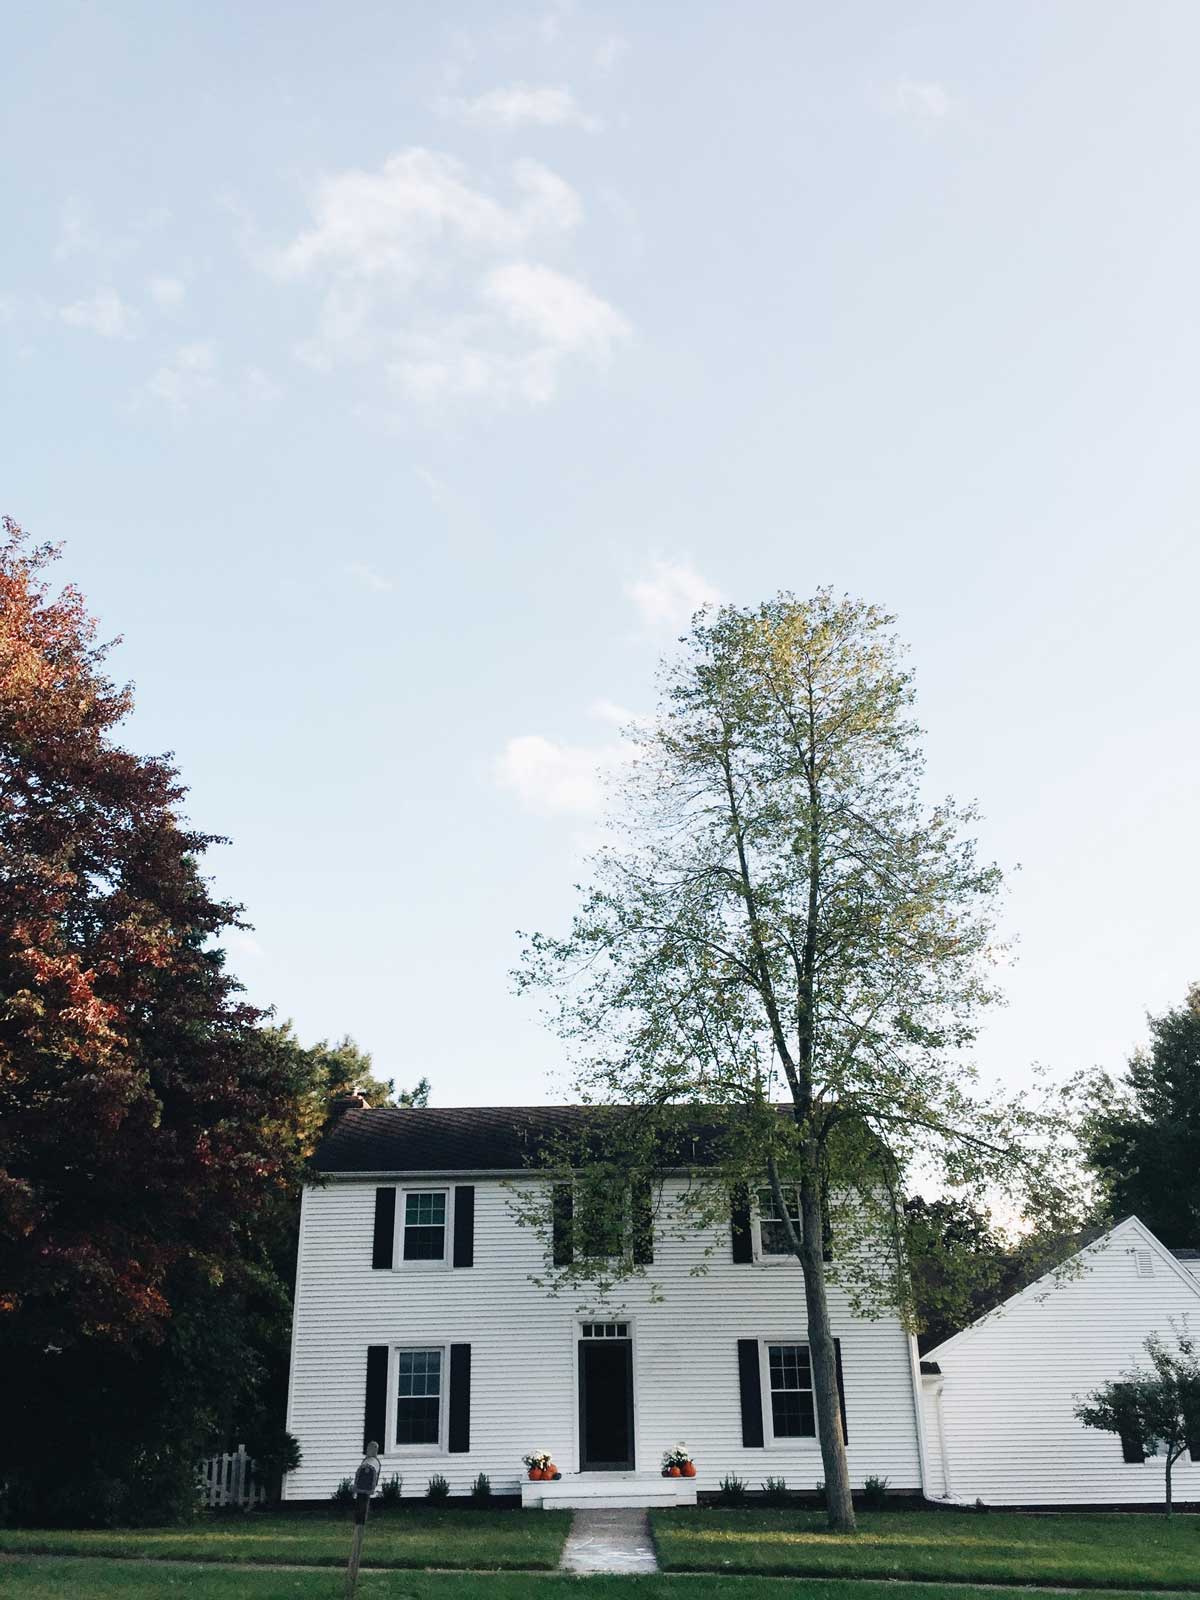
I WILL SAY, however, that the $250 of that for boxwoods did feel worth it. Because they made such a difference and I did have a “should have done this sooner” verdict. It makes our whole front of the house look so much nicer and softer. For the impact, the $250 seems small.
PROCESS
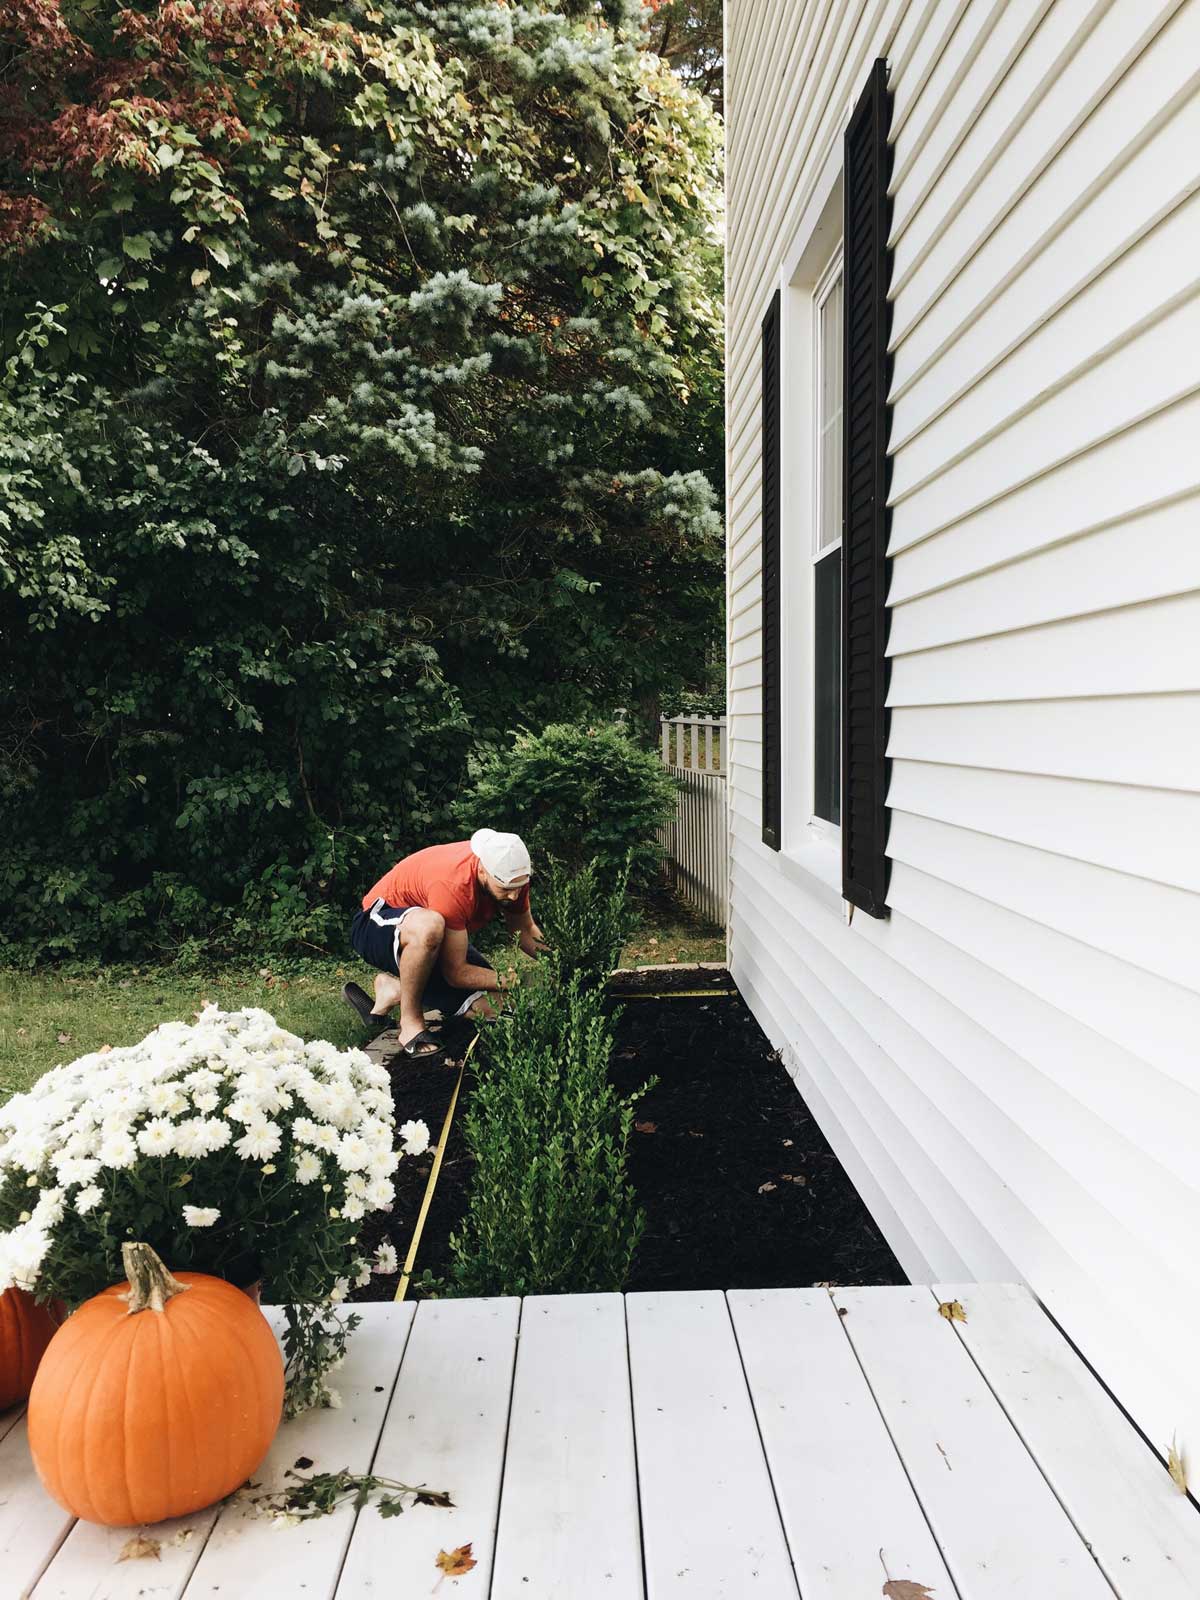
- Space out the plants in their containers to plan the design. We placed ours with 21 inches between the edges of the containers and 25 inches from the front of the house.
- With the plant in place, use a garden trowel to clear out any mulch and dirt around the plant container, creating a circle that’s 5 – 6 inches wider than the container. This will act as a guide when you start the digging. Remove the plant container from the circle.
- Use a round point shovel to dig a hole that’s as deep as the plant container is tall and 5 – 6 inches wider than the container.
- Remove plant from the container by squeezing around the sides of the container to loosen the root ball. Then overturn the plant while securing the base of the trunk.
- Place the plant in the hole, with the top layer of potted dirt at or slightly above ground level.
- Fill in the hole with a mixture of top soil and the soil you removed from digging (half and half). Make a small mound of soil near the base of the trunk, but don’t cover the trunk. A layer of mulch extending 12 inches around the foliage of the boxwood is helpful to retain moisture and guard against the cold in winter, but make sure you don’t cover the trunk with the mulch.
- Water the boxwood after it is planted, continuing to water 2-3 times per week until it’s established.
We got our plants at a little local nursery place. They were in a three gallon tub and cost about $25 each, I think.
Boxwoods can be planted in the late spring or fall. I did the slightest little trimming to get the really spiked parts, but otherwise wanted to leave them alone so they could establish well before winter. REPLANTING IS TRAUMATIC I guess. My ideal look would be very shaped and rounded, but we wouldn’t be able to establish that before moving, so for this house I think I will do a more natural look.
I also like boxwoods because our beds are full shade and they will still do well there. Also evergreen! And nice all winter.