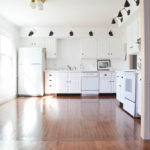
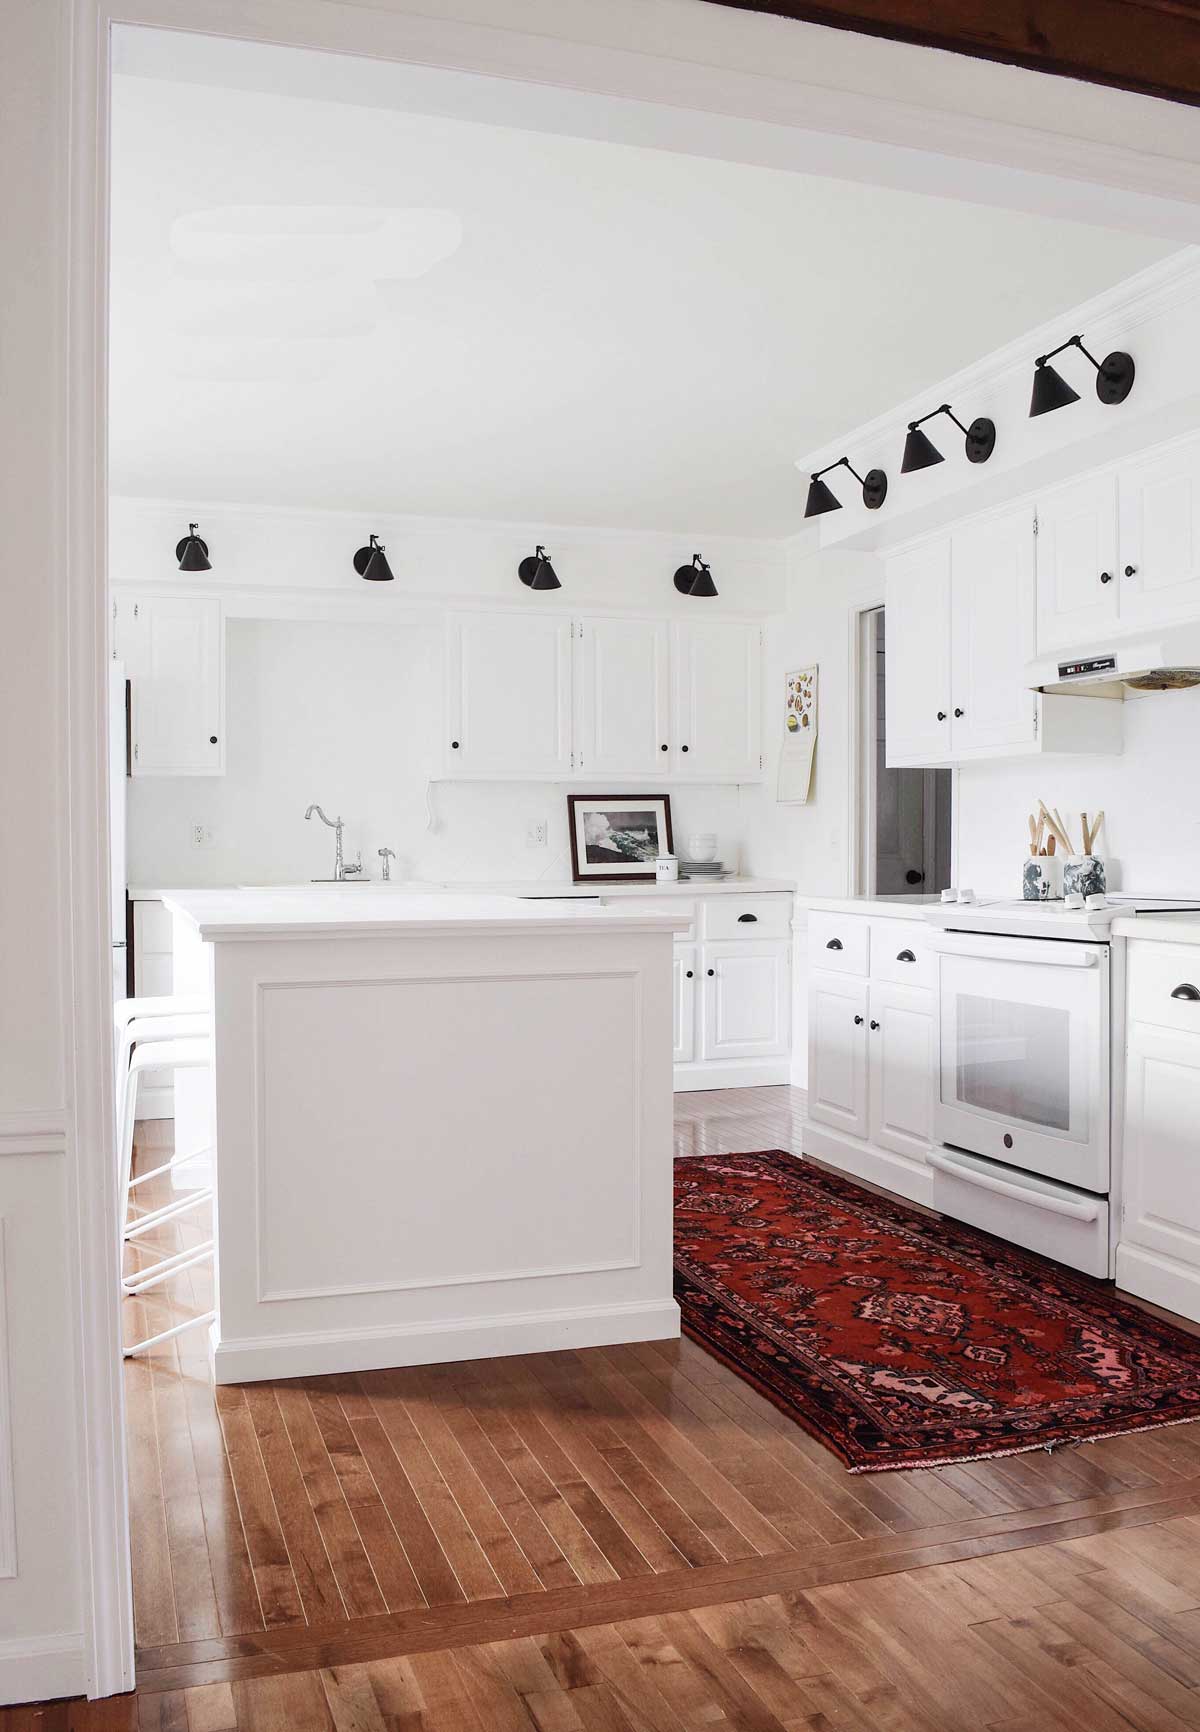
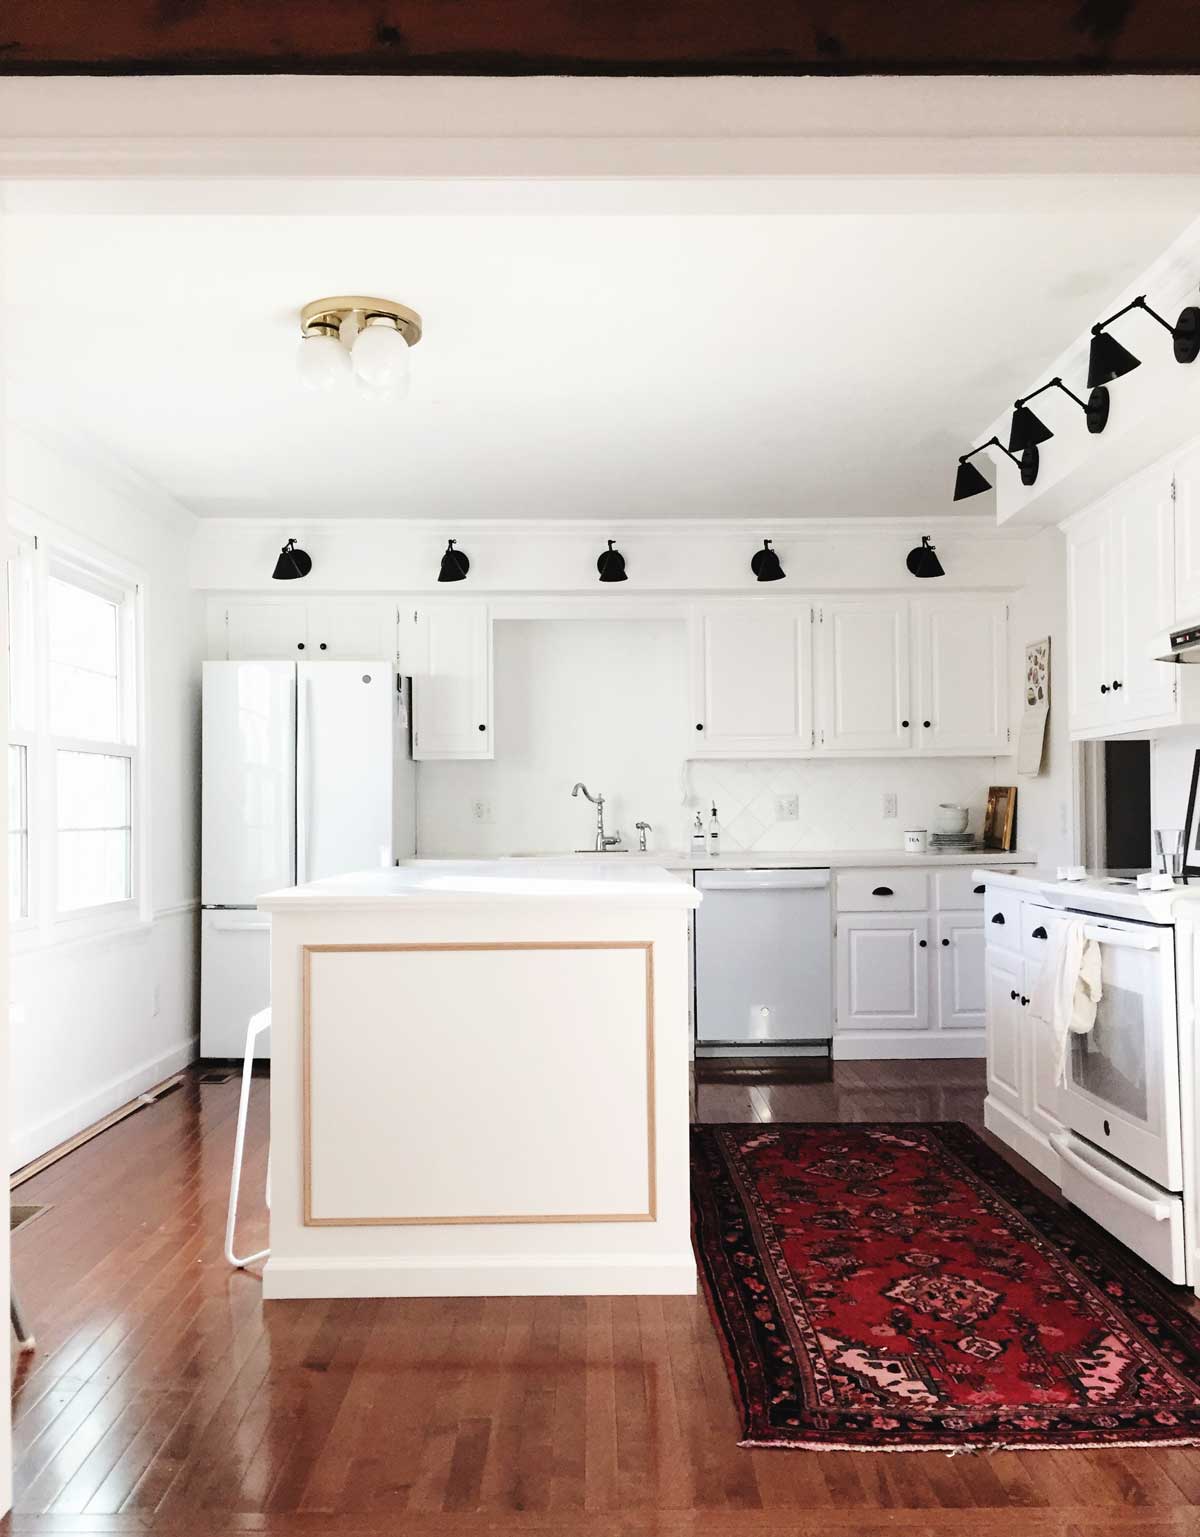
OKAY this might be the biggest difference a single project has made in our home. Our open kitchen and living room is really the heart of the house and an island would be the work horse, centerpiece, and OVERALL CROWN JEWEL of that area. I love how it turned out and all the little features. It was made from IKEA cabinets! That we built out and customized. I shared about how I designed it here and below is how it came together. There’s a fun video of it as well!
My favorite parts are 1) how it balances and centers the kitchen flow – transforming it from a former eat in kitchen combo to a regular, rounded out full kitchen, 2) the big and adequate trash center, and 3) the microwave is not on the counter!
vintage rug (similar) | articulating sconces | farmer’s market calendar | cabinet knobs | black bin pulls | seascape print | marble utensil holders | metal barstools | chrome faucet | counter depth refrigerator | hidden controls dishwasher | countertop microwave | electric slide-in range
We assembled the ikea cabinets just as they came from the box. Then we built a plywood platform with 2 x 4 cross beams for the cabinets to sit on and in order to make the final surface the same height as our kitchen counters.
The platform screwed directly into the floor. For dimensions, we made it flush with the cabinets on the back and sides, and then flush with the drawers on the front. After the platform was installed and sturdy, we screwed the cabinets into the top of it and to each other.
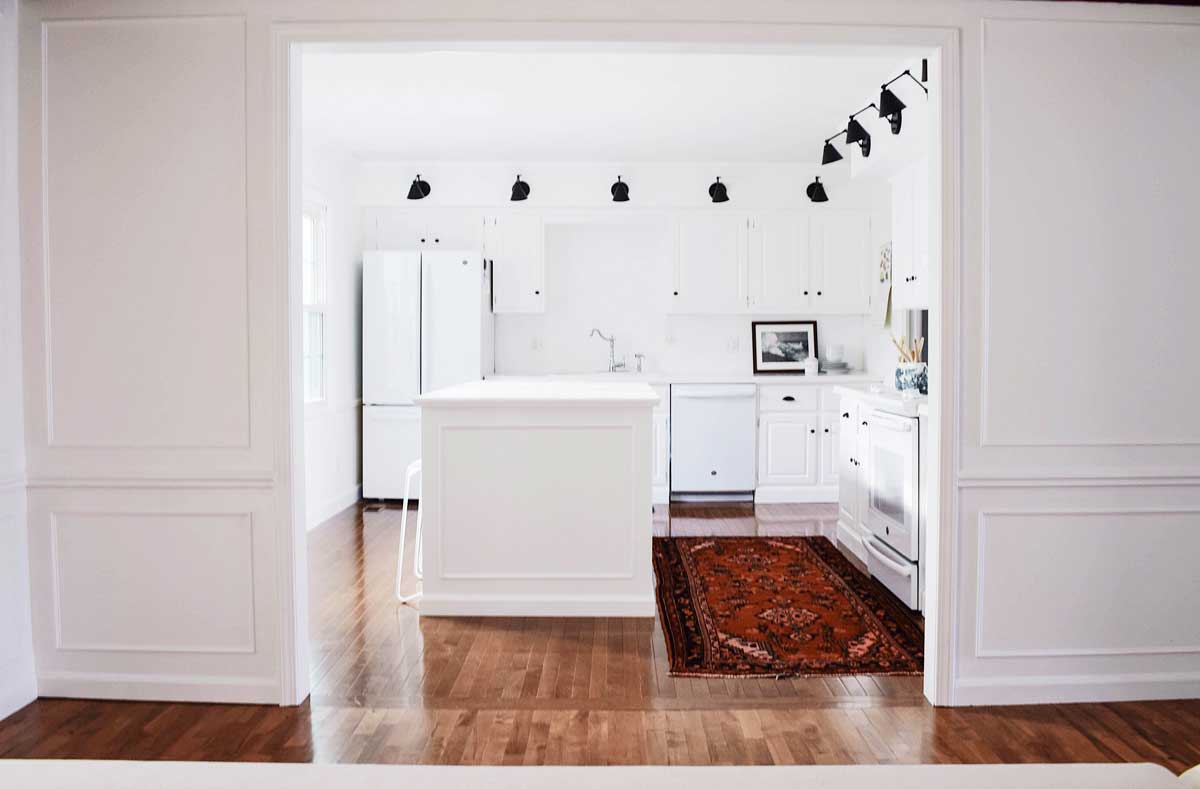
The next step was to wrap the entire structure (except for the front where the drawers would be) in plywood. We screwed two 4 x 4 posts into the floor where we could fasten the sides of the island to create a nook for leg room at the bar area. To attach the posts to the kitchen floor, dowel screws were screwed into the center of the end of the post, then into pilot holes we drilled in the floor. Once the posts were in, we attached plywood to the sides of the island and wrapped the posts.

This completed the basic structure of the island. Next was wiring the microwave. We had our electrician install an outlet into the base of the platform the cabinets sit on that could just run through to electrical in the basement.
Then we notched out a hole from the ikea shelf the microwave sits on so it could just slide down the back to its outlet.
I love a built in microwave! And this one was quite easy.

We made our countertop by gluing, clamping, and screwing together two pieces of 3/4 inch plywood. (Same as we did for our standing desk!) We sanded, spackled, and painted with behr porch and floor paint in “ultra pure white” (gloss), then let if cure for several days.
We attached it to the island base with screws using the guide holes on the cabinet brackets. We also attached the top to the 4×4 posts with pocket screws since there were no cabinet brackets in the sitting area.
This countertop (along with the rest of our counters which are laminate with a concrete diy) are not meant to be long term solutions. My ideal would be to have marble! But I’m very happy with them for a few (or several) years for something easy and inexpensive.
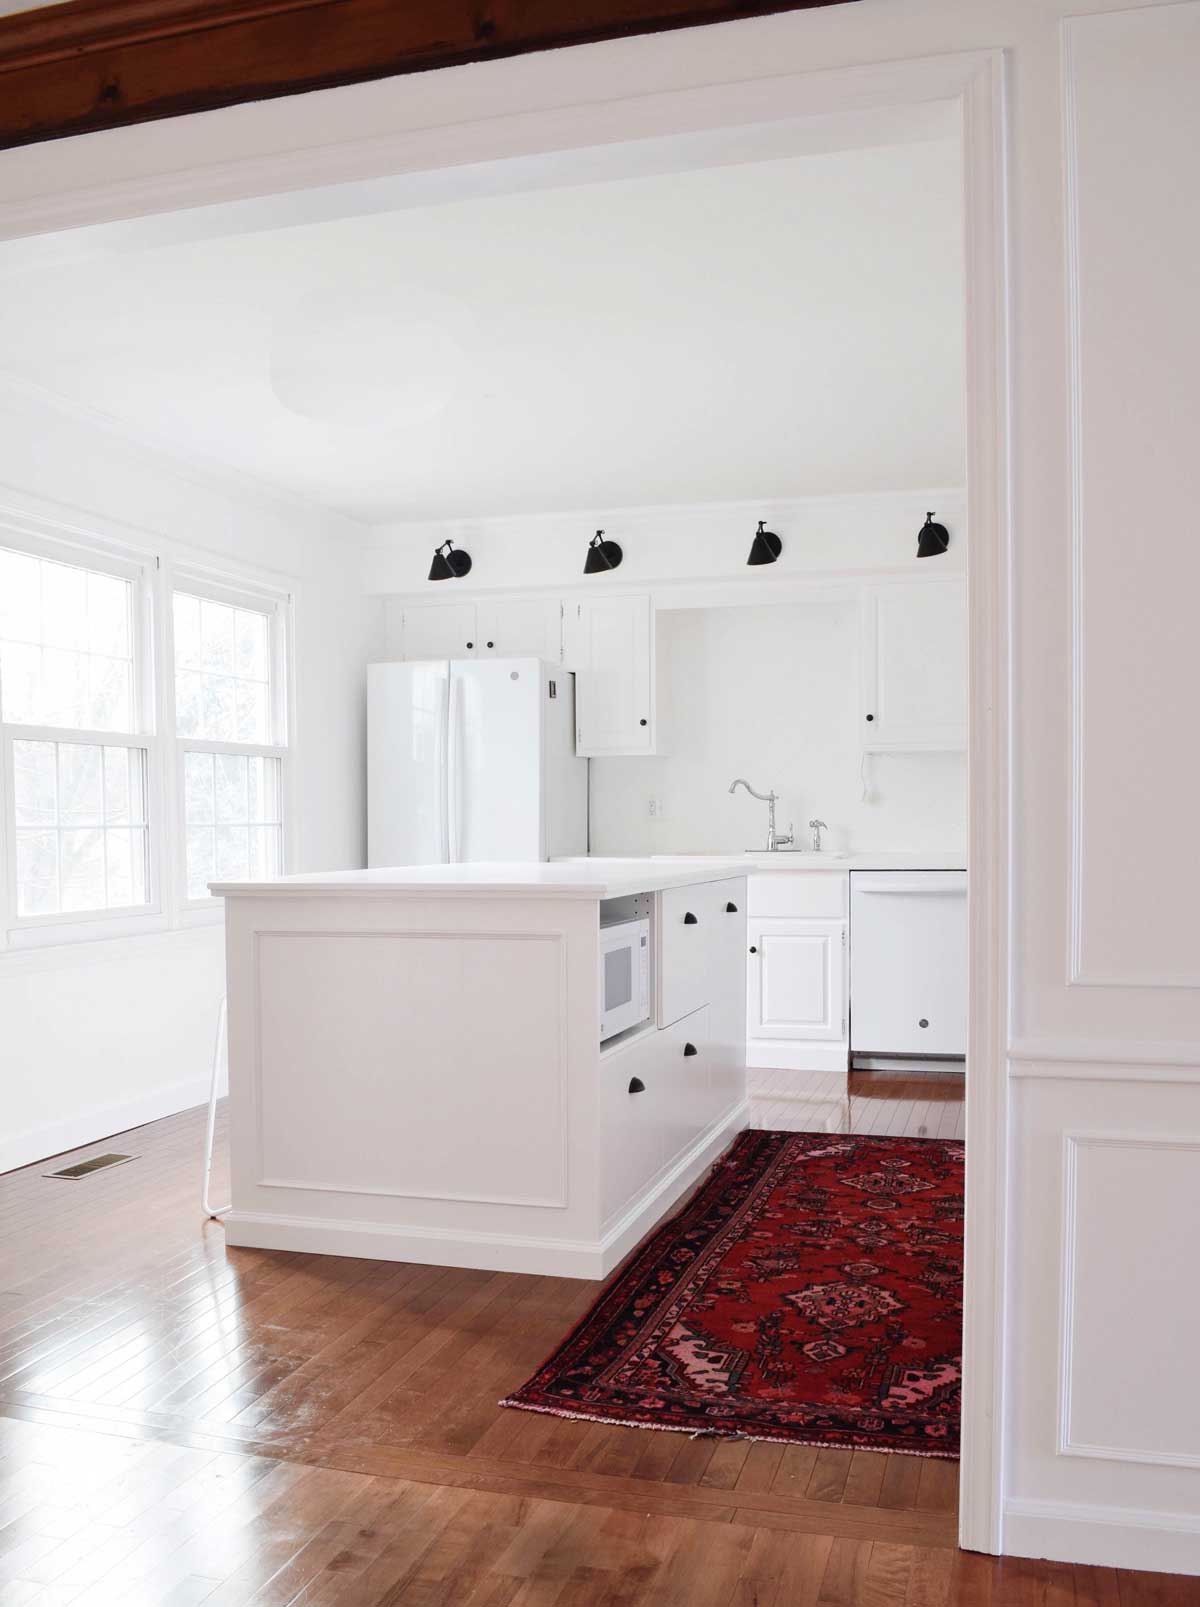
With the top attached, we added baseboard around the whole island and some smaller millwork on the two sides. I love this millwork. It’s the same one we’ve used in our living room and powder room. I like repeating the same detail throughout the house.
The white metal bar stools are from target and I think one of the most stylish pieces I’ve seen from them, maybe ever. THEY SELL OUT OFTEN so I watched and waited until I could get three.
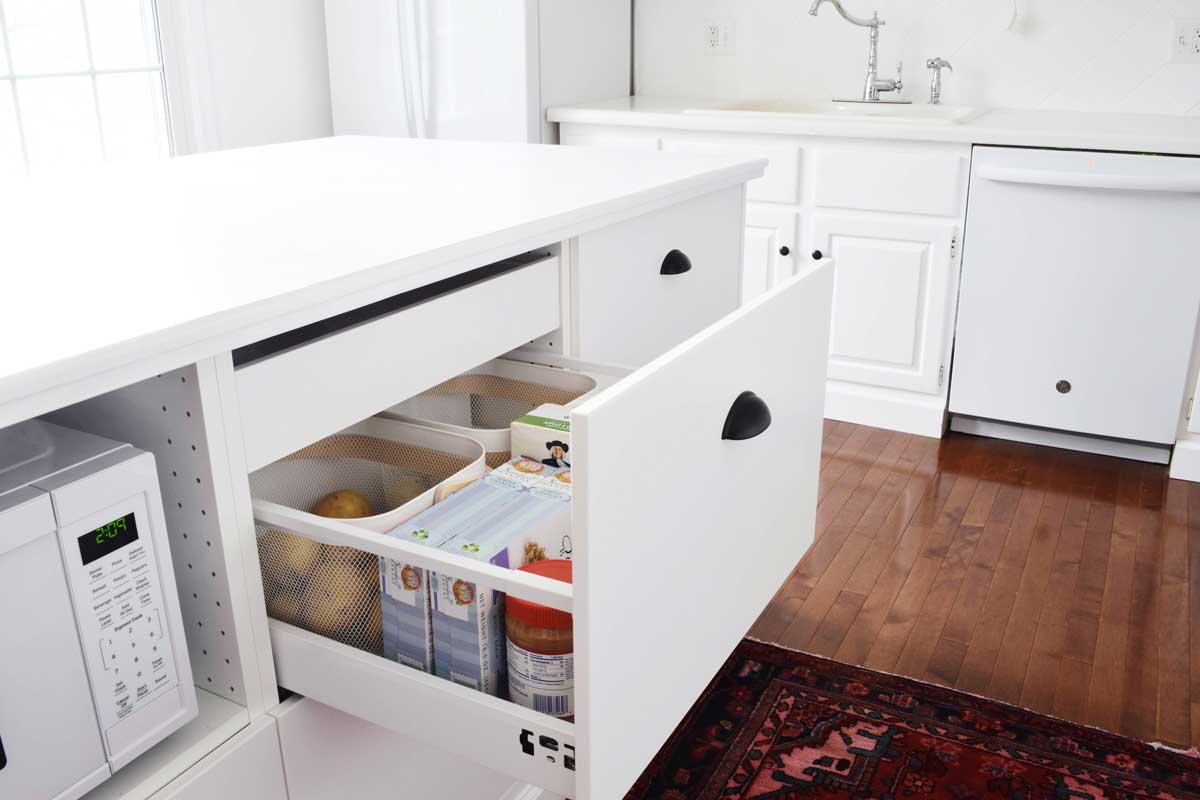
The tall vertical cabinet is for the trash storage. The top middle one is kind of my handy mom life paradise. I keep my onion and potato bins there, and then my frequently used kid stuff, including peanut butter and jelly making materials.
There’s the drawer within a drawer that ikea offers that we put in too. (You can see it in the first picture above.) I keep my cutting boards there and EVERYONE LOVES CONVENIENT CUTTING BOARD STORAGE.
Then there’s the microwave shelf of course and the other two drawers aren’t even full yet! I’m thinking I may store some things there related to kid chores (like materials they help set the table with) since it’s easily accessible for them.
We love eating lunch here. I love doing food prep here. We love it for putting out spreads of apps and ‘serts for parties. It has made the kitchen much more functional and less 1970’s kitchen.
I need to do a big kitchen audit and re-organize now that I have the island and also the new storage in the dining banquette. And I want to build some drawer dividers because those make such a difference and things can start having final decisions on places they are kept!